

Salt painting is a fun process watercolor art activity to do with kids. It’s easy to set up and the results can be so beautiful. It’s also really fun to watch the watercolors run along the salt as you paint!
RELATED: Puffy Paint
Salt Painting for Kids
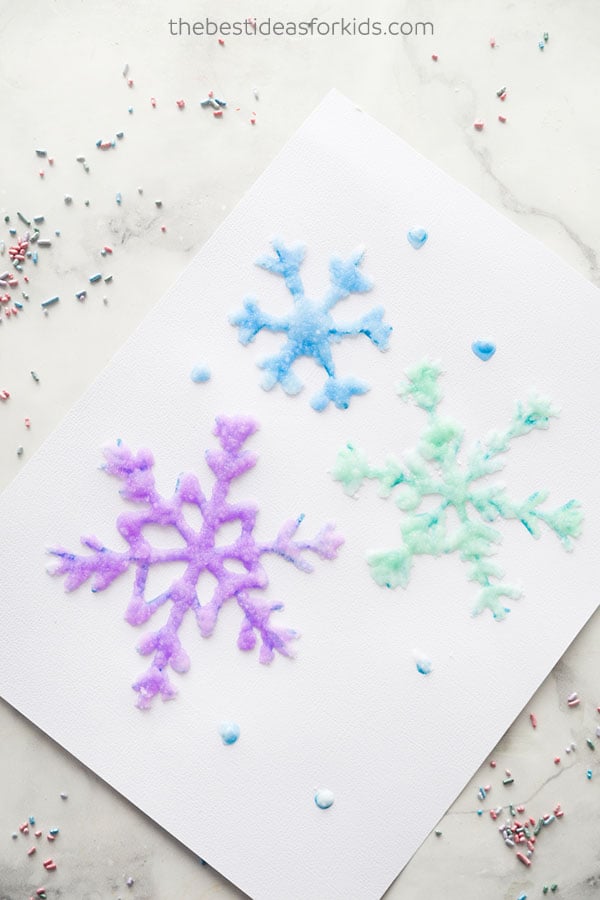
We made salt painted snowflakes, but this activity can be adapted for any art image you’d like! And you can grab our free printable to trace at the bottom of this post, or you can hand draw your own snowflakes!
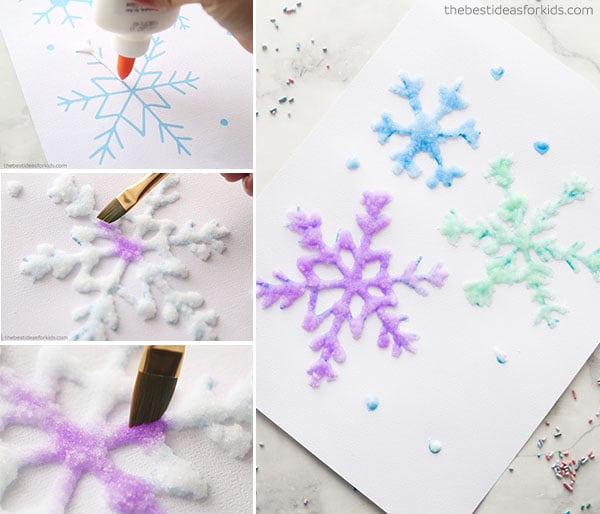
We love how vibrant and crystallized these salt painted snowflakes look. Adding the watercolors to this salt art makes these snowflakes just pop! And what better image to create with salt than a snowflake since it almost makes it look like a large snowflake on your paper!
Watch the Video Tutorial
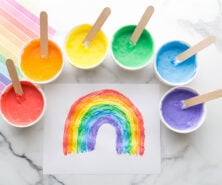
Supplies Needed for Salt Painting
- White thick cardstock – you want extra thick paper so the water doesn’t bleed through (preferably 100 -110lb paper weight). You can also paint on cardboard.
- Liquid watercolors – we like this brand. You can also use food coloring or regular watercolors. If using food coloring, don’t dilute it with too much water to keep the colors vibrant.
- Table salt
- White glue – this bottle size is the best for tracing our template as the nozzle is small. When you add the salt on top of your glue tracing it will keep the snowflakes a good size.
- Paintbrush
- A little bit of water
- Template – get template at the bottom of the post
TIPS FOR SALT PAINTING:
- Use a highly concentrated solution of your liquid watercolors. Only add a small amount of water to your solution to keep the color vibrant. If you are using food coloring, do not dilute it too much.
- Dip your paintbrush gently into your liquid watercolors to get only a little bit of watercolor at a time. If you have too much water when you’re painting the water will spill over and get your paper very wet. This is fine if you’re doing this art activity for fun but if you want to keep your art or are doing this with older kids we found it works best with just a little bit of paint.
- Paint right away – the salt may clump if you wait too long.
- Use some cardboard or an art tray underneath your cardstock to avoid getting your counter or table wet as the liquid watercolor will seep through a bit.
How can I keep my salt art?
Salt painted art does not keep well unless sprayed with a spray sealer. It works best for keeping when using a very thin layer of glue so that there is not too much salt on the art. You can also scrape off any of the loose salt and you’ll be left with a pretty watercolor painting underneath.
How to Salt Paint
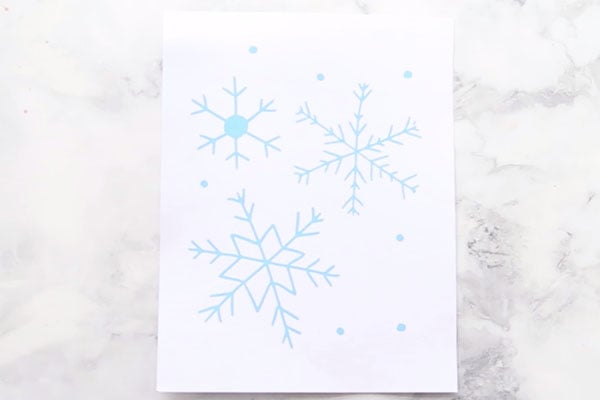
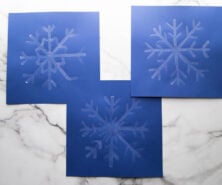
1. First, print off our template on cardstock paper.
You can grab the template at the bottom of the post.
Alternatively, you can print off any image to trace or free hand the snowflakes or any design yourself!
See also our spring salt painting and leaf salt painting templates.
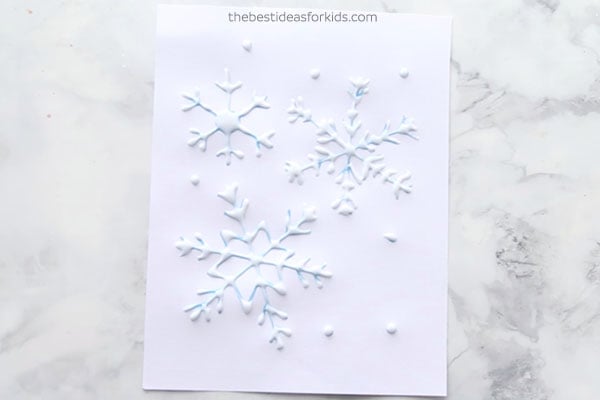
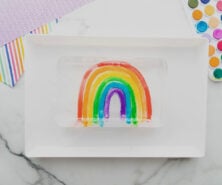
2. Begin by tracing the snowflakes with your glue.
We like to use this bottle of glue since the nozzle at the top is smaller. The larger bottles have larger nozzles and will let out more glue when you use them making the snowflakes too large.
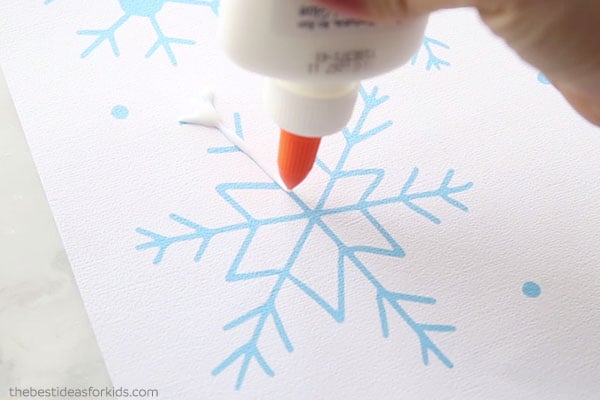
Finish tracing every line and dot on your page, or make your own snowflakes!
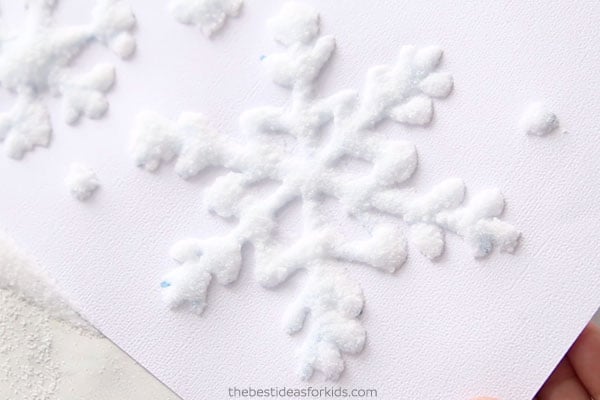
3. Now is the first fun part – sprinkle on your salt!
We like to keep a separate stash of salt for art activities. So when you’re done you can scoop off the remainder and store again for another salt craft.
Pour A LOT of salt over your image to ensure you coat every small piece of it. If you miss a piece then the color won’t run over that part.
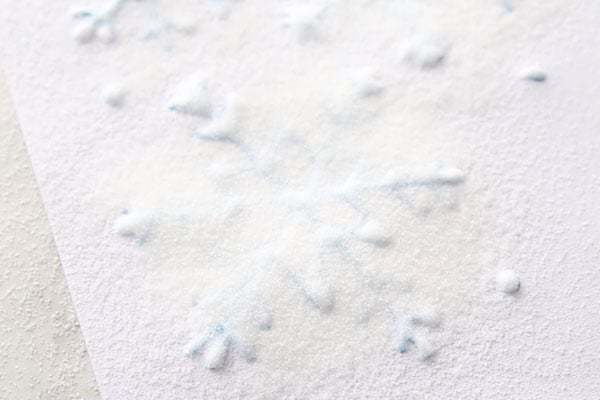
4. Now shake off your excess salt from your page and you should have something that looks like this:
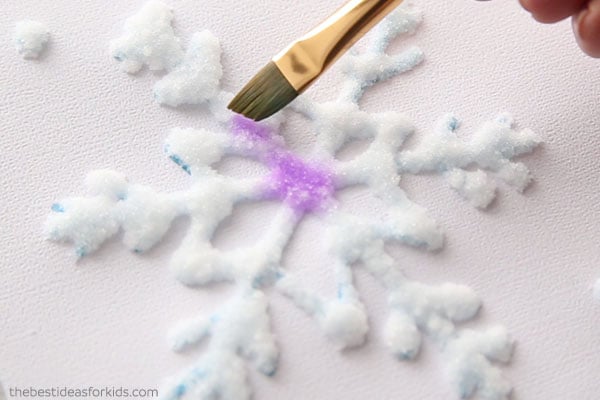
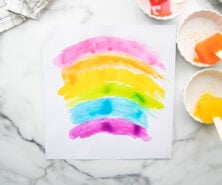
5. Now you can begin to paint with your watercolors!
We like to use liquid watercolors as they are easy to use and more vibrant than food coloring, but food coloring would also work. If you’re looking for a low cost brand of liquid watercolors we like these ones.
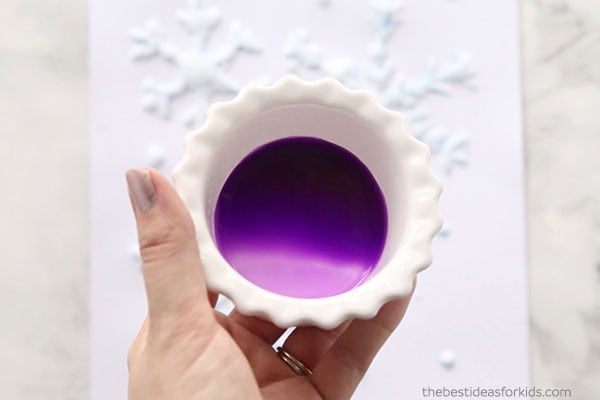
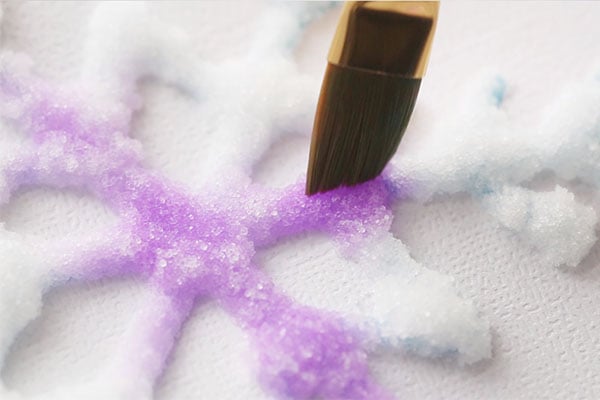
Now watch the magic! As you gently tap your salt with the paintbrush, the salt will soak up the watercolor from your brush and spread like magic!
Keep painting until you’ve painted all of your snowflakes!
6. Once you’re done, let your painting dry.
Be careful not to touch the salt or it may come off. If you do accidentally knock off some salt, if you scrape it all off you’ll be left with a beautiful watercolor painting underneath.
Get the Template
See more salt painting activities:


love your projects
Love these projects!
What can you use if you don’t have liquid watercolors? I have the kind that comes in a pallet and even regular paint.
Regular watercolors or food coloring will work too, just don’t dilute them with too much water.
Can Modge podge be painted over the completed painting as a means to preserve the painting?
The salt won’t last long term unfortunately. But if you scrape the salt off you could then add the mod podge on.
I was wonderful not if these were made in a plastic backing if they could possible be remove and used as water node clings ? Maybe ?
We haven’t tried that but if you do let us know how it goes!
Can you do this salt and paint project on canvas? Andwhat is best way to preserve it?
Canvas should work fine! Preservation is tricky because the salt tends to flake off over time but you can try to place it under glass so it doesn’t get accidentally touched.
Is it ok to let the glue dry before painting? I think this would be fun for my son’s class, but they make huge messes so I want to minimize the clean-up needed. I was thinking maybe I could do the glue and salt part ahead of time.
Yes you can let it dry before painting too! 🙂
fun
Love this, and all your ideas!
Thank you Cindy!
Is there a way to do these so they could be permanent… as in kept from one year to the next
If you scrape off the salt you’ll be left with a watercolor picture underneath.
You can scrape off the salt and you’ll be left with a watercolor picture underneath.
Thoughts on the salted snowflake……. have you tried doing this by placing wax paper over the template and when the project is done and dried… peel off the wax paper and hang up in the room?
We haven’t tried that – but give it a try and let us know how it goes!
Love your ideas
Fun winter crafts!
This is truly brilliant! Thanks for such a great idea 🙂 Definitely going to be trying it soon.
Love this!
fun stuff & great ideas 🙂
great idea