

Have you ever made paint from salt? Try this painting with salt experiment! It’s a fun process art and science activity! Kids will love to watch the paint dry and see all of the salt crystals remaining.
RELATED: Salt Painting
Make Your Own Paint from Salt
Did you know you can paint with salt? Simply dilute the salt in hot water and use it to paint with!
Kids will think it’s magic when your picture starts to “appear”.
And if you haven’t tried salt painting (where you dab salt with watercolors) it’s another fun process art activity! See our salt painting instructions.
You can easily turn this into a science experiment by testing different kinds of salt.
We tried out course sea salt and the effect was much different! The paint dried more clear but with larger salt crystals.
Have kids use a magnifying glass to inspect the salt crystals once your picture has dried.
The Science
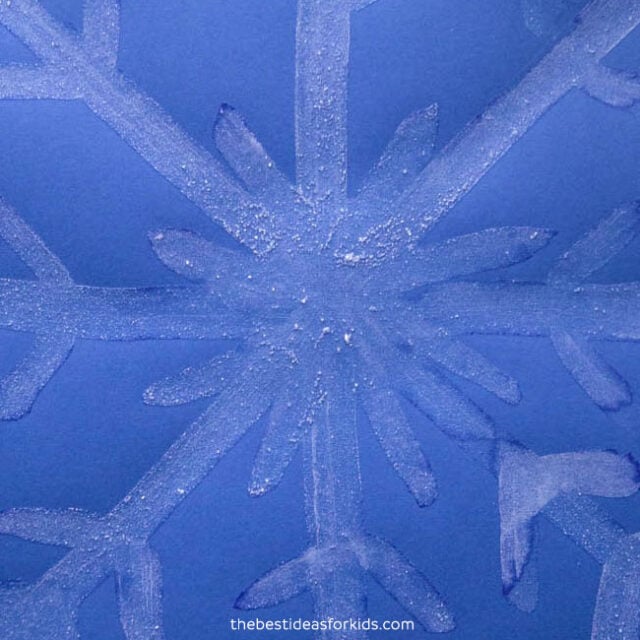
When the saltwater “paint” dries, the water evaporates into the air, leaving the salt behind. As the water disappears, the salt molecules stick together and form tiny crystals. These crystals are white, which is why they show up on the paper.
The salt sticks to the paper because as the water evaporates, the dissolved salt turns back into tiny crystals that form where the saltwater was applied. These crystals settle into the paper’s rough, porous surface, gripping onto its fibers. Some of the salt even gets pulled deeper into the paper with the water, which helps it stay in place. This process makes the salt crystals naturally stick to the paper instead of falling off.
Here’s a closer look at how the table salt dried:
Supplies to Make Salt Paint
Here is what you need to make your own paint from salt:
- Salt – we used table salt. You can also use course salt or sea salt but the final effect will be different (less white and more crystals)
- Hot water *adults to assist with this
- Dark cardstock – note: the cardstock cannot be coated or the paint will repel from the paper. If you find when you are painting the “paint” is not soaking into the paper then try a different paper that does not run/repel from the paper. We used this kind of Recollections paper.
Watch the Video Tutorial!
How to Make Your Own Paint from Salt
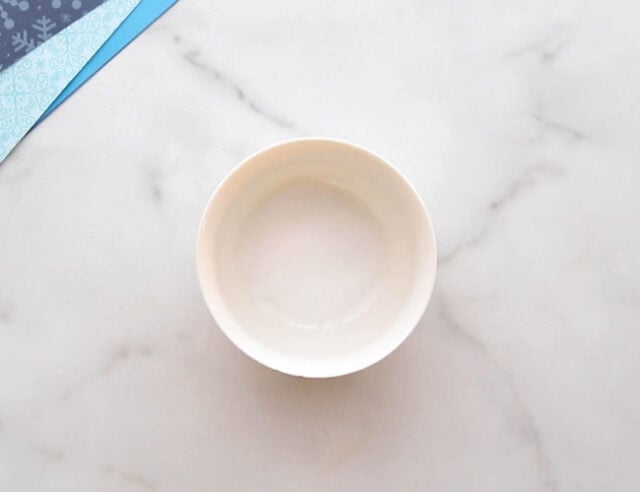
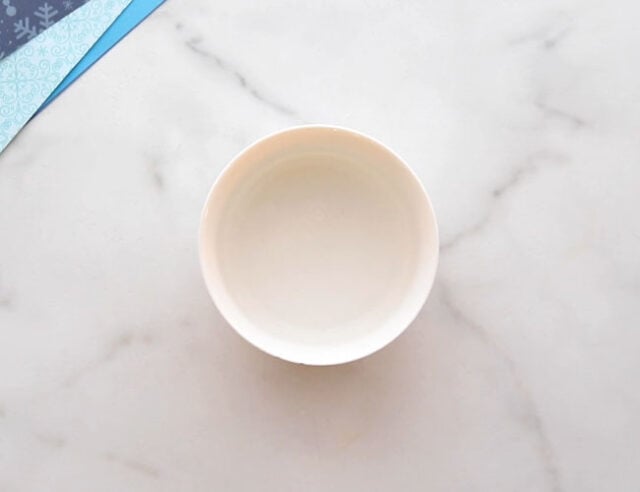
1. Start by adding 1 tablespoon of table salt to a small bowl.
Note – you can also try this with different kinds of salt! This would make a fun science experiment to test out different salts (sea salt, table salt, course salt, pink salt, etc)
2. Add 3 tablespoons of hot water to the bowl.
Have an adult boil water in a kettle and pour in 3 tablespoons to dissolve the salt.
Caution
An adult should do this part. The salt water will be very hot!
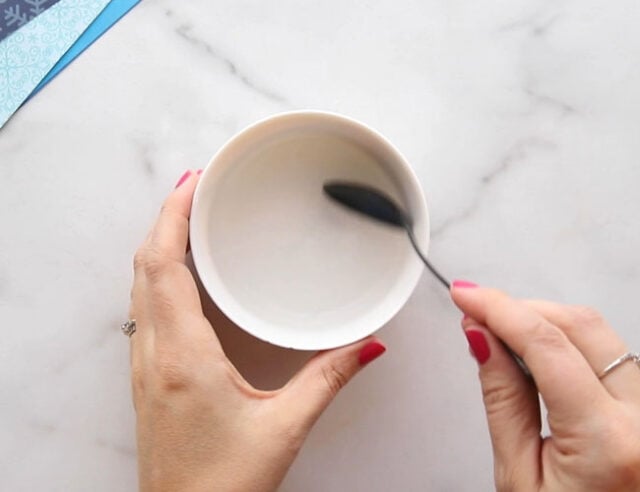
3. Mix the salt in the bowl until majority of the salt has dissolved.
Note – not all of the salt will dissolve and you’ll be left with some of it still at the bottom of the bowl. That’s totally fine and the paint will still work as shown.
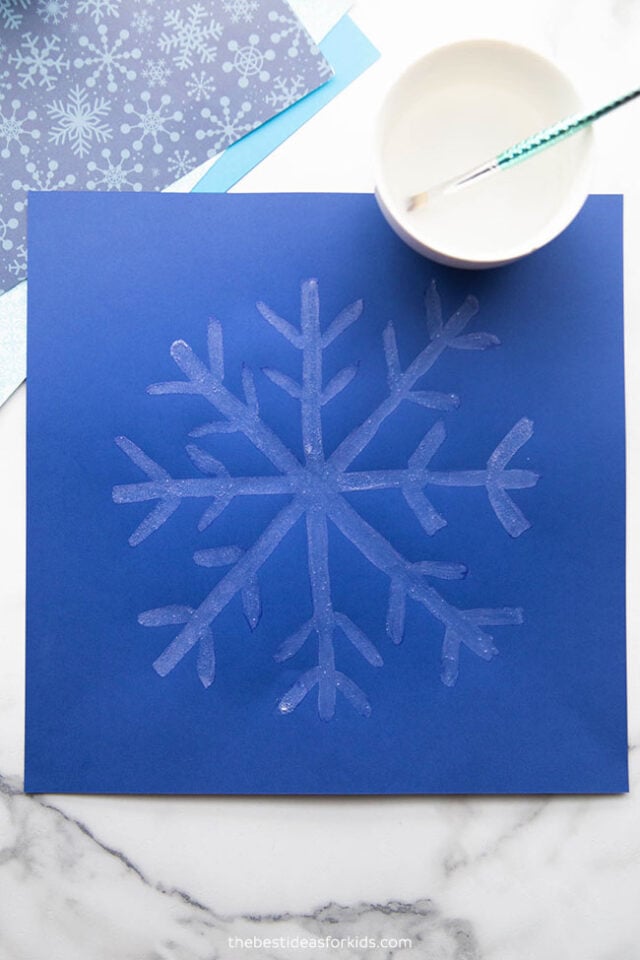
4. Use a paintbrush to paint whatever you’d like!
Once the salt water has cooled, kids can now paint!
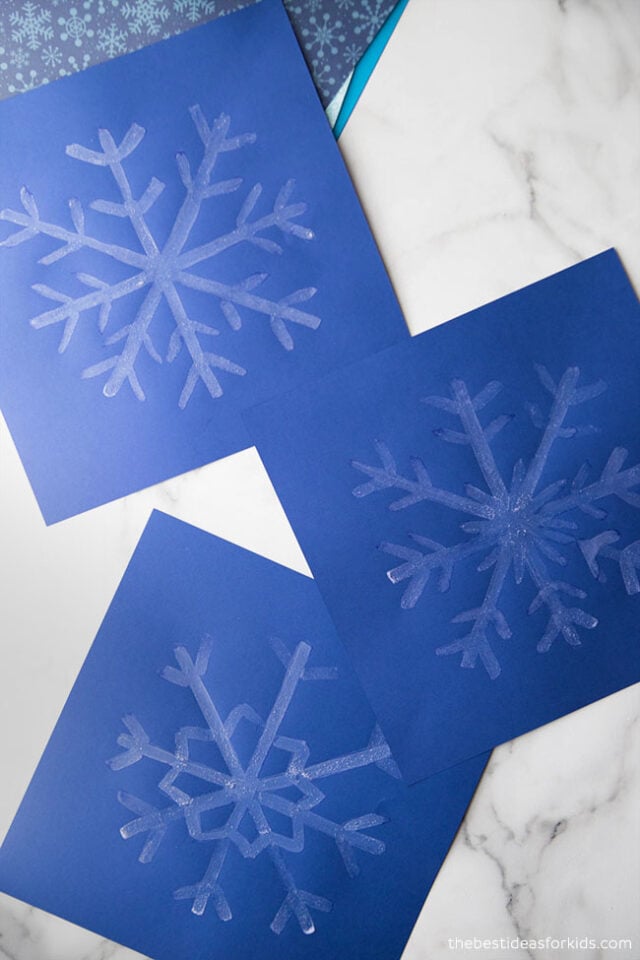
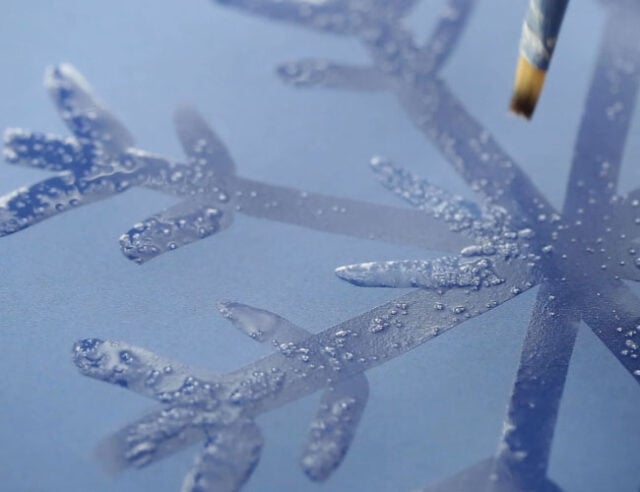
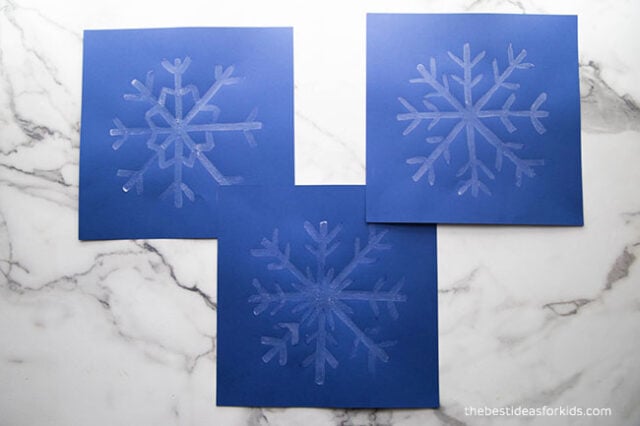
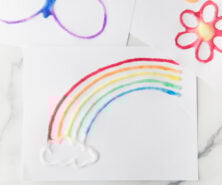
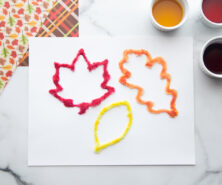
We painted three different designs of snowflakes. You could also do this for Valentine’s Day and paint hearts on a dark red or purple paper. The options are endless!
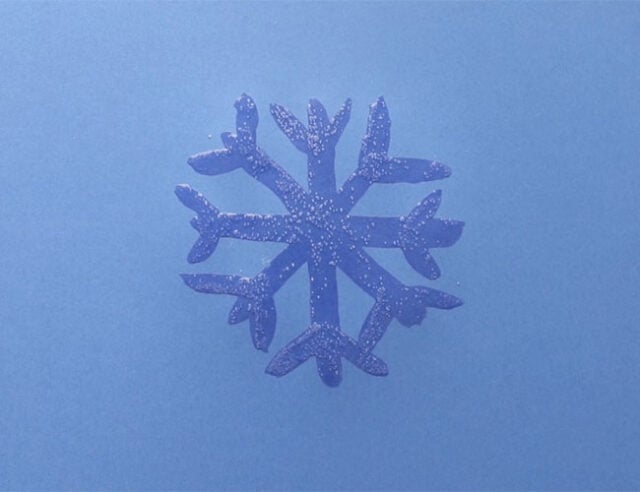
Observe that the paint goes on clear with some small pieces of salt still in the salt water.
This is how it looks immediately after painting:
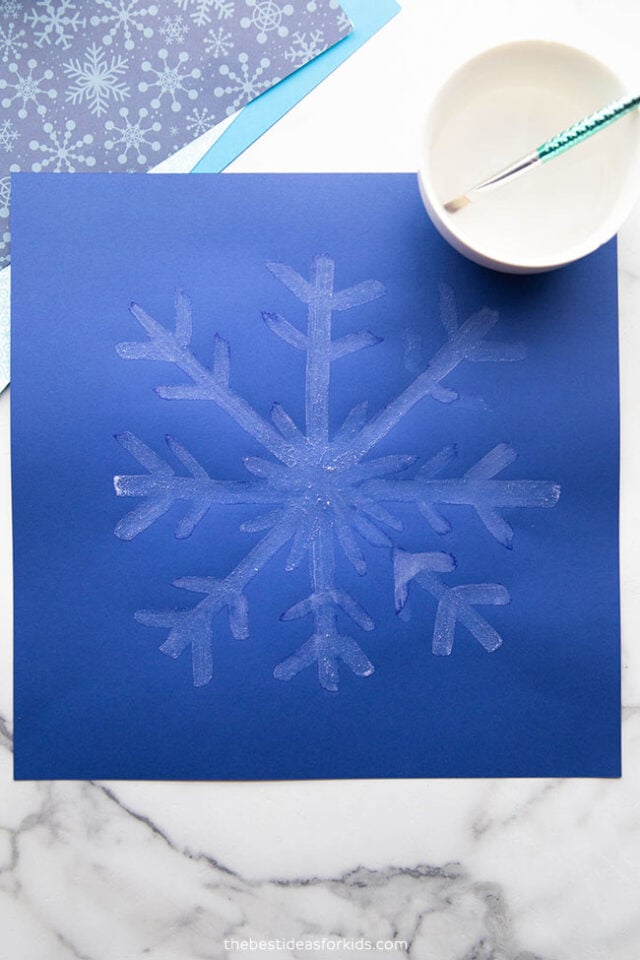
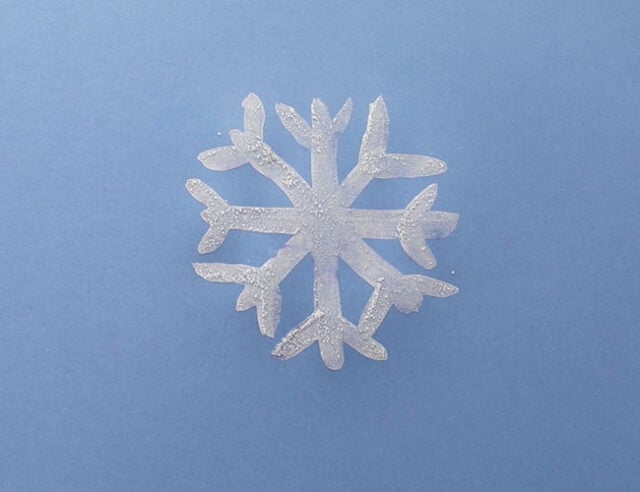
5. Once your picture is complete, allow it to dry for 24 hours.
After about 24 hours, your picture should be dry. The water that was in the “paint” is now evaporated and you are left with the salt crystals.
After drying, your picture should be white:
If you do not want to wait 24 hours: you can use a hair dryer to speed up the drying process.
For a fun science twist, compare your hypothesis of what you thought would happen when the paint dries. You can also make observations on the differences between different kinds of salt.
Your final art will be white in color if you chose to paint with table salt. If you used a thicker salt, you will likely have less white and larger salt crystals left behind.


Love ideas and instructions