


Use chunky yarn and some toilet paper rolls to transform them into these paper roll yarn pumpkins! This is a fun activity parents and kids can do together this fall season.
RELATED: Halloween Crafts for Kids
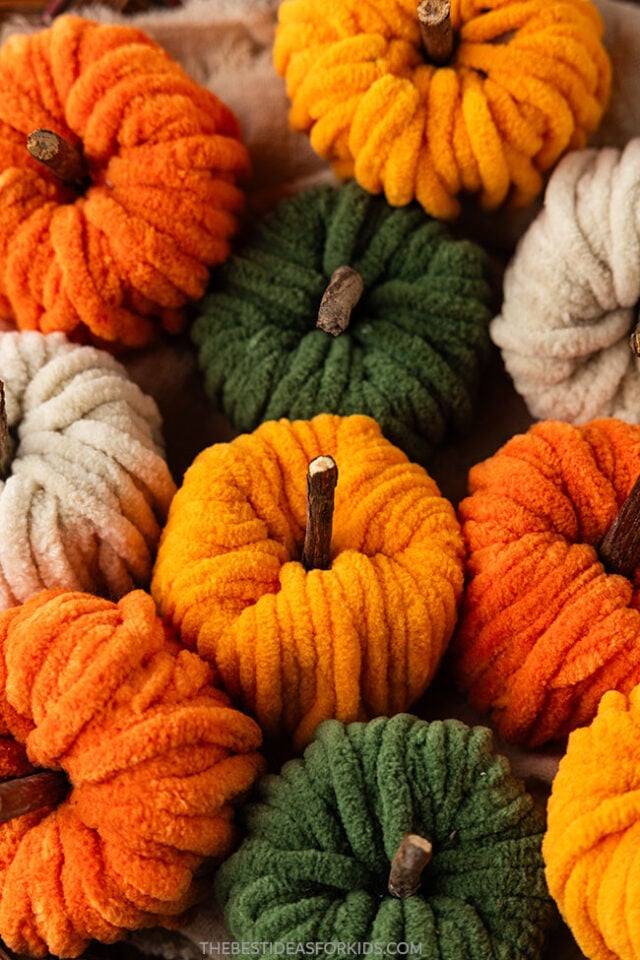
Make a bunch of these little pumpkins for decoration or to give away this Halloween season! You can even add them into a bowl and make a centerpiece out of them. Pair with our leaf bowl activity craft.
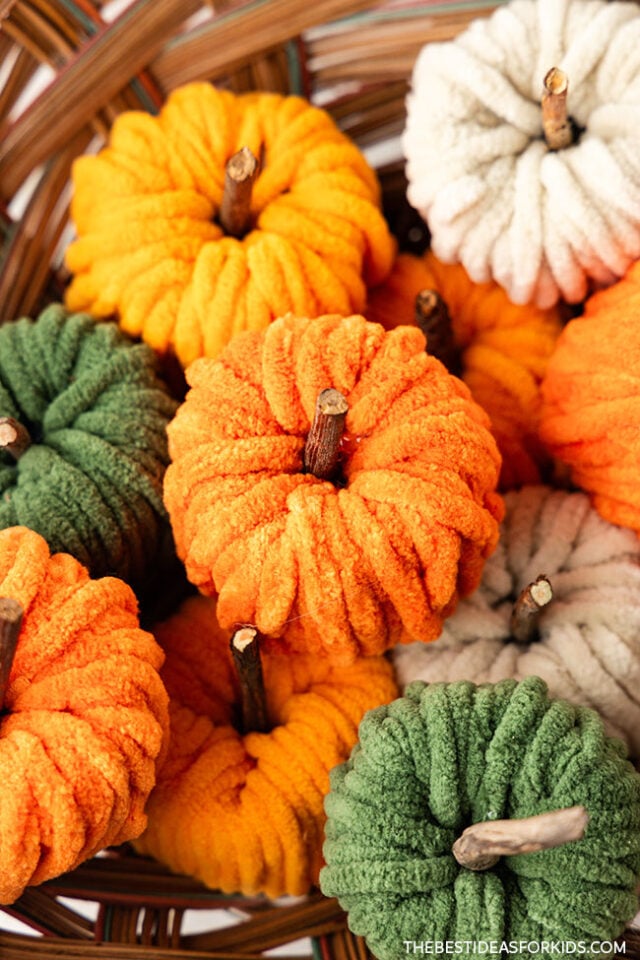
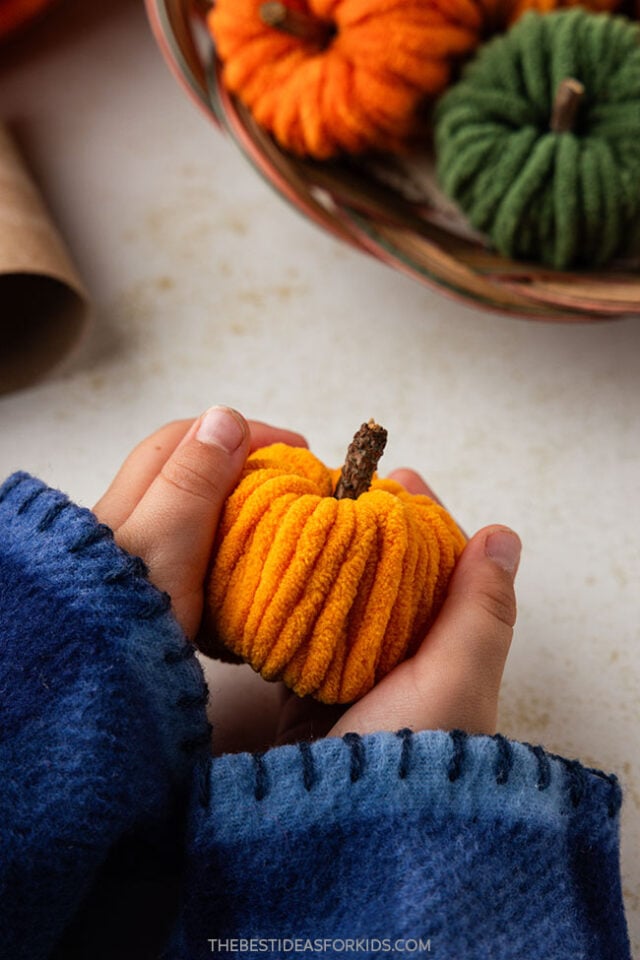
Kids can choose their favorite colors to make their own pumpkins!
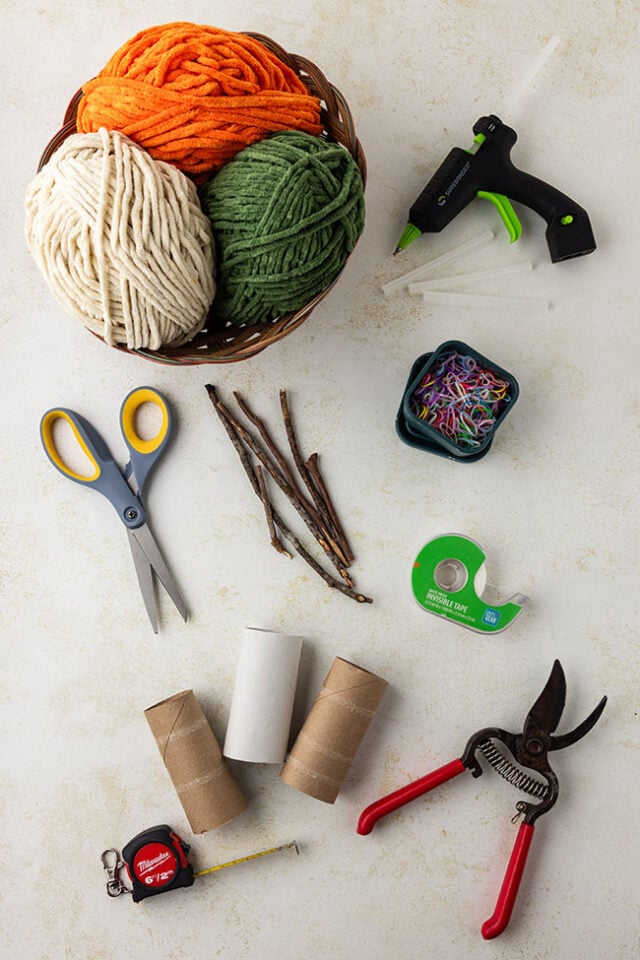
Supplies Needed
- Chunky yarn
- Toilet paper rolls or paper towel rolls
- Scissors
- Measuring tape
- Tape
- Small rubber bands
- Small sticks
- Garden pruners (adults only)
- Hot glue gun + extra hot glue sticks (adults only)
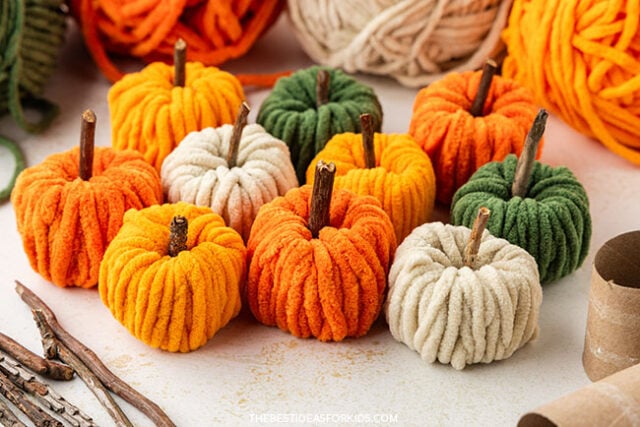
How to Make Paper Roll Yarn Pumpkins
1. Cut the paper roll.
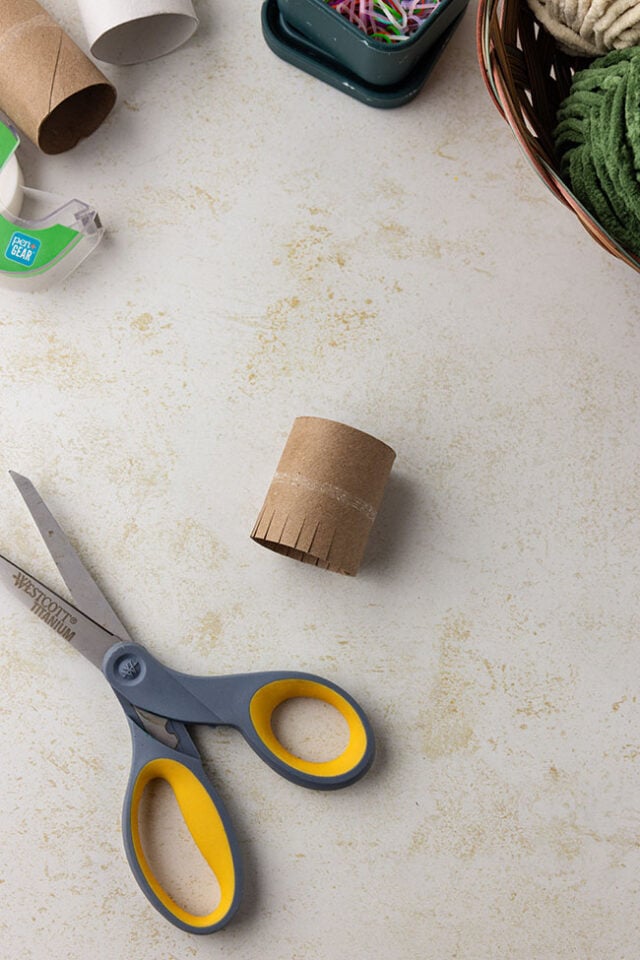
Begin this craft by cutting a toilet paper roll in half.
Then on one end of the toilet paper roll, make small, ½-inch cuts all the way around.
2. Measure the chunky yarn.
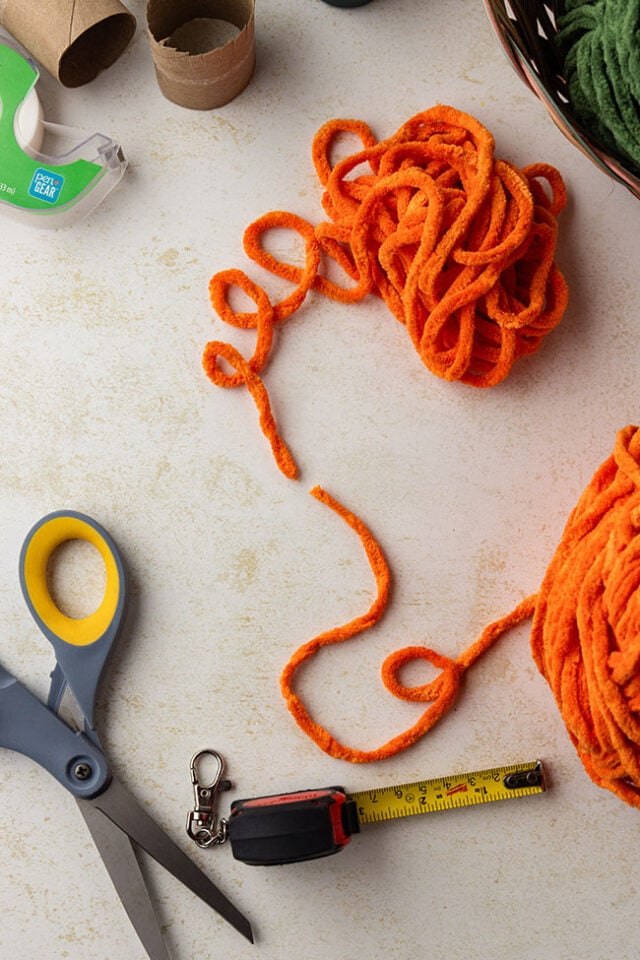
Measure 18 feet of chunky yarn and cut.
3. Tape the yarn.
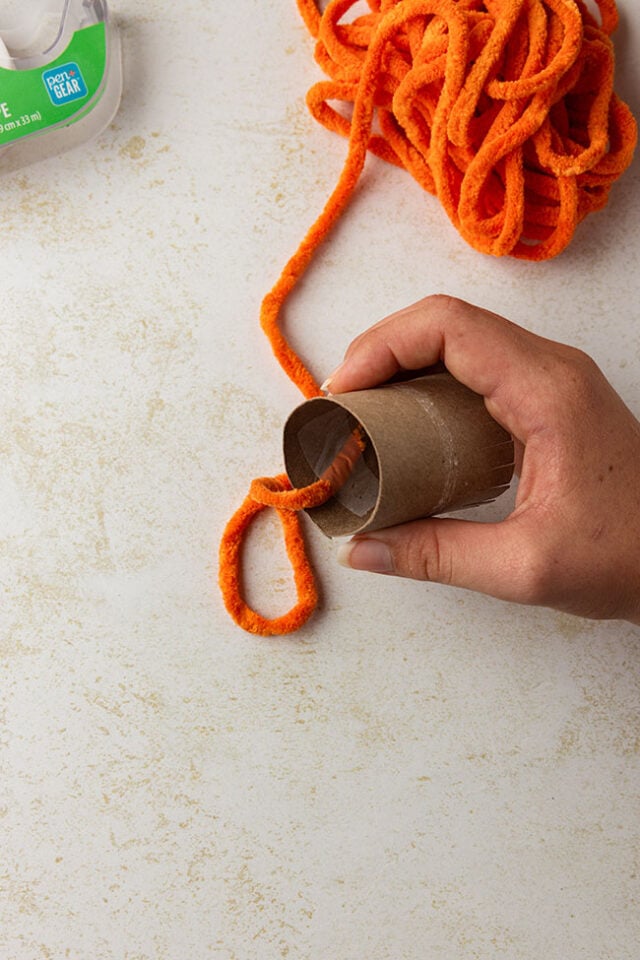
Tape one end of the yarn inside the toilet paper roll on the side that is not cut in little slits.
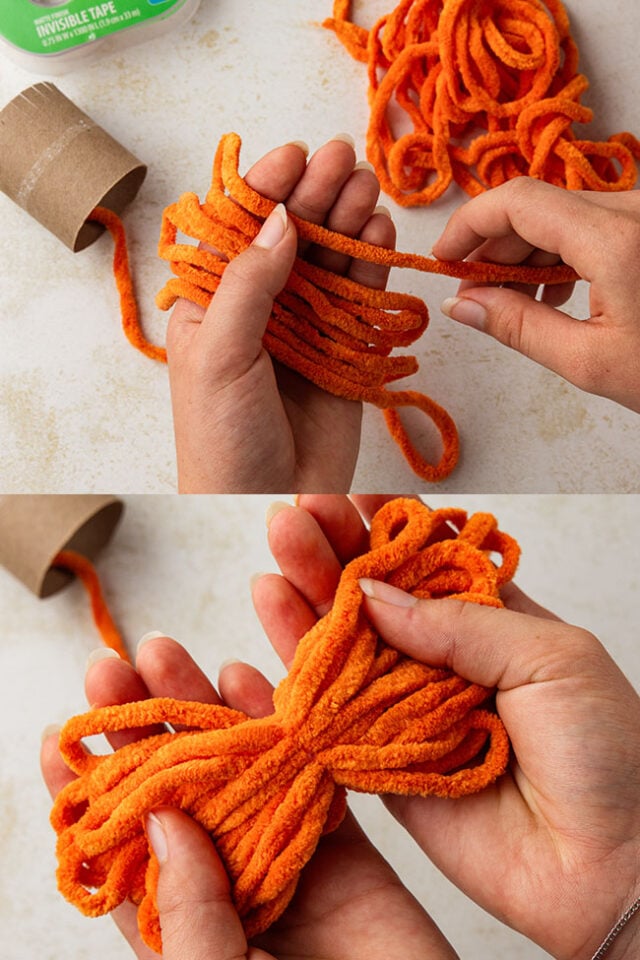
4. Optional step – gather the yarn together.
To keep the yarn from getting tangled while wrapping, we like to gather it accordion-style and secure it with a small hair elastic. Start gathering at the taped end of the yarn and work your way to the loose end. Then, secure the gathered yarn in the middle with an elastic.
This also makes it easier to pull through the paper roll.
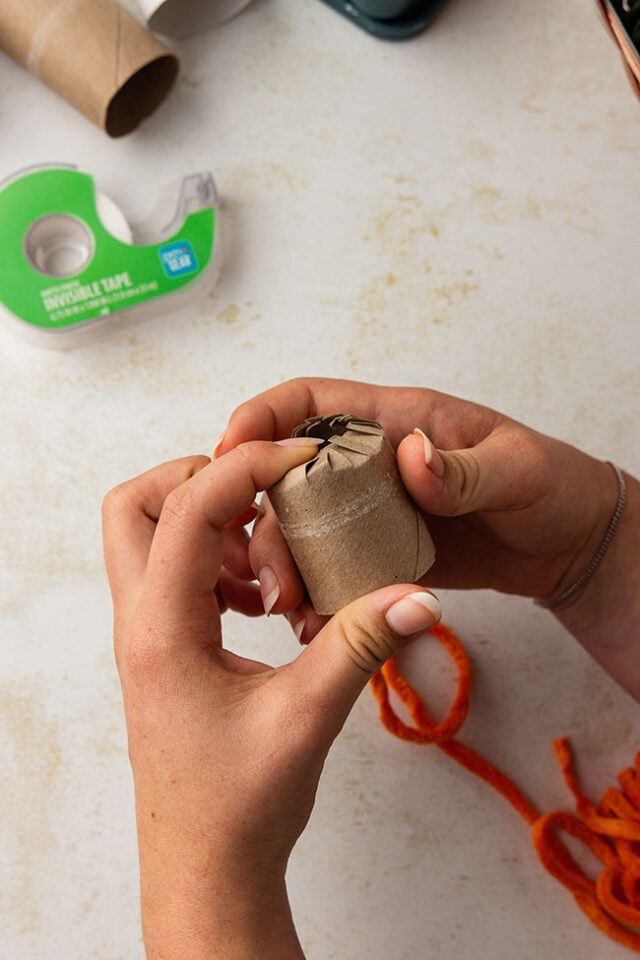
5. Fold the paper roll in.
On the end with the cut slits, press all of the tabs inward toward the middle. This will make the shape look more like a pumpkin once the yarn is wrapped around it.
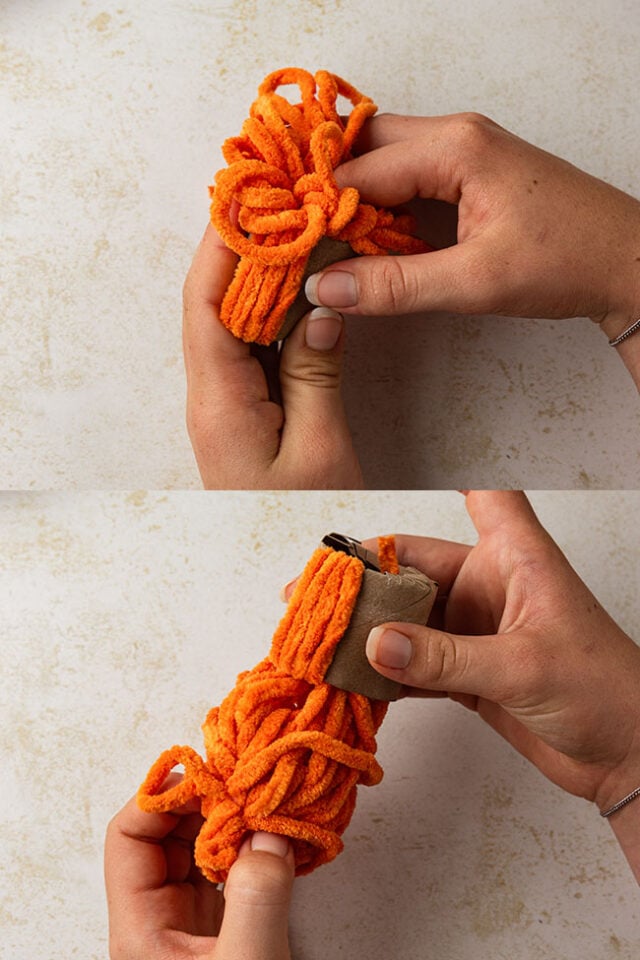
6. Wrap the yarn.
Start wrapping the yarn around the toilet paper roll. Insert the yarn through the top (tabbed end) and pull through the bottom each time. Pressing the yarn through the toilet paper roll will be a little tight at first, but it will get easier as you work!
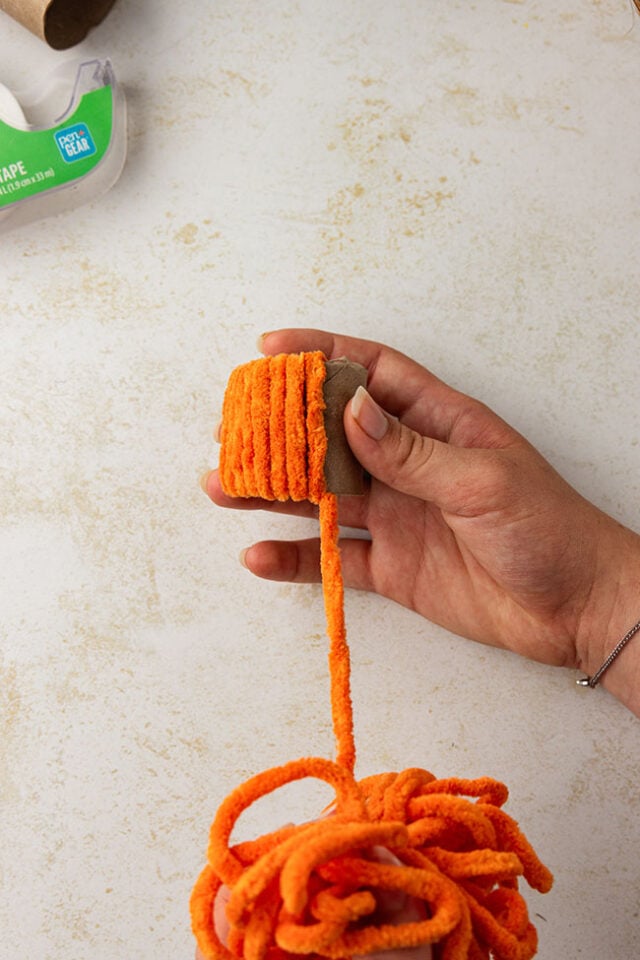
7. Keep wrapping the yarn.
Continue working your way around the toilet paper roll. You’ll have enough yarn to wrap around more than once, which is perfect for creating a nice, full pumpkin!
As you wrap, the working yarn will get smaller. Just gently pull the working yarn from the elastic to release another small section at a time.
8. Glue the end of the yarn.
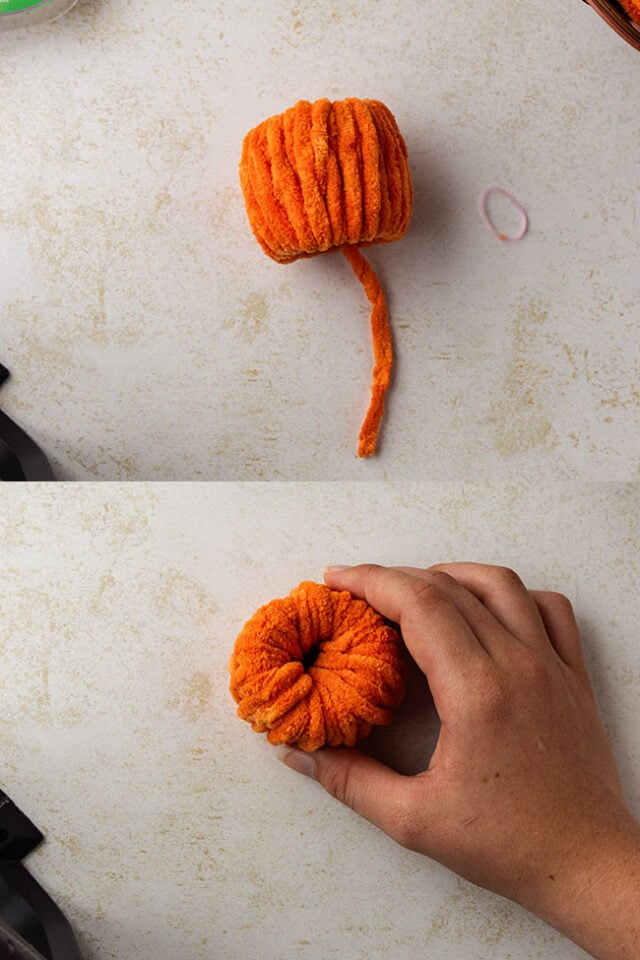
Once you’ve reached the end of the yarn, wrap or tuck the remaining yarn inside the pumpkin and secure it with a small dot of hot glue (adults only).
If needed, gently press and roll the top (tabbed end) of the pumpkin inward to fill the gap in the middle and give your pumpkin a nice shape.
9. Cut a stick.
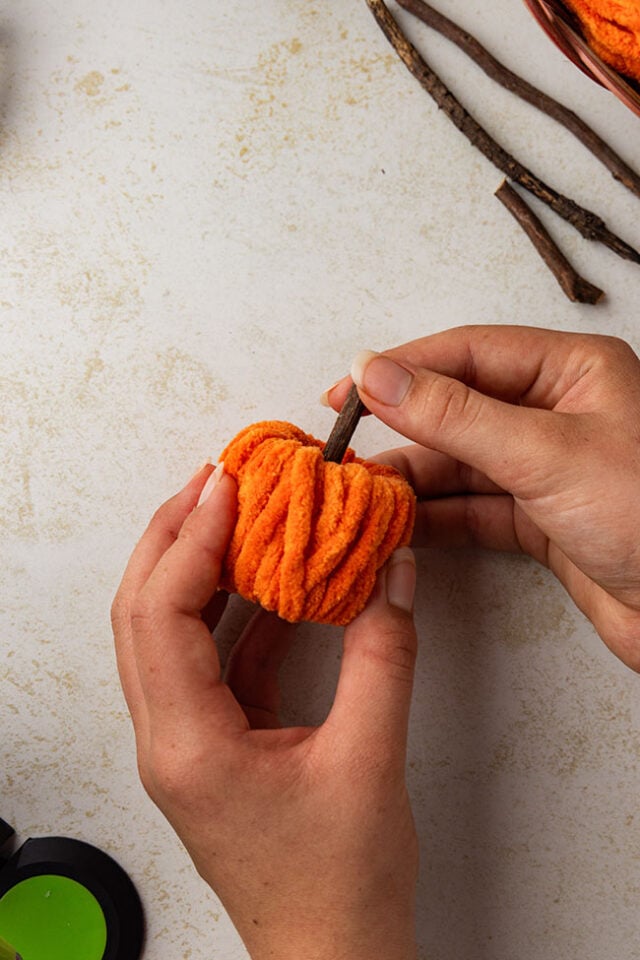
Cut a small section of a stick for the pumpkin’s stem using the garden pruners. Apply a generous amount of hot glue to the yarn in the middle of the pumpkin, then insert the stick and gently press it against the yarn. Hold it in place for about a 30 seconds, until the glue sets and the stick stays securely in place. Adults should assist with the hot gluing.
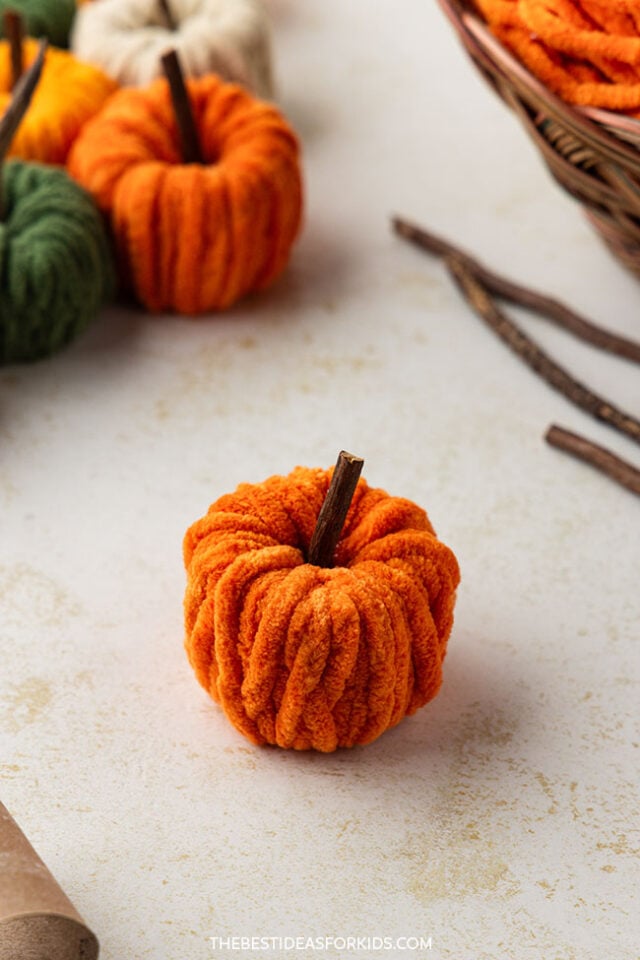
Now repeat the process and make a bundle of pumpkins in all sorts of colors! Put them together in a bowl or give them out as gifts.



Share a Comment!
We LOVE hearing from you! Submit your question or comment here.
Your email address will not be published.
Required fields are marked *