

For an easy craft this fall that doubles as décor, try making this DIY leaf bowl! All you need is some Mod Podge and fabric leaves to make these pretty bowls!
Related: Leaf Clay Dish

These fall leaf bowls only require a few materials to make.
They look so pretty filled with candy, battery-operated tea lights or pine cones! You can use a variety of bowls to make these in all different sizes.

Kids will love to help brush on the Mod Podge and watch as the leaves dry and harden over time to create their own fall inspired bowl!

Supplies Needed
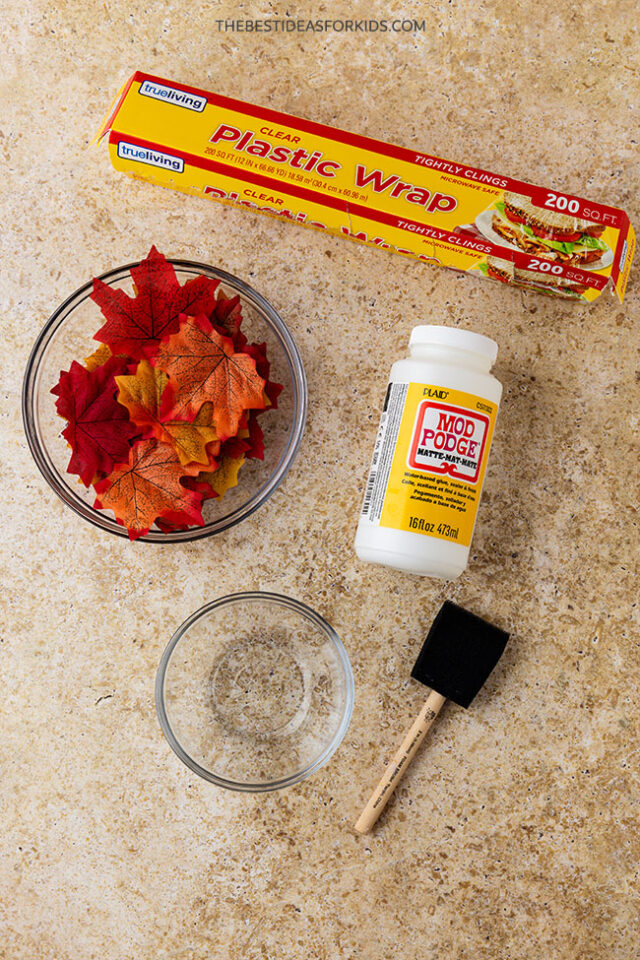
Here’s what you need:
- Fabric leaves
- Mod podge – we used matte
- Sponge brush
- Round bowl
- Clear wrap
How to Make Leaf Bowls
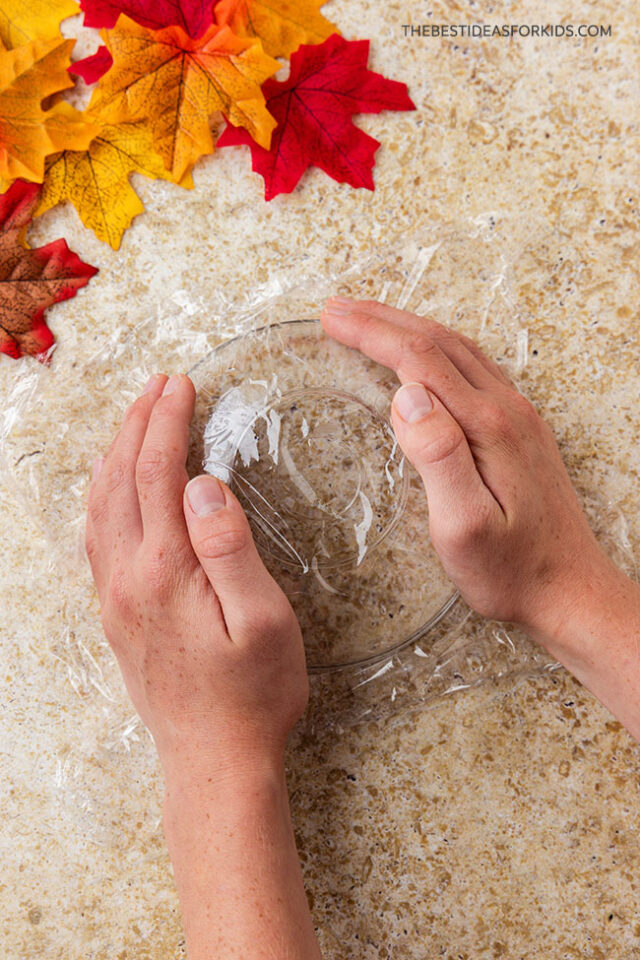
1. Turn the bowl upside down.
Begin by turning your bowl upside down and covering it with a piece of plastic wrap.
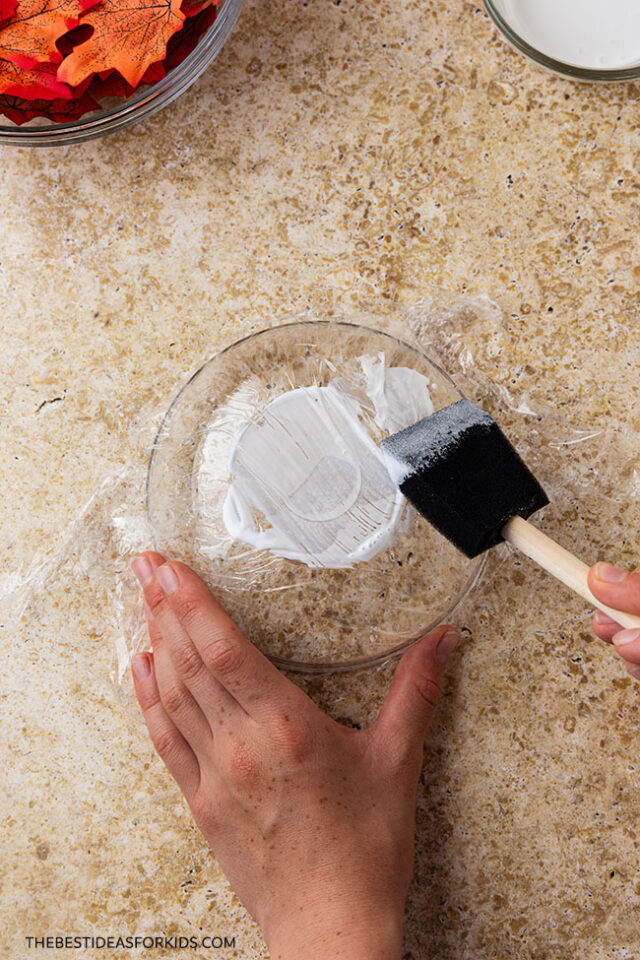
2. Add Mod Podge.
Use a sponge brush to apply a generous amount of Mod Podge to the plastic wrap – the more the better!
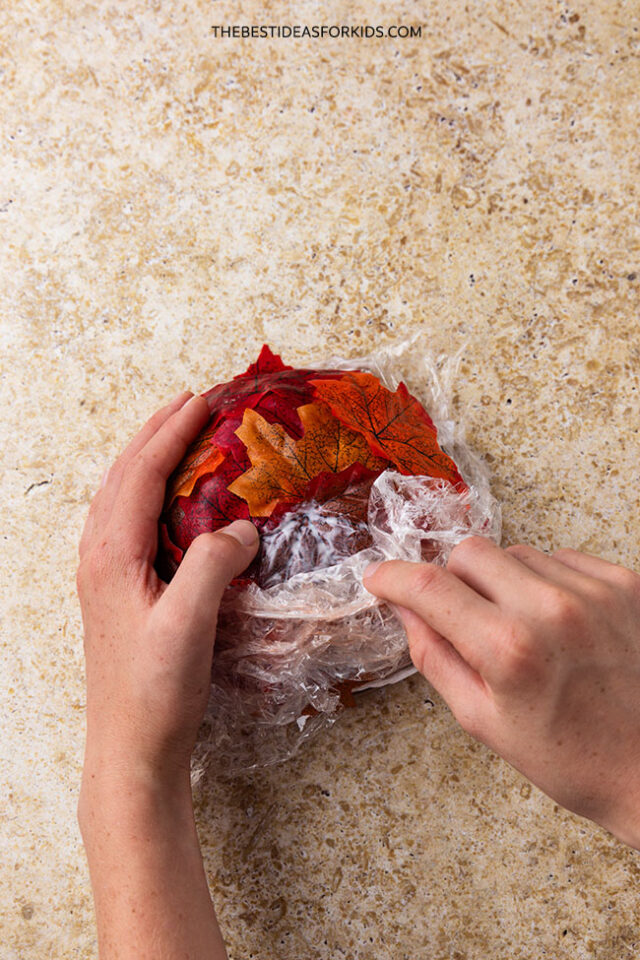
3. Start adding your leaves.
Place a leaf, right side up, on the Mod Podge at the top (which is the the bottom of the flipped bowl). See below.
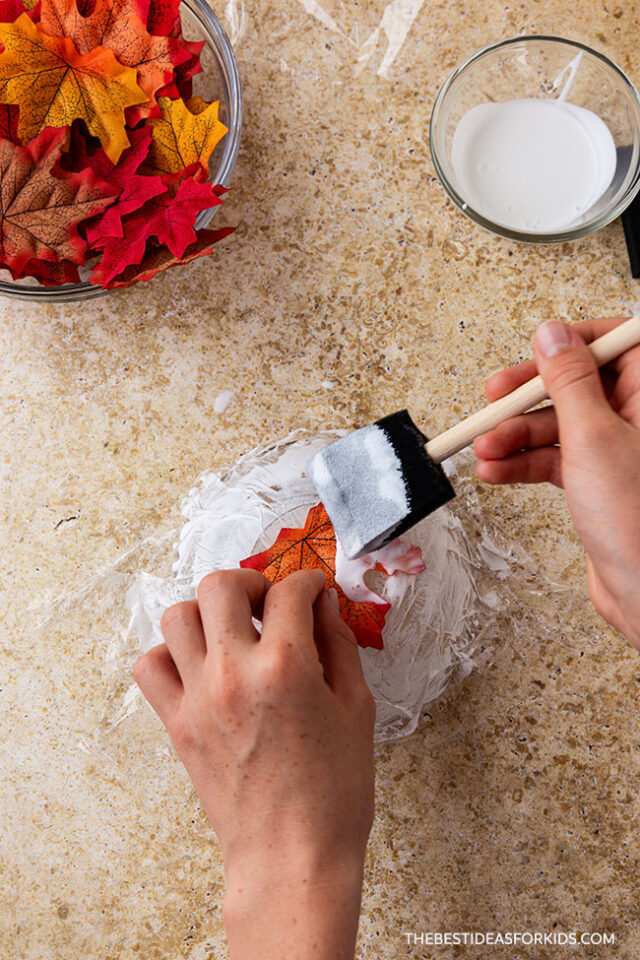
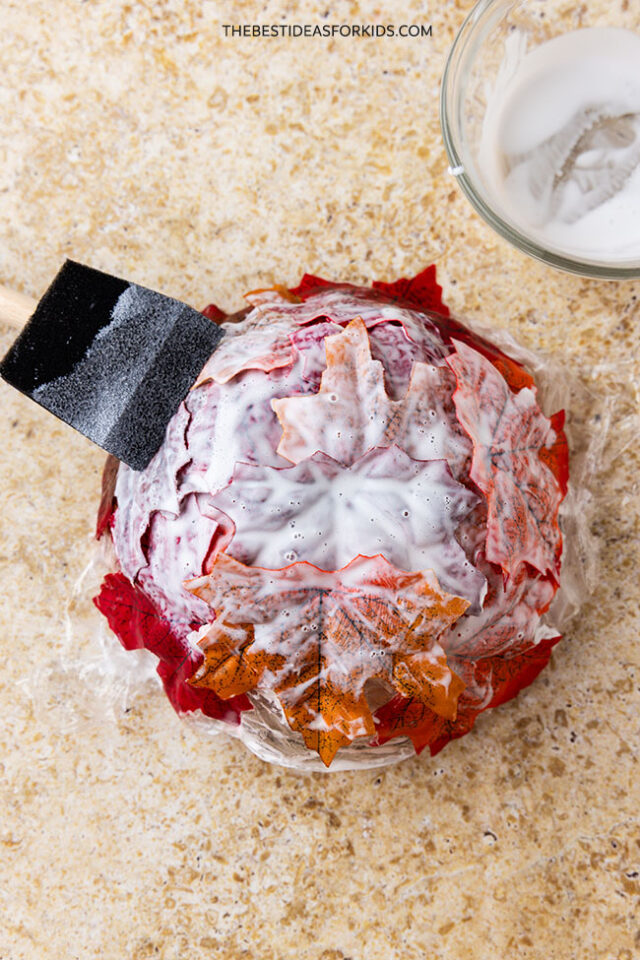
4. Add more Mod Podge.
This is where the craft gets a little messy!
Begin painting over your leaf with the Mod Podge, and then place more leaves on to form a bowl.
Let the leaves overlap so that they hold together to form a bowl. Don’t worry too much about small spaces between your leaves, but try to overlap them as much as possible.
If the leaves begin to slip down the sides of the bowl, just put them back in place.

5. Cover with clear wrap.
Once you have placed as many leaves as you’d like to make up your bowl, cover them with another piece of clear wrap.
Note: This part can be a little tricky- if your leaves begin to fall, it will be much easier to put them back in place once they are covered with the clear wrap!

6. Let it dry.
Set the bowl aside for an hour and let it begin to set up.
Note: You can place it in the sun or in front of a fan if you’d like to speed up the process.
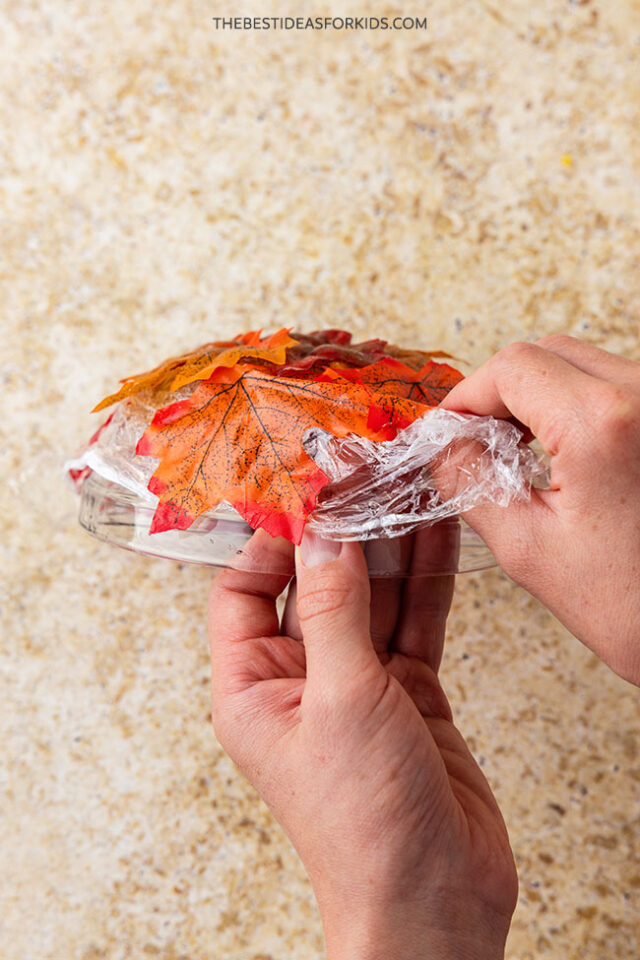
7. Remove the clear wrap.
After an hour, carefully begin to peel back one side of the plastic wrap that is covering the Mod Podge to allow air in so that it can dry out.
Peel it back about ¼ of the way across the bowl.
Set aside for another hour to dry.
Note: If you leave the plastic wrap on, it will take a very long time to dry.
8. Peel back again.
Once the Mod Podge has dried in this section, carefully pull back the plastic wrap to about halfway across the bowl so that this section of the Mod Podge can dry.
Set aside for an hour.
9. Peel back again.
Gently pull back the plastic wrap again and allow the next section to dry. At this point, you should have ¾ of the bowl exposed to the open air.
10. Remove the rest.
Finally, remove the rest of the plastic wrap on top and allow the final section to dry.

11. Add another coat.
Using a dabbing motion, paint the outside of the bowl with another thick coat of Mod Podge. Hold any leaves in place that try to stick up to encourage them to lay flat against the bowl.
Leave the bowl uncovered and allow it to dry overnight. This will allow the Mod Podge to set up nicely.
12. Remove from the bowl.
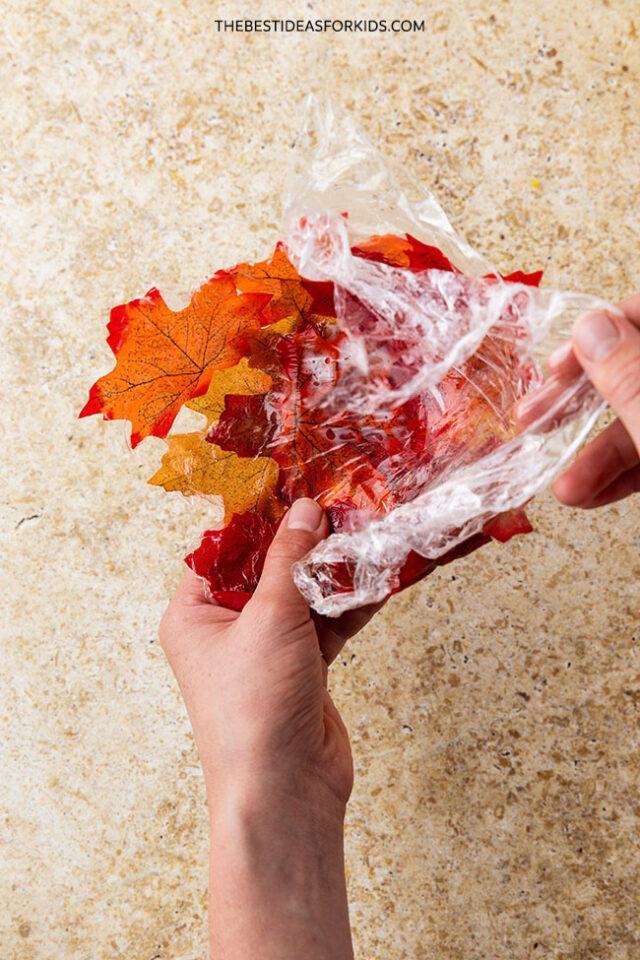
Once the bowl is completely dry, remove the leaf bowl from the real bowl by gently pulling the bottom plastic wrap away from the real bowl.
13. Peel away the plastic.
Carefully peel the plastic wrap away from the inside of the leaf bowl and let any remaining Mod Podge dry, if needed.
14. Trim or peel away the excess Mod Podge that has dried, if needed.
Note: Only trim or peel what is sticking up at the top of the bowl – leave what has dried inside the bowl- this is holding your leaf bowl together and can be easily disguised by candies or tea light candles.

Fill your bowl with battery-operated tea lights, candies or fall décor (such as pine cones or acorns)!

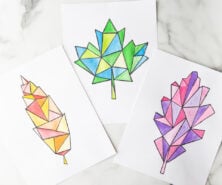
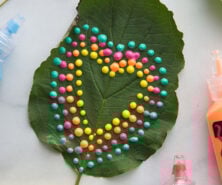
For another leaf activity, try making a Leaf Suncatcher Craft! Or make these leaf clay dishes with real leaves!


Share a Comment!
We LOVE hearing from you! Submit your question or comment here.
Your email address will not be published.
Required fields are marked *