


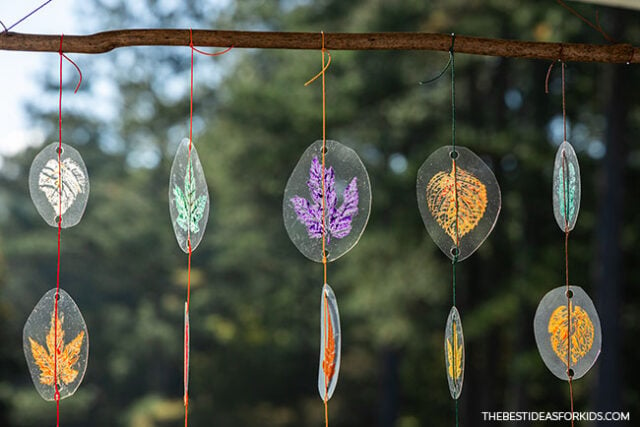
Turn beautiful leaf prints into a keepsake that will last beyond the fall season! Kids will love making all sorts of leaf prints and turning them into this leaf mobile craft.
RELATED: Fall Crafts for Kids
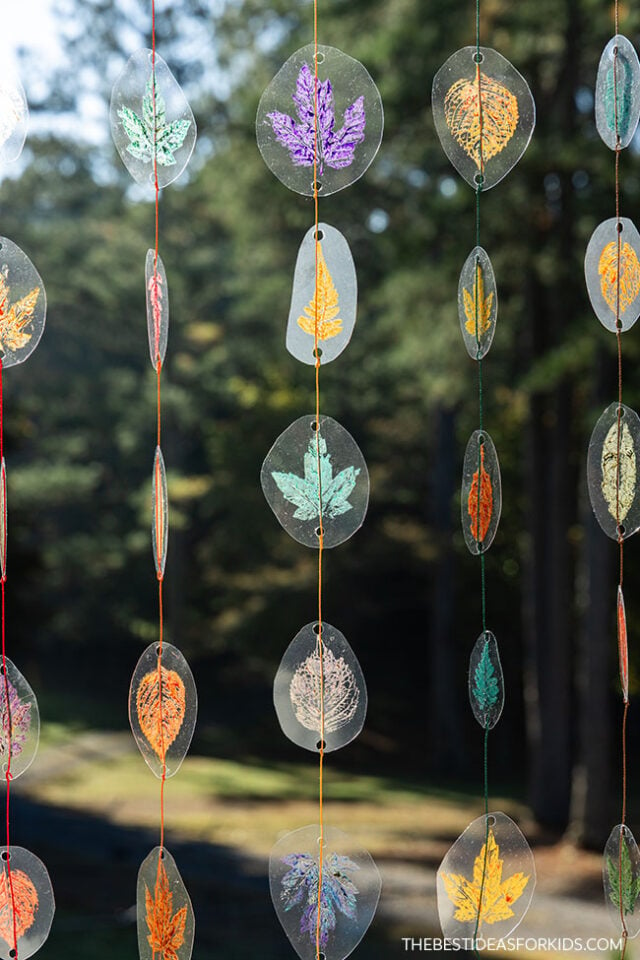
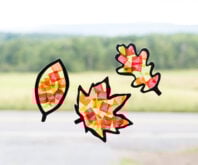
Hanging this in front of a window makes the leaf colors really shine through. It’s a fun way to make suncatchers, too! You can print a bunch on a larger circle and use a glue dot or double-sided tape to attach to a window.
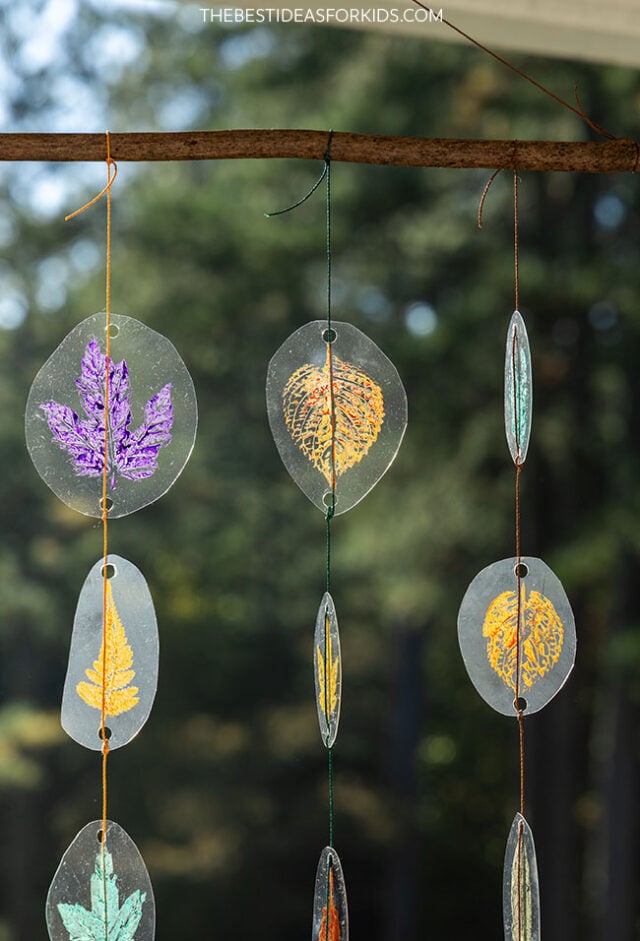
You can also vary the length of each string of leaves. We did five leaves on each string but you can do some with more or less.
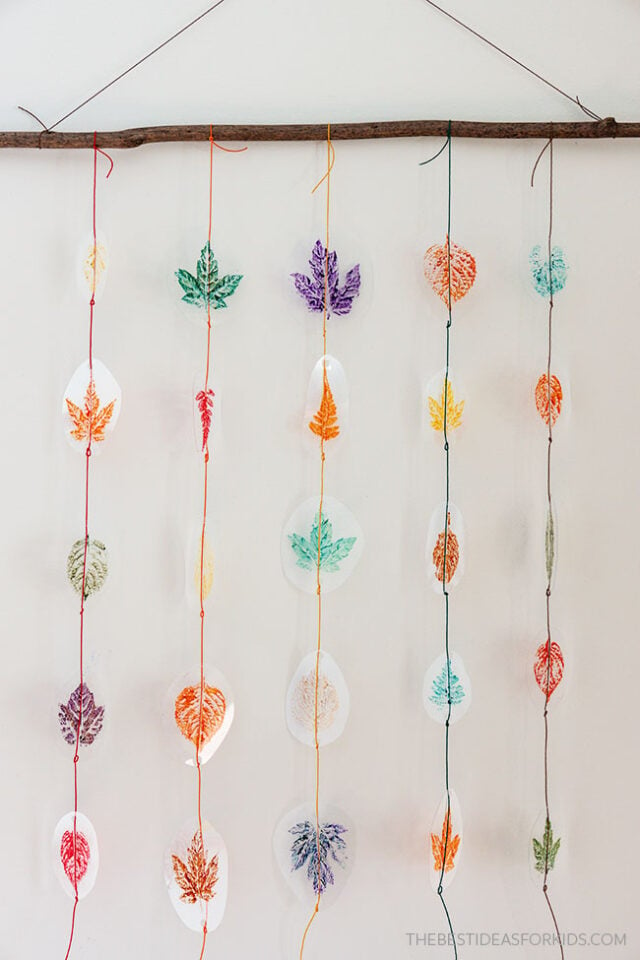
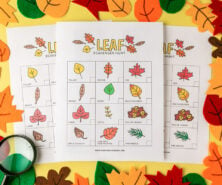
The best part of this activity is going on a leaf hunt beforehand! Use our leaf scavenger hunt to try to find a bunch of different leaves.
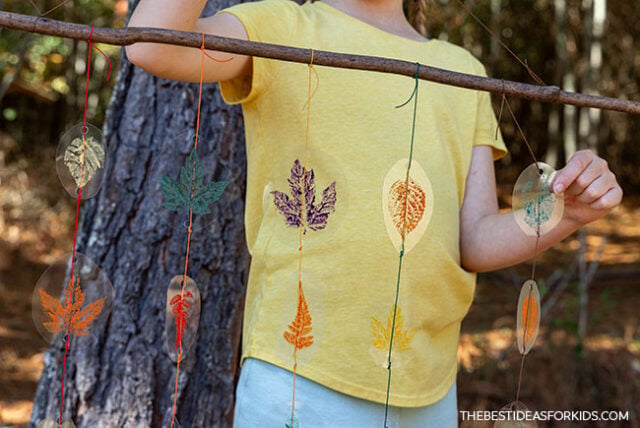
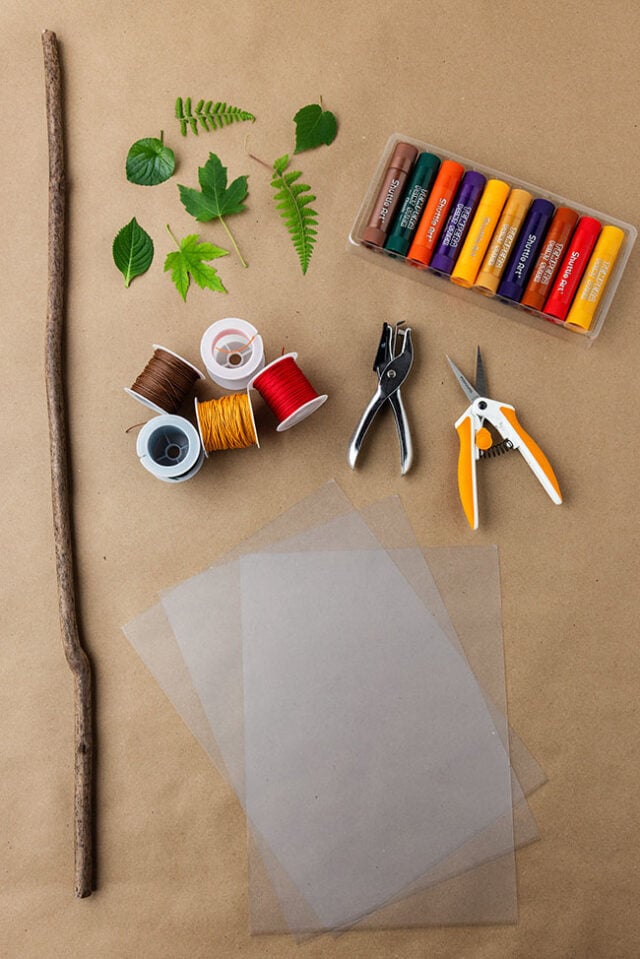
Supplies Needed
- Leaves – gather fallen leaves outside using our leaf scavenger hunt
- Stick
- Waxed string or yarn
- Tempera paint sticks
- Clear plastic sheets
- Scissors
- Hole puncher
- Craft paper or newspaper to protect workspace
How to Make a Leaf Mobile
1. Collect leaves.
Go on a nature hunt using our leaf scavenger hunt.
For this craft you’ll need fresh leaves, not dry leaves, and a stick that’s about 2 feet in length. It’s best to pick leaves that have longer stems. This will help when it is time to lift the leaves. For the best leaf prints, look for leaves that have well-defined veins on the bottom.
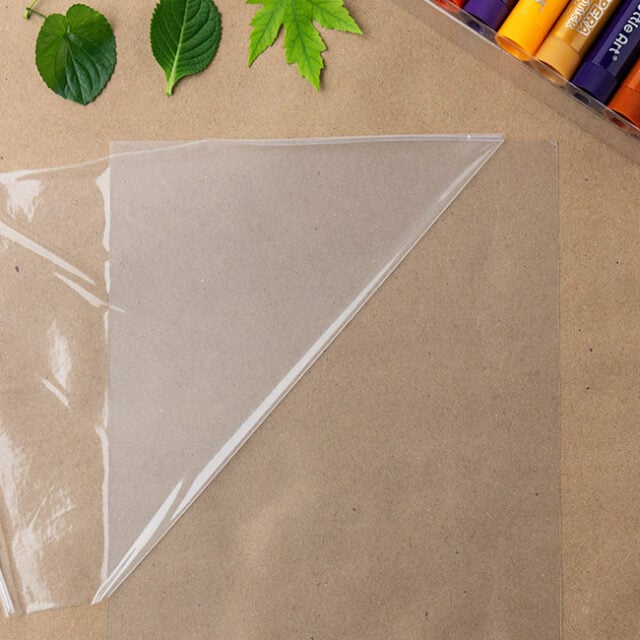
2. Peel the protective layer off.
Peel the top protective layer off a plastic sheet. The plastic sheets have two protective layers (top and bottom). Leave the bottom protective cover on until you’re ready to cut the plastic.
You can also use recycled clear plastic from leftover containers or fruit containers.
3. Paint the leaves.
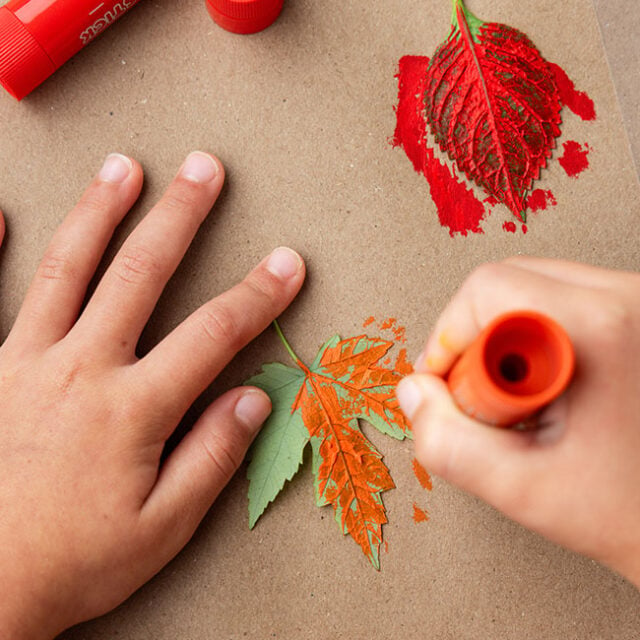
First, protect your surface with craft paper or newspaper so you don’t get the paint sticks on your table.
Then, turn a leaf upside down and use a paint stick to paint on the underside of the leaf. Generously coat the veiny side of the leaf for the best print!
4. Print the leaf.
Press the painted side of the leaf down onto the plastic sheet. Be careful to not slide the leaf on the plastic. Just gently press over the entire leaf for the best print.
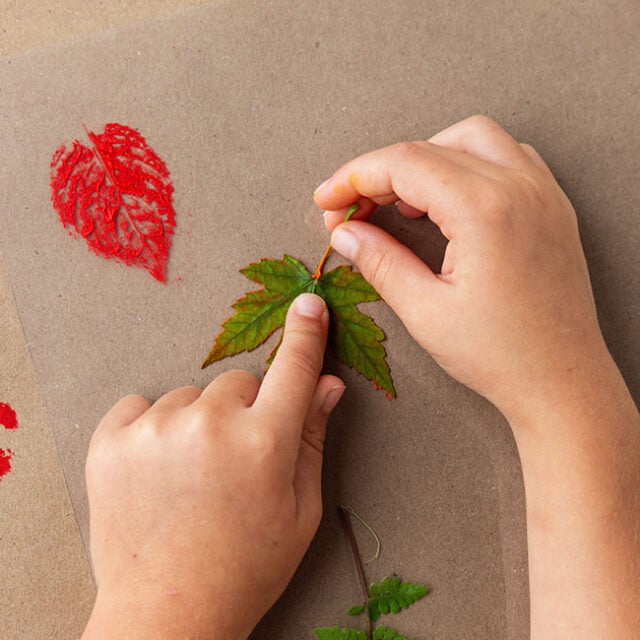
Use the stem to lift the leaf straight up and reveal the leaf print!
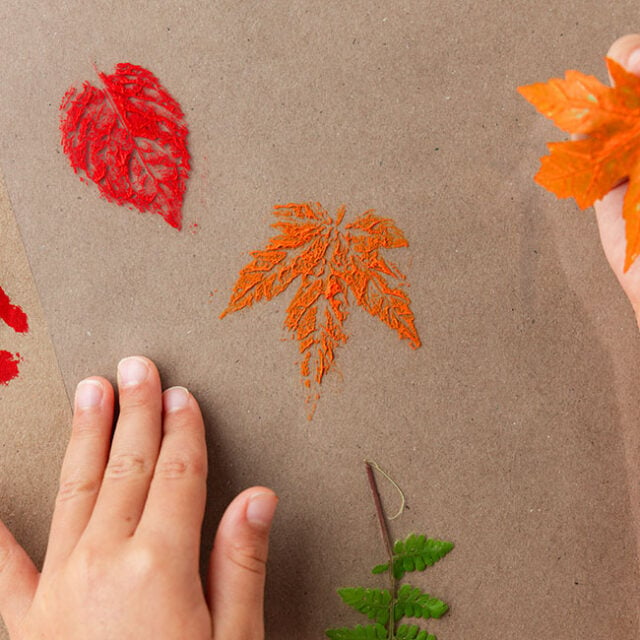
5. Repeat the steps.
Print more leaves until your plastic sheet is covered with leaf prints. You’ll want to leave space around the leaf prints so that you can cut around them. Leave about 1 inch on all sides.
As you work, be careful not to smear your leaf prints. The paint will set up and dry within a few minutes, but it can still be scratched away if you’re not careful.
Allow each sheet to dry for 20 minutes.
6. Cut out the leaves.
First, remove the protective cover from the back side of the plastic sheet.
Cut around each leaf print leaving about 1 inch of space on all sides.
Then, use a hole punch to make a small hole above and below each leaf print.
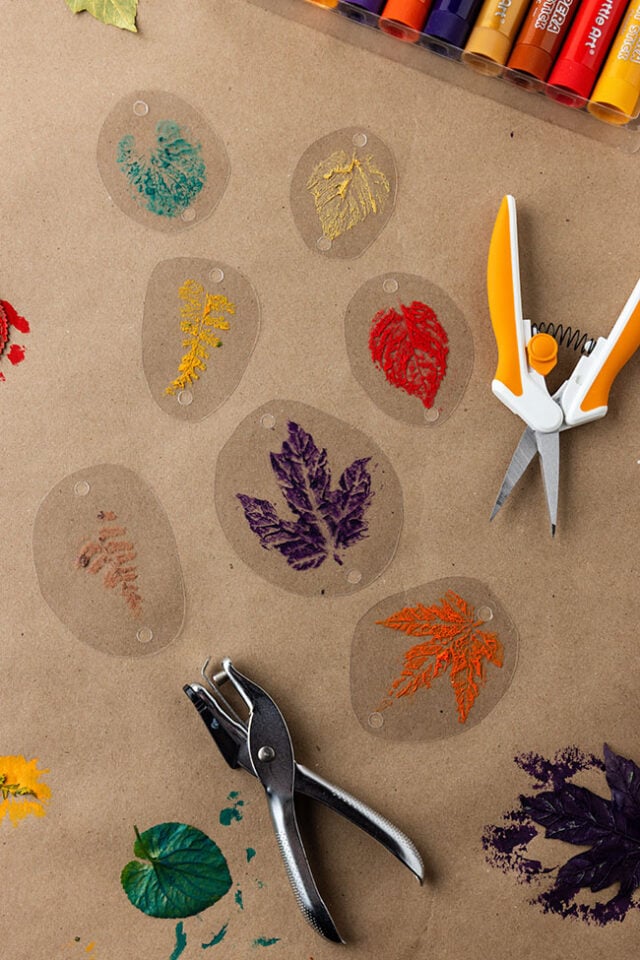
7. Add string to a stick.
Knot equal lengths of waxed string around the stick. Our strings were each about 3 feet long and were able to hold 5 leaf prints each. You can vary the length of each string, too.
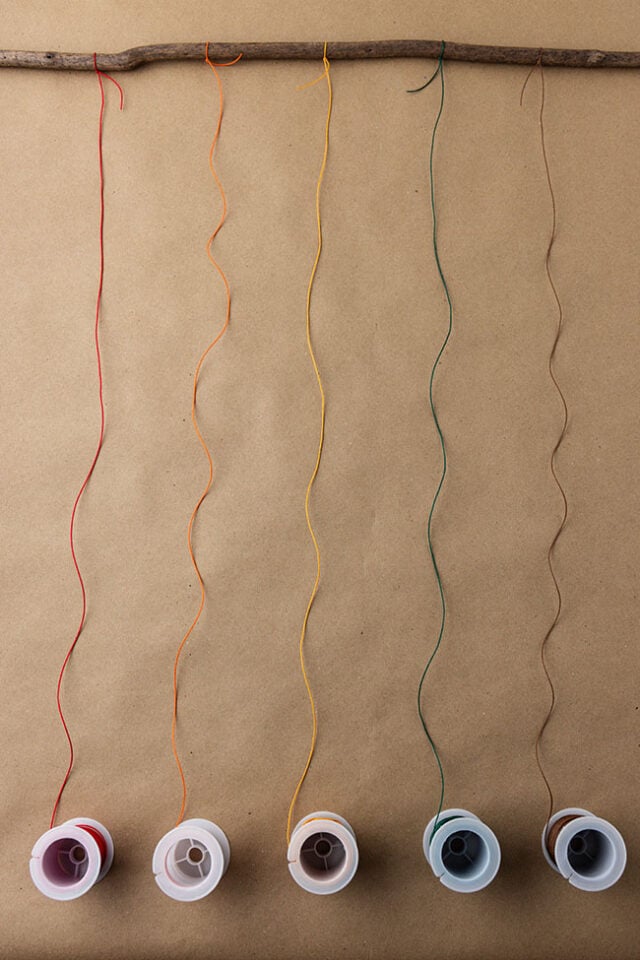
8. String the leaves on.
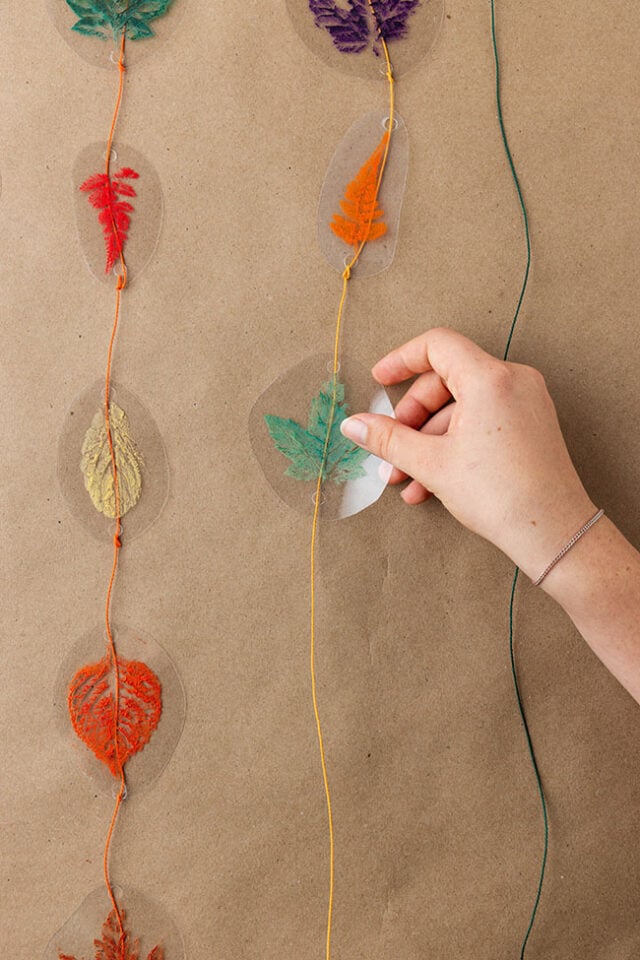
Weave the string through the holes of each leaf print. Start at the top of the leaf print. Insert the string through to the back and then up through the bottom so that the string runs along the back side of the leaf print.
9. Make a knot.
Make a knot on the bottom hole to hold the leaf print in place.
Insert the string from the bottom and bring it to the top. When you pull the string through, it will create a loop. Insert the string inside the loop and pull the knot tight! Make sure the leaf print is right where you want it before tightening the knot.
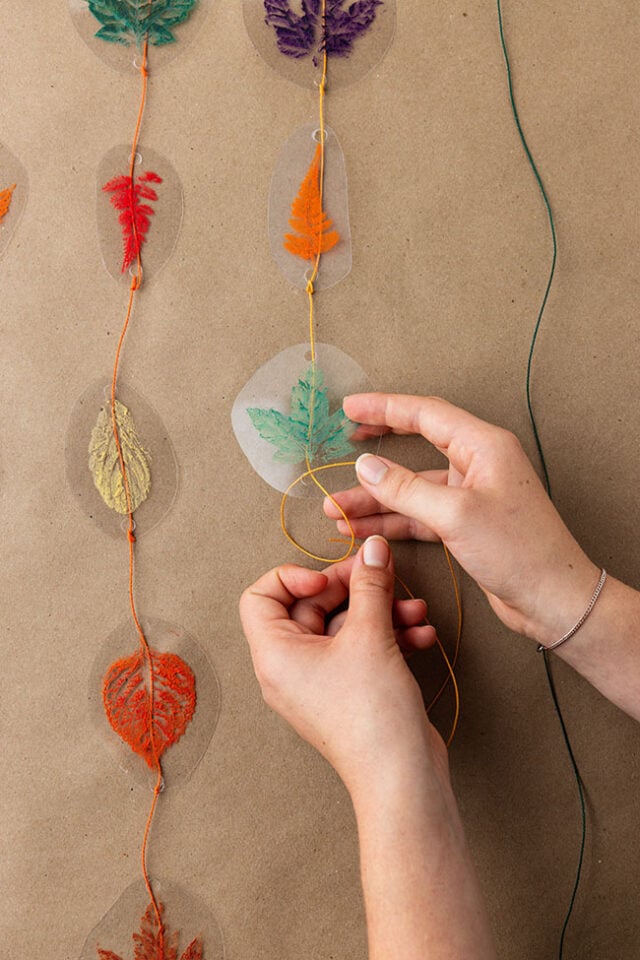
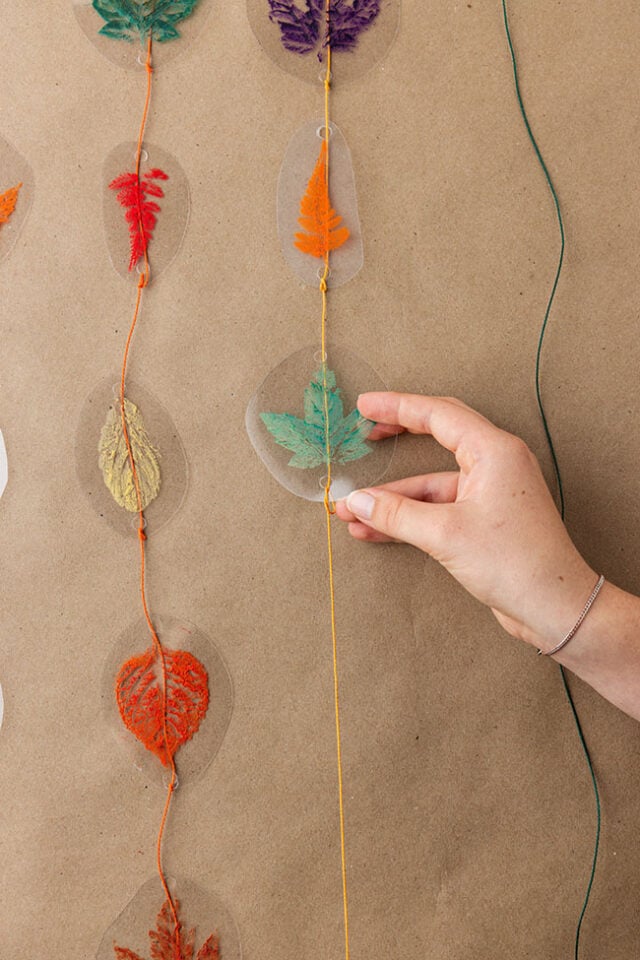
String as many leaf prints as you’d like!
10. Add string for hanging.
If desired, tie string or yarn to each side of the stick so that you can hang your leaf prints.
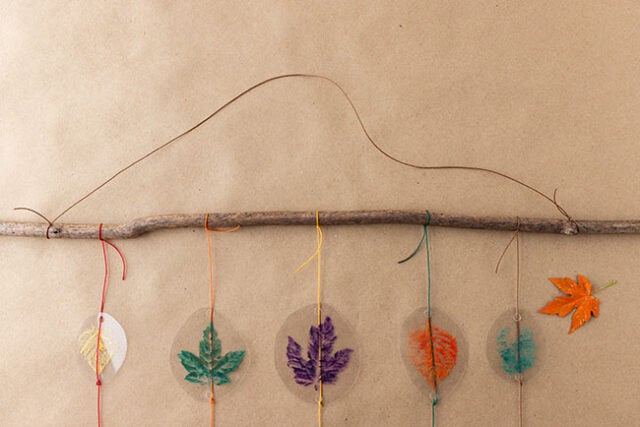
These look beautiful hanging in a tree on a bright and sunny day. If the weather is not so nice, you can display them in a window or even hang them in your room!





Share a Comment!
We LOVE hearing from you! Submit your question or comment here.
Your email address will not be published.
Required fields are marked *