

This simple handprint bunny is such a fun and easy craft to make this Easter! They come together really quickly and the finished craft makes the perfect Easter keepsake. You can even turn them into cards!
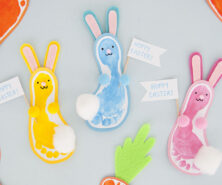
RELATED: Footprint Bunny
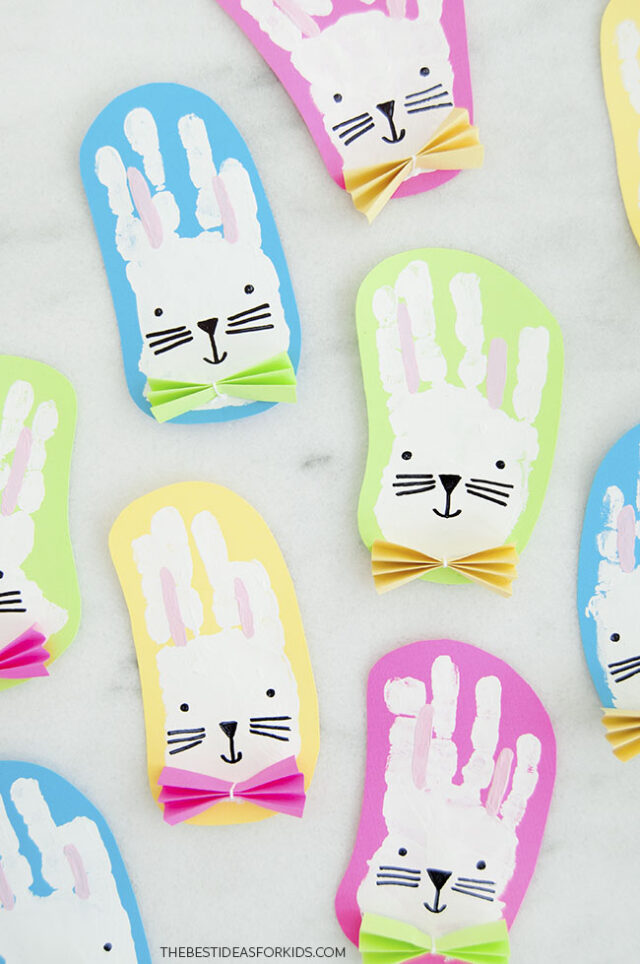
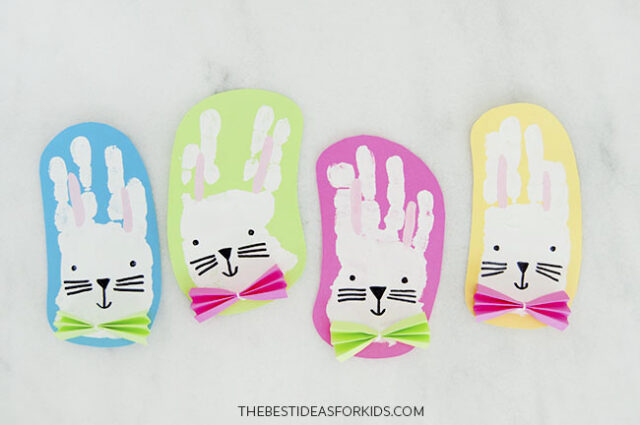
Handprint Bunny Craft
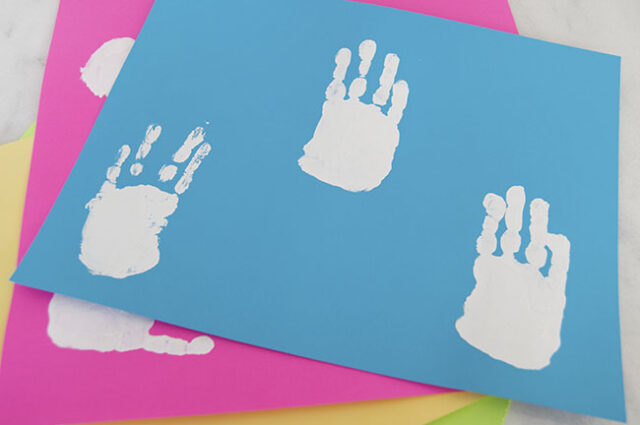
We used white paint for this handprint bunny craft with bright-colored paper backgrounds for a classic Easter Bunny look. You could also switch it up and make brown or even pastel-colored bunnies too.
And don’t forget to write your kids’ names and the date on the back of the handprint Easter bunny! We love the idea of making these every year as an Easter tradition.
Supplies Needed
- Paintbrushes – medium-sized and small
- Colored paper – bright colors, used for handprints and bowties
- Scissors
- String – to tie the bowties
- Black marker – for drawing the bunny faces
- Tacky glue – to attach the bowties (you could also use hot glue, with adult assistance)
How to Make a Bunny Handprint Craft
1. Make the handprint.
Apply white non-toxic tempera paint to your child’s hand, but leave the thumb unpainted.
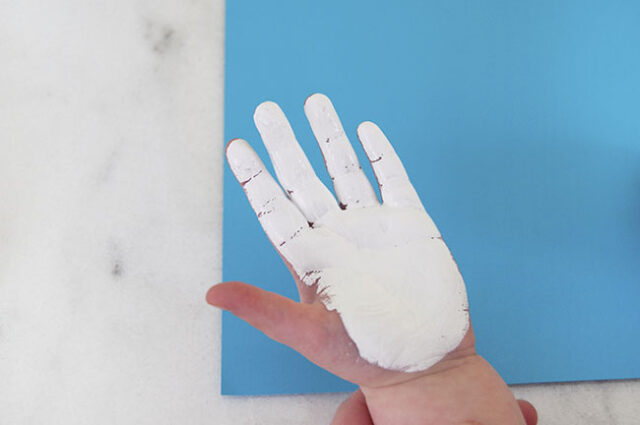
Gently press your child’s hand onto the page.
Try to have them keep their fingers pressed together and then separate them to leave a small gap between the middle and ring finger.
Don’t worry about making a perfect print. You can touch up any spots with a paintbrush.
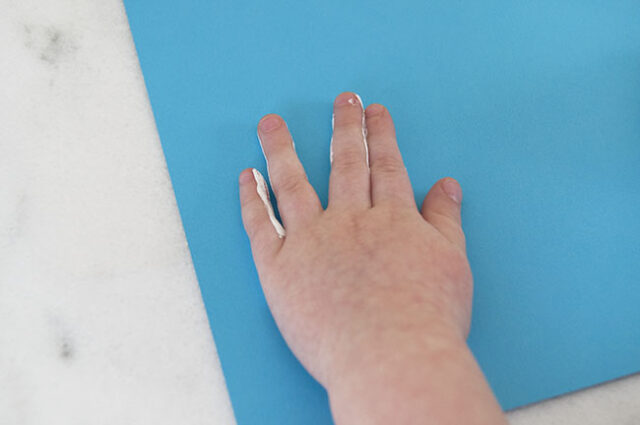
Remove their hand and repaint to make more handprints. If you have any spots without paint, just touch them up with a little extra paint.
Let the handprints dry completely.
When done, wash their hands well with soap and water.
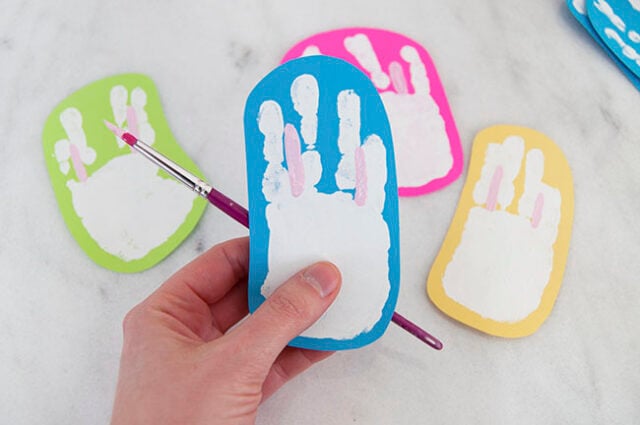
2. Cut out the handprints.
Cut out the handprints leaving some color around the edges.

3. Paint the ears.
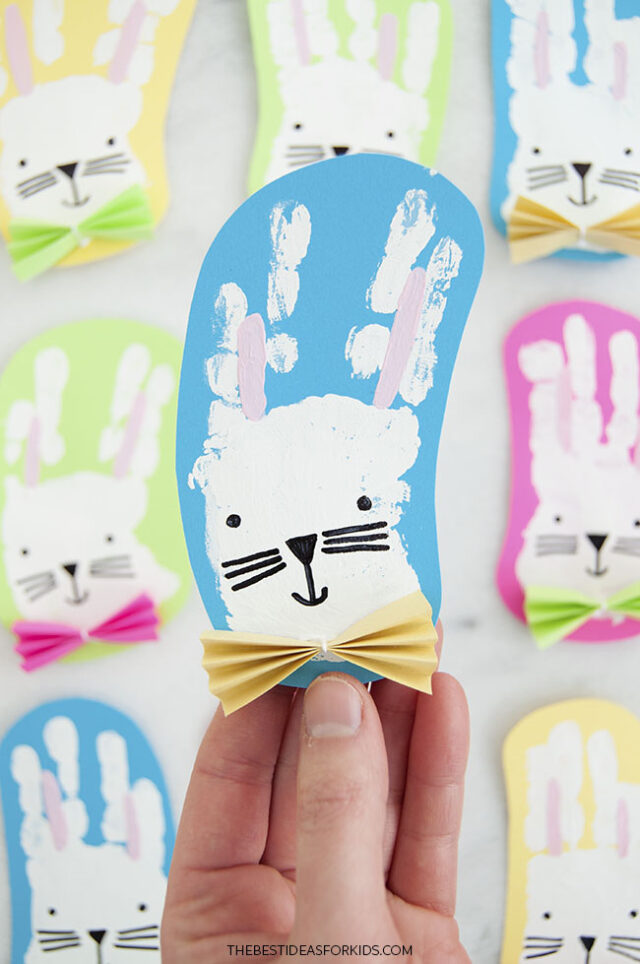
Apply a line of pink paint between the pointer and middle finger, and another between the ring and pinkie finger. Let dry.
4. Draw the bunny faces.
Use a black marker to draw eyes, a nose, mouth, and whiskers onto each bunny.

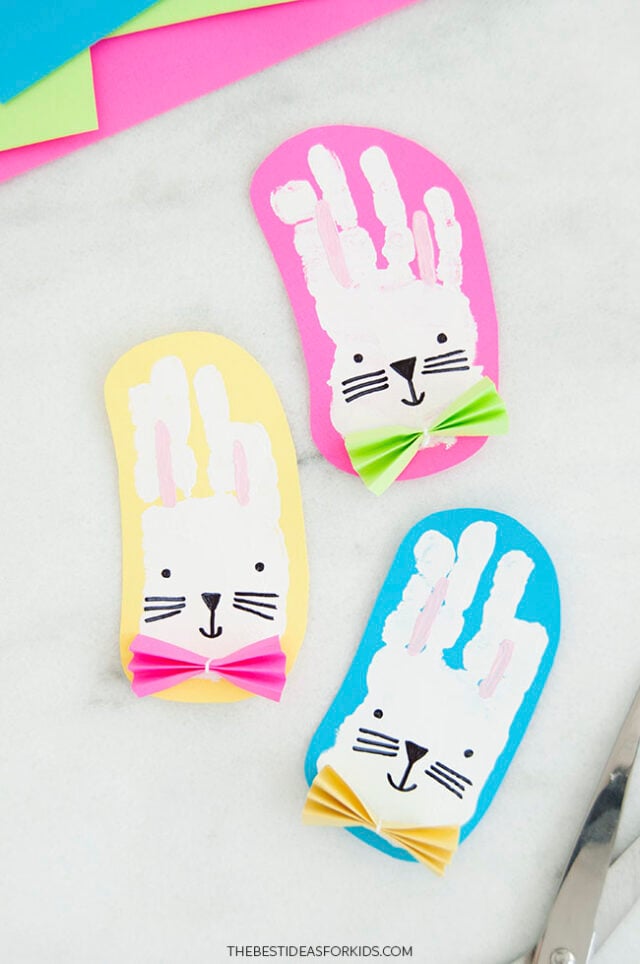
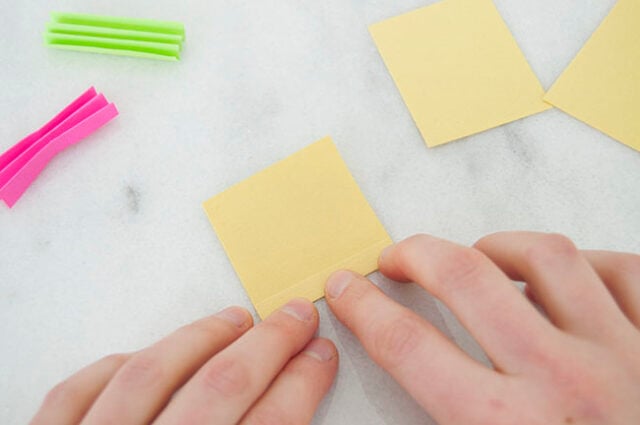
5. Make the bowties.
Cut a piece of colored paper into a rectangle about 2″ wide and 2 1/2″ long.
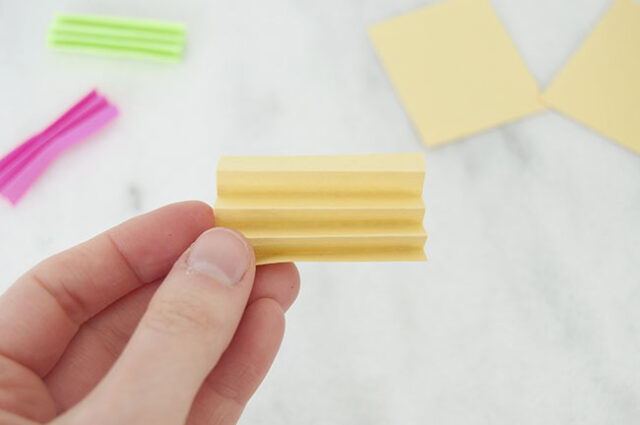
With the 2″ side closest to you, make accordion folds (like you’re folding a paper fan) that are about 1/4″ wide.
Keep going until the whole paper is folded.
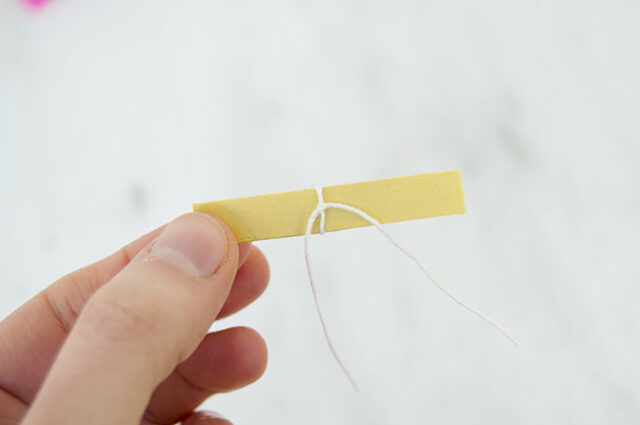
Cut a piece of string that is about 4″ long. Tie it in a double knot around the center of the accordion folded paper.
Trim away the extra string tails.
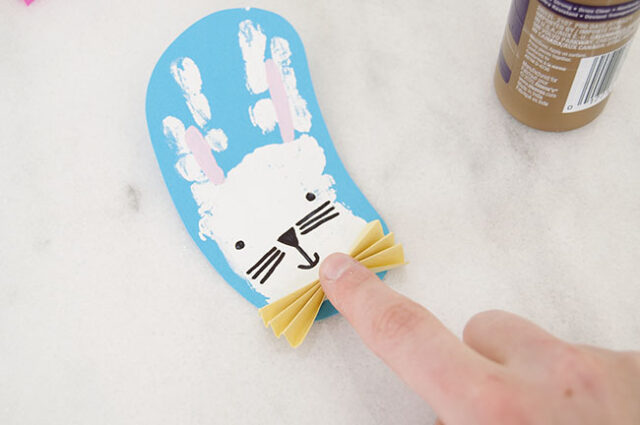
Gently use your fingers to fluff up the folds, making the paper look more like a bow.
Add a small dab of tacky glue to the bunny’s chin and place the bow on top, pressing to secure. If the bow tie does not stay, use a small dab of hot glue (with adult assistance).
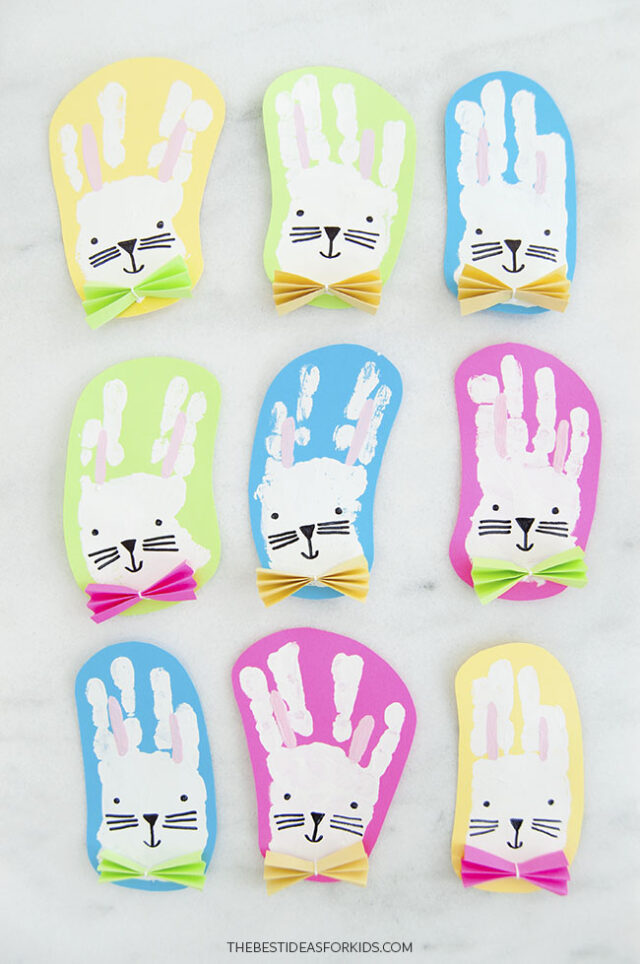
Make as many bunnies as you’d like, and change the colors of them to make a whole set! You can even glue them onto a card and turn them into an Easter card.
Once the glue is dried, don’t forget to write your kids’ names and the date on the back of each bunny!
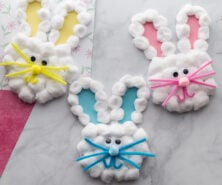
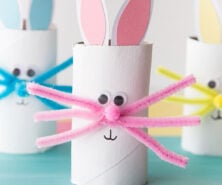
See these other Easter bunny crafts:

Share a Comment!
We LOVE hearing from you! Submit your question or comment here.
Your email address will not be published.
Required fields are marked *