

Need an easy and fun spring craft? Try making this playful Squeegee Painted Easter Bunny! If you’ve never tried squeegee painting before – this technique is simple and fun!
RELATED: Easter Crafts for Kids
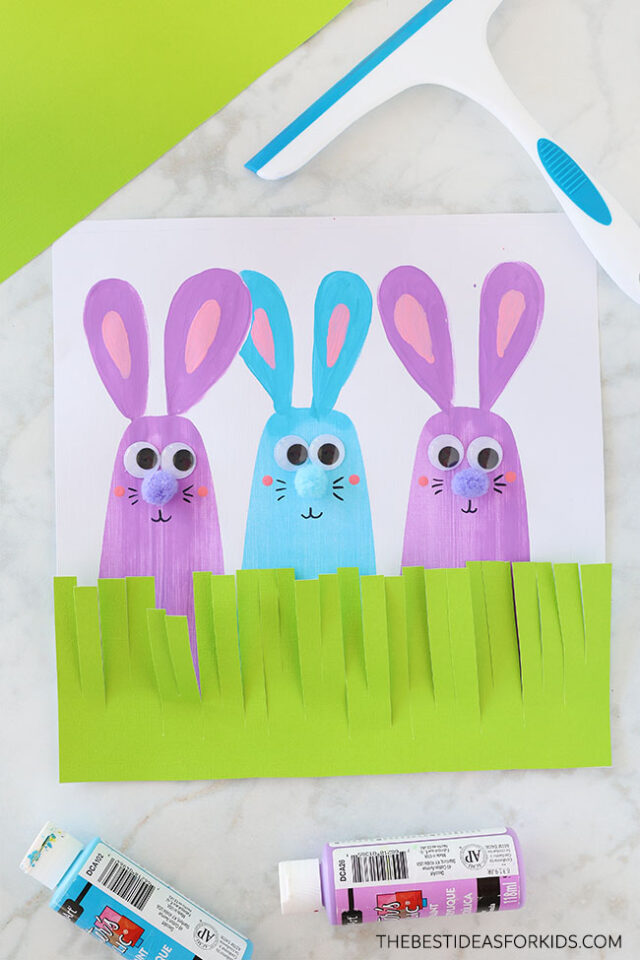
Kids will love experimenting with the squeegee. The best part is that the faces can be completely customized to look however you’d like! Kids can get creative designing their own bunny faces.
Supplies Needed
- 12 x 12 white cardstock – a larger page will fit bigger bunnies but you can also do this on a regular size paper landscape oriented.
- Paint – we used purple, blue, and pink
- 12 x 12 green paper – for the grass
- Squeegee – you can also find these at the dollar store
- Paintbrushes
- Large googly eyes – these are 25mm size
- Large pom poms – 1 per bunny, 1″ size
- Glue
- Pencil
Watch the Video Tutorial
How to Make a Squeegee Painted Easter Bunny
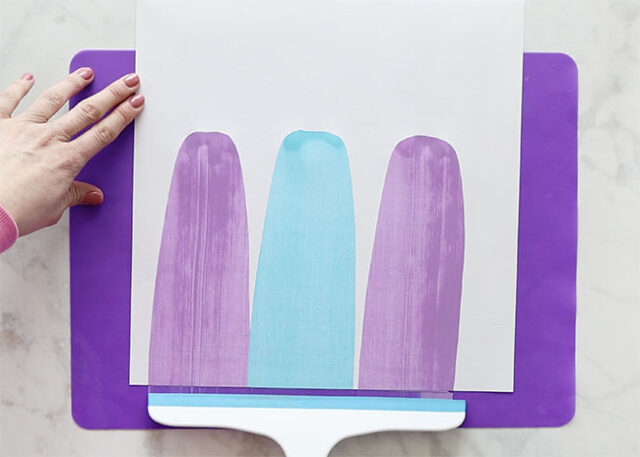
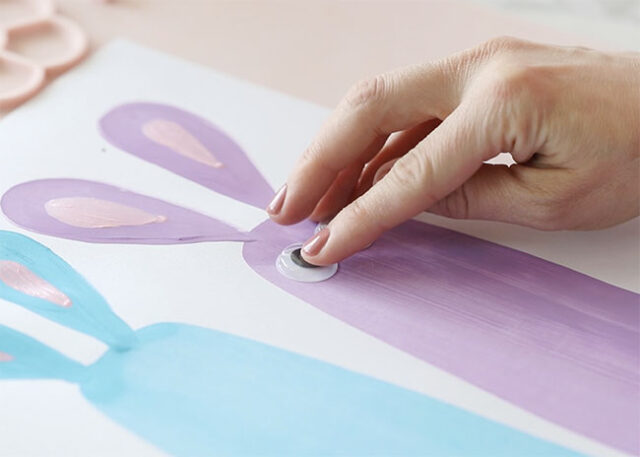
1. Make the bunny bodies.
Apply 3 curves of paint onto the upper half of your piece of paper – the paint should be shaped like an upside-down U, as this will form the top of the bunny’s head.
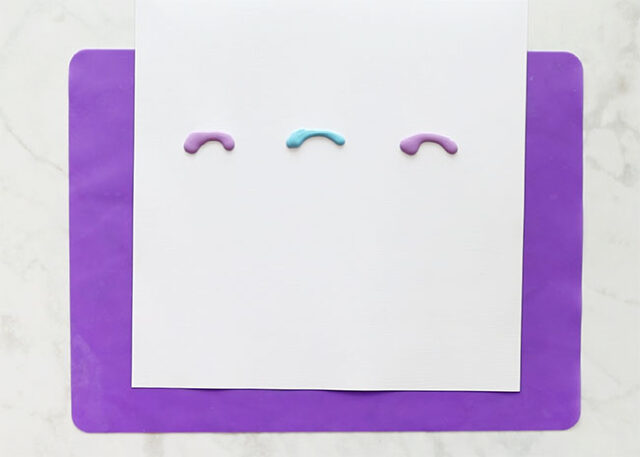
Place your squeegee above the paint, and press down onto the page.
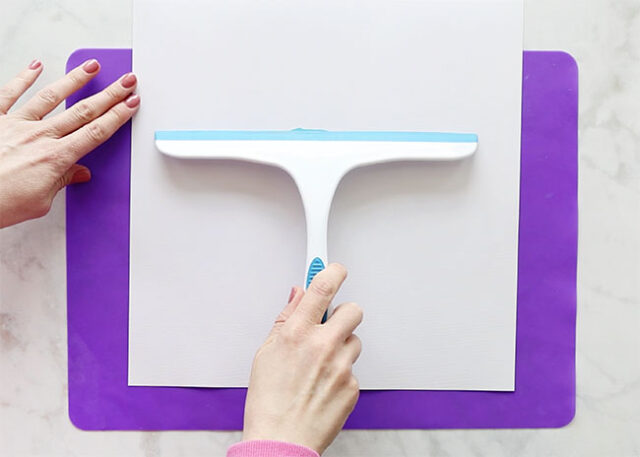
Drag the squeegee down the page while still applying pressure.
2. Paint the ears.
Paint matching ears onto each bunny.
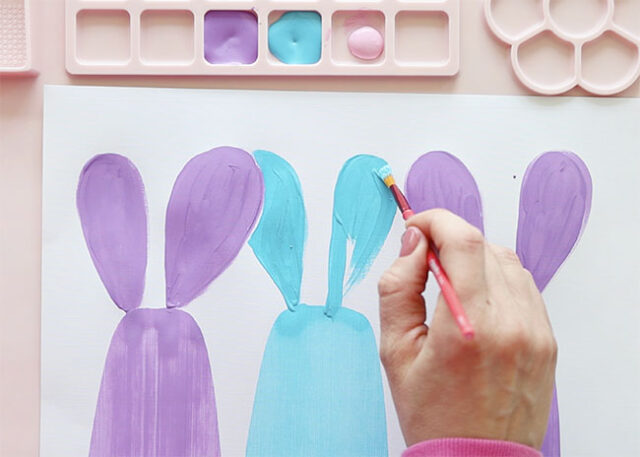
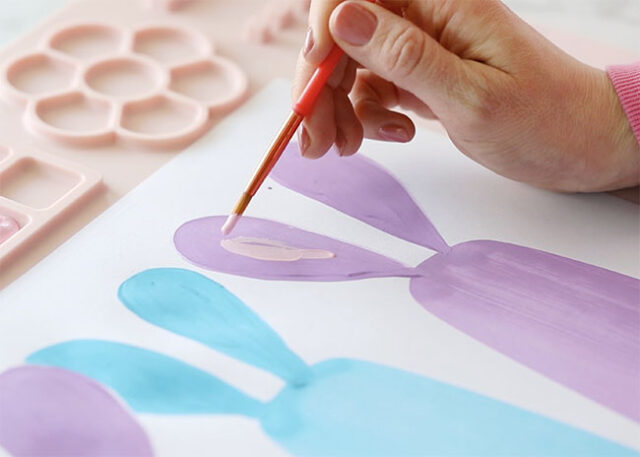
Once dry, add on pink details for the inner ears.
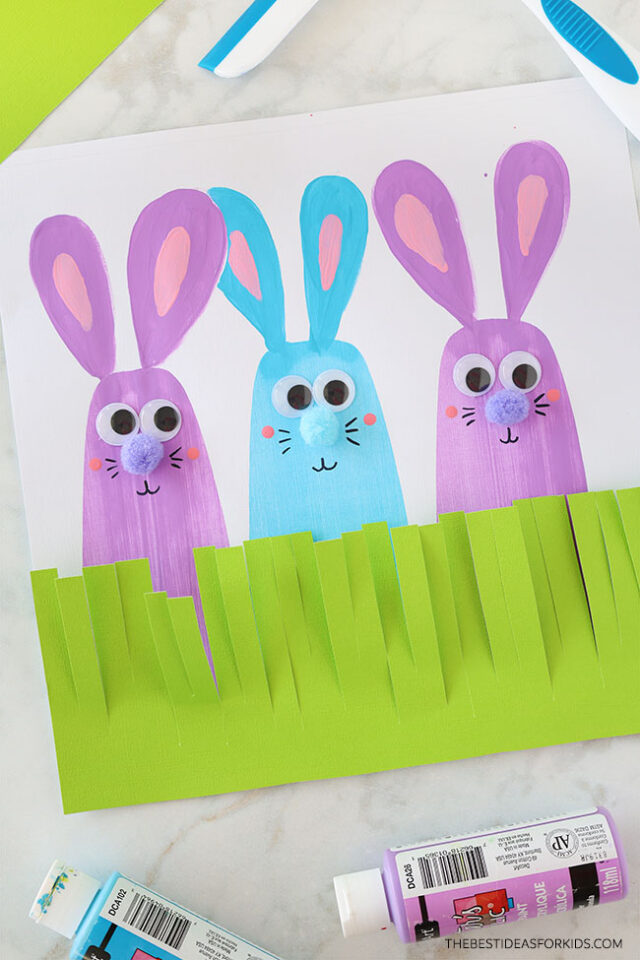
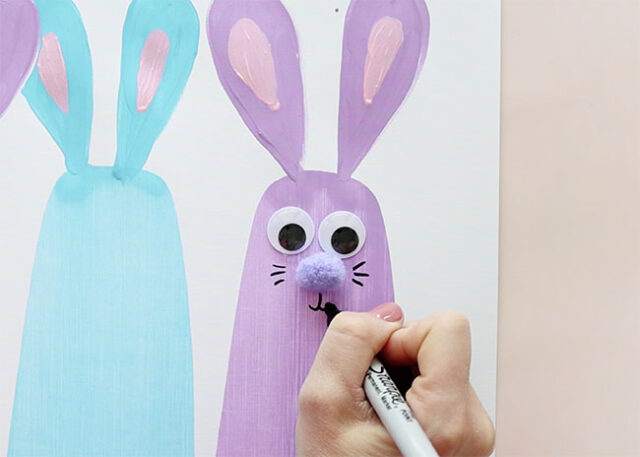
3. Make the bunny face.
Glue 2 googly eyes onto each bunny. You can also paint the eyes on by making two small black dots.
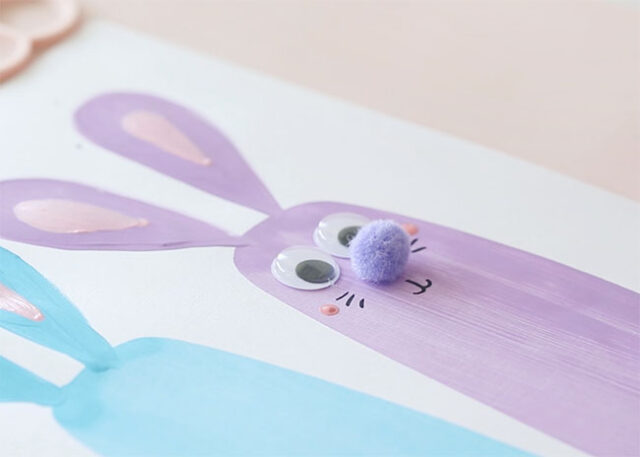
Glue a pom pom below the eyes for a nose.

Use a black marker to draw on whiskers and a mouth.
Finally, add a small pink dot on both sides of the face to make the cheeks. Dip the back of a pencil or paintbrush into pink paint and then dab on.
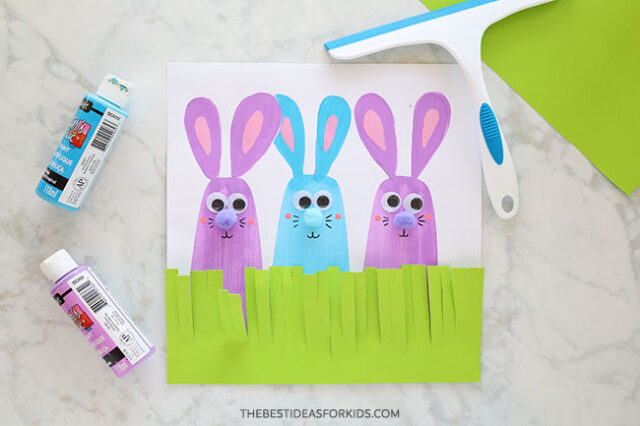
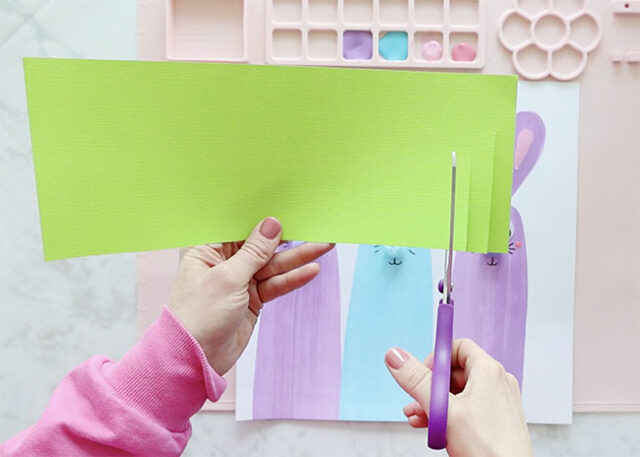
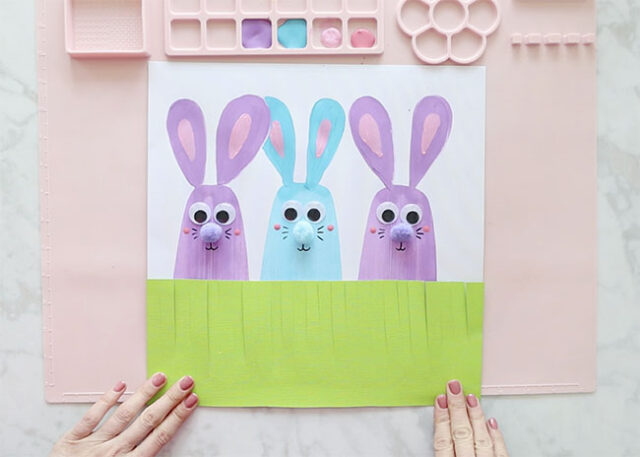
4. Add the grass.
Cut a piece of green paper that is as wide as your paper and about a third of the height. Use scissors to snip into one edge of the green paper, forming blades of grass. Don’t cut all the way through the paper though, so it stays as one piece.
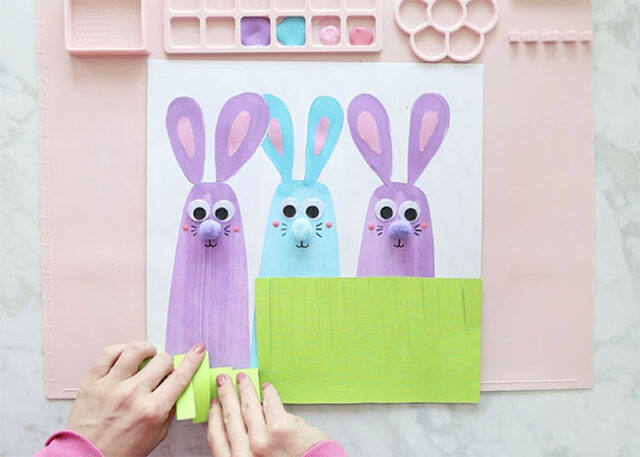
Glue the green paper strip on top of the painted bunnies.
Use your fingers to gently ruffle up the paper so that the blades of grass don’t sit perfectly flat, adding some dimension.
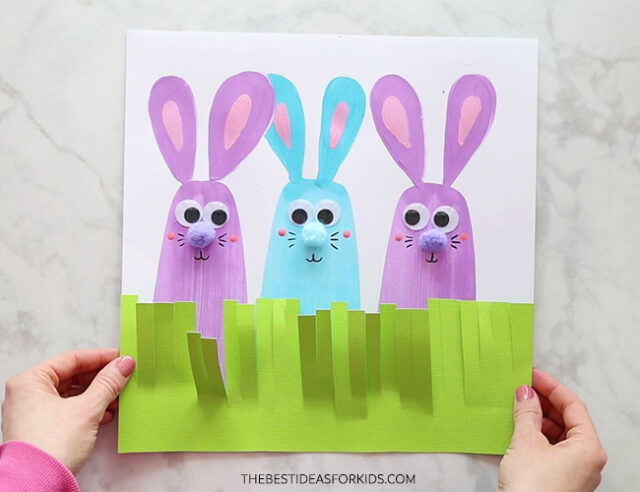
Your Easter Bunnies are now complete!
Kids can get creative with colors, faces and how many bunnies they make! This is a fun art process to try for Easter!
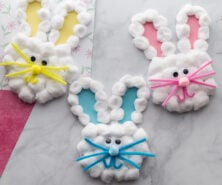
For more easy Easter crafts see our Easter crafts for kids.


Share a Comment!
We LOVE hearing from you! Submit your question or comment here.
Your email address will not be published.
Required fields are marked *