

This pine cone bunny is the perfect craft to make this Easter! Take a spring walk around your neighborhood or local park and gather some pine cones to turn into these playful Easter bunnies.
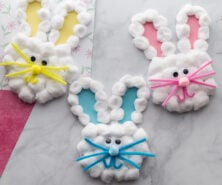
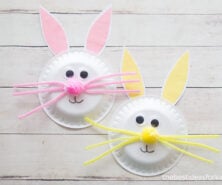
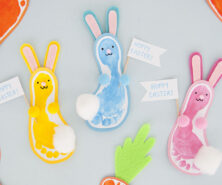
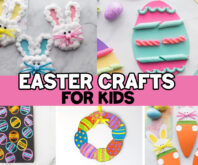
RELATED: Easter Crafts for Kids
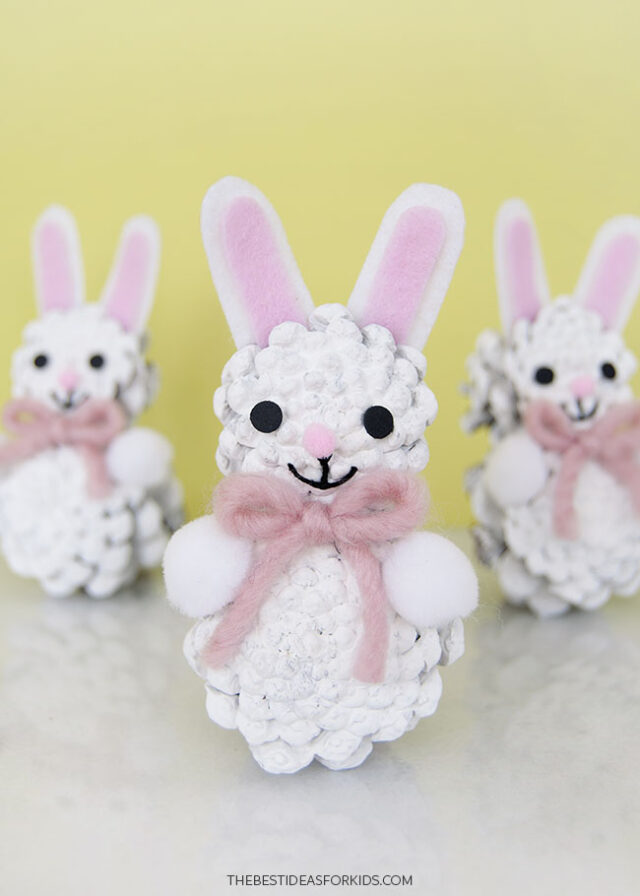
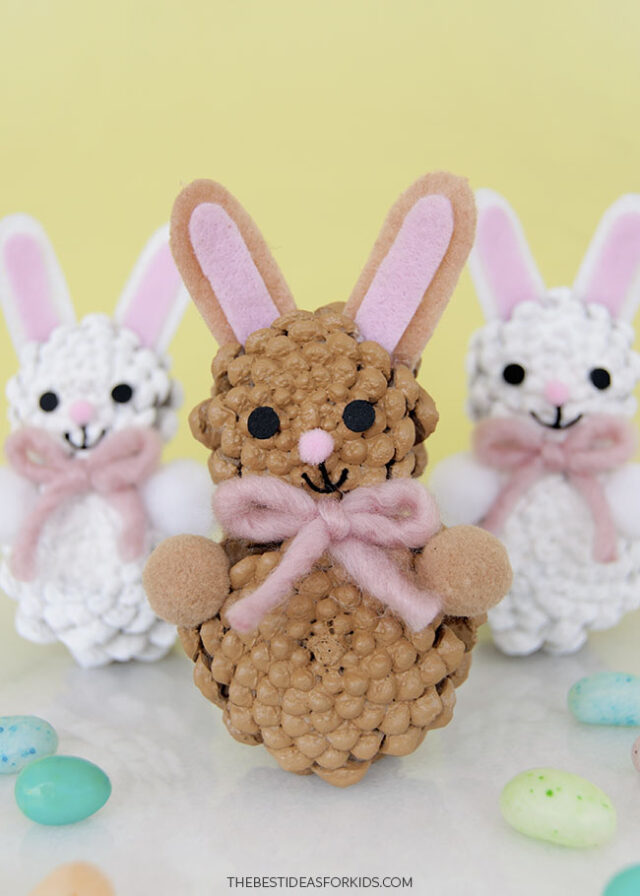
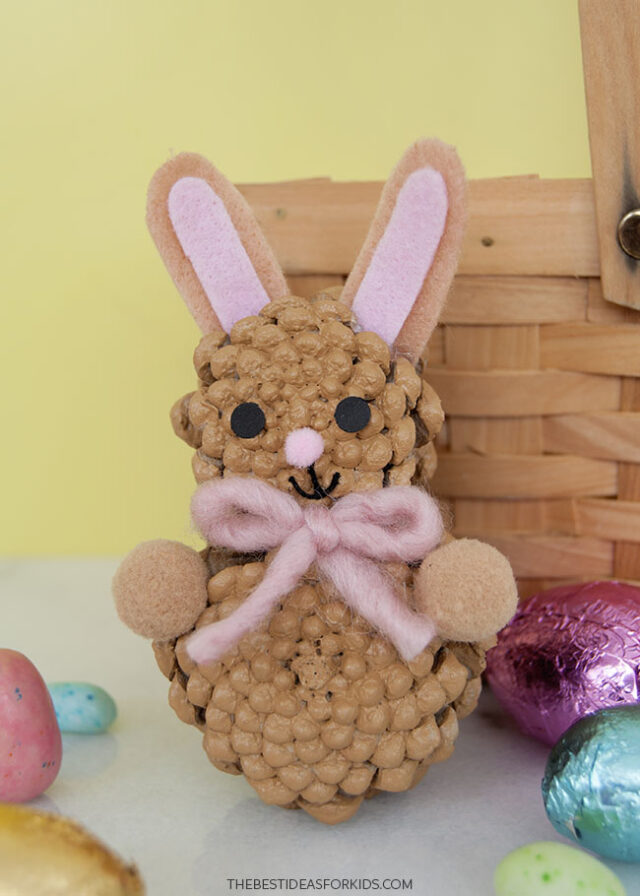
Pine Cone Bunny Craft
These sweet pine cone bunnies look great as Easter decorations anywhere in your house: on a windowsill, or bookshelf ledge, or even put a few of them together into a small basket.
For more easy Easter crafts, see our 25+ Easter crafts for kids post.
Collecting Pine Cones
If you’re using pine cones that you just collected from outside, give them a day or so to dry out completely before crafting. You can also choose to bake them in the oven at 250 degrees Fahrenheit for about 30 minutes, checking at least every 10 minutes. This helps speed up the drying process and will make sure there aren’t any critters in your pine cones before you craft with them.
Supplies Needed
- Pine cones – 2 per bunny
- Paint – we used white and light-brown
- Paintbrushes – medium-sized, for painting the pine cones
- Felt – white or brown (to match your bunny) and pink for the inside ear
- Pom poms – 5/8″ ones in white or brown (to match your bunny) and tiny pink ones (0.5-0.6mm) for the noses
- Yarn – to make the bunny bows. We like this yarn, but any kind of yarn or ribbon would work.
- Black string – to make the mouths
- Black cardstock – for the eyes
- Hole punch – to make the round eyes
- Tacky glue – to attach the felt details
- Toothpick – for applying glue
- Hot glue gun – for attaching the pine cones together (with adult assistance)
- Scissors
- Printable bunny ear template – you can get the free bunny ear template at the bottom of the post.
Watch the Video Tutorial
How to Make a Pine Cone Bunny
1. Glue 2 pine cones together.
Pick two pine cones for each bunny – we used a slightly smaller one for the head and a larger one for the body.
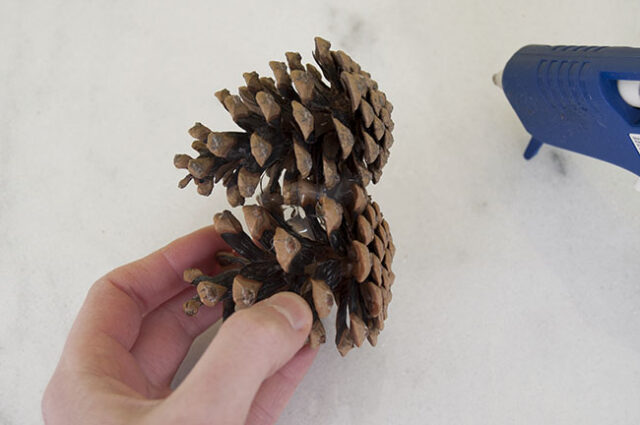
Take the body pine cone and set it sideways on the table, rotating it until you find a spot that it will sit without rolling around.
Then take the head pine cone and nestle it on top of the body pine cone – it should almost stay in place on its own as the pine cone scales mesh together.
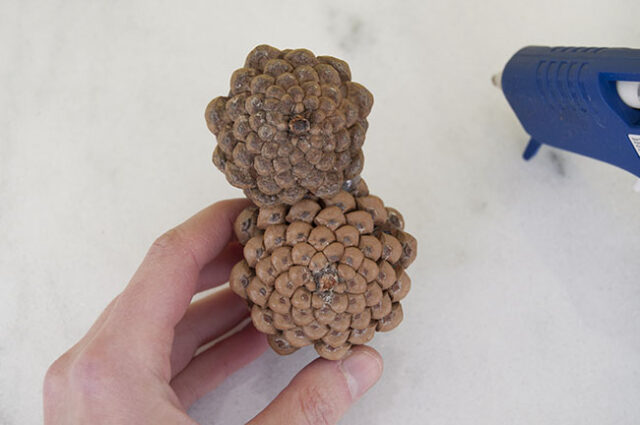
Holding the 2 pine cones together in this way, with adult assistance, apply hot glue into the back of the pinecones where the scales meet. Hold them in place as the glue dries, applying more hot glue as needed until they are securely attached together.
Tip
If you find that your finished bunnies don’t want to stand up straight, try bending back a pine cone scale in the back. Or you can add a matching pom pom to the the back of the pine cone (as a bunny tail!) to prevent it from rolling to the side.
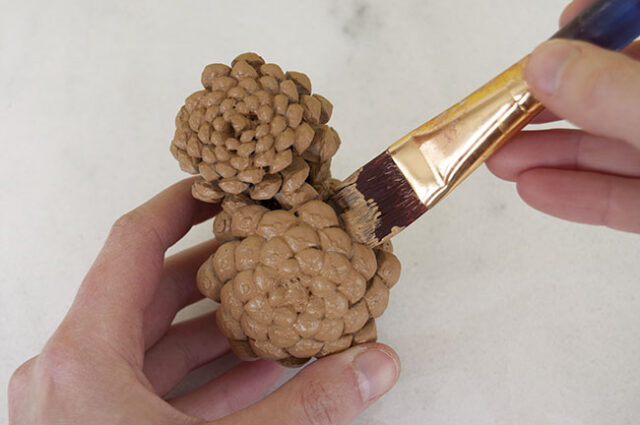
2. Paint the pine cones.
Use a paintbrush to apply a coat of paint to the pine cone body. We used white and light-brown paint, but you can paint them any color.
When painting, focus on the front of the bunny – the back parts won’t be so visible, so you don’t need to worry about getting paint into every single nook and cranny.
Set aside to dry completely.
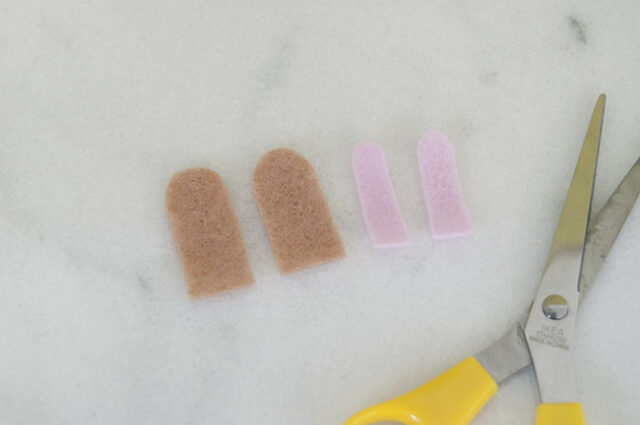
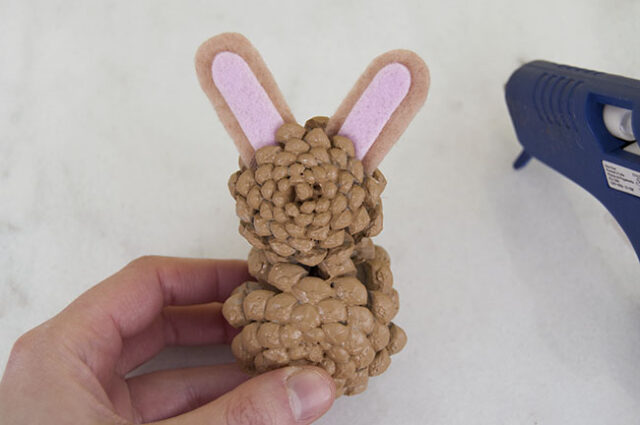
3. Make the bunny ears.
Print and cut out the printable bunny ear templates at the bottom of this post. Use the template to guide your cutting to create the ear shapes.
Use the larger template to make the outer ear and the smaller template to make the inner ear piece. Cut out all the pieces.
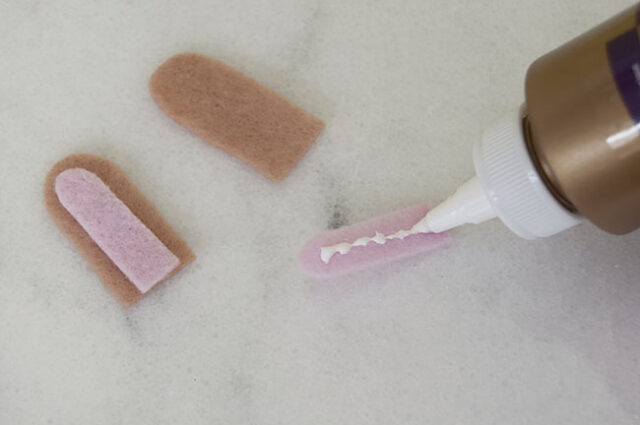
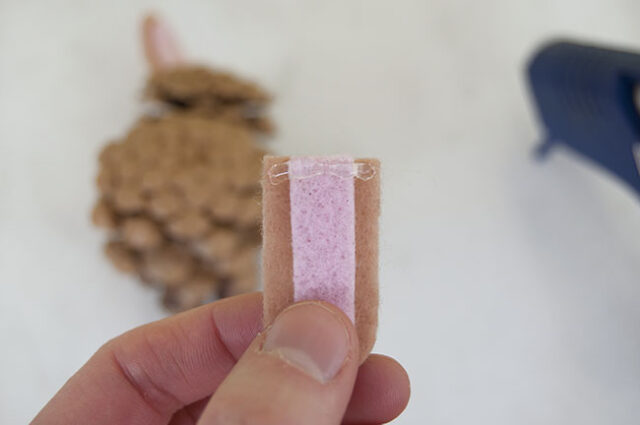
Glue the inner ears to the outer ears.
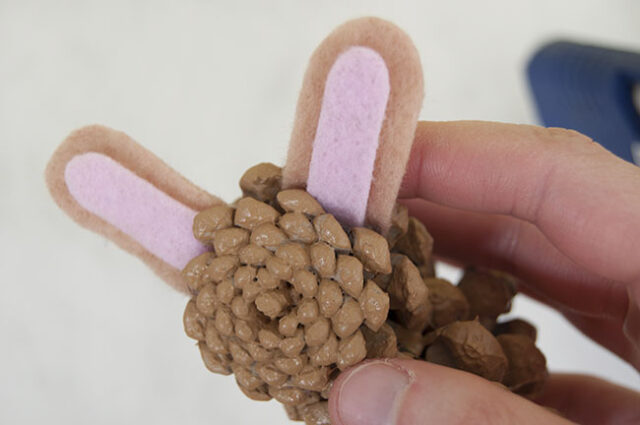
To attach the ears to the pine cones, apply a small line of hot glue along the bottom edge of 1 felt ear (with adult assistance).
Insert the felt ear into the pine cone, pressing it into the pine cone scales.
Repeat for the second ear.
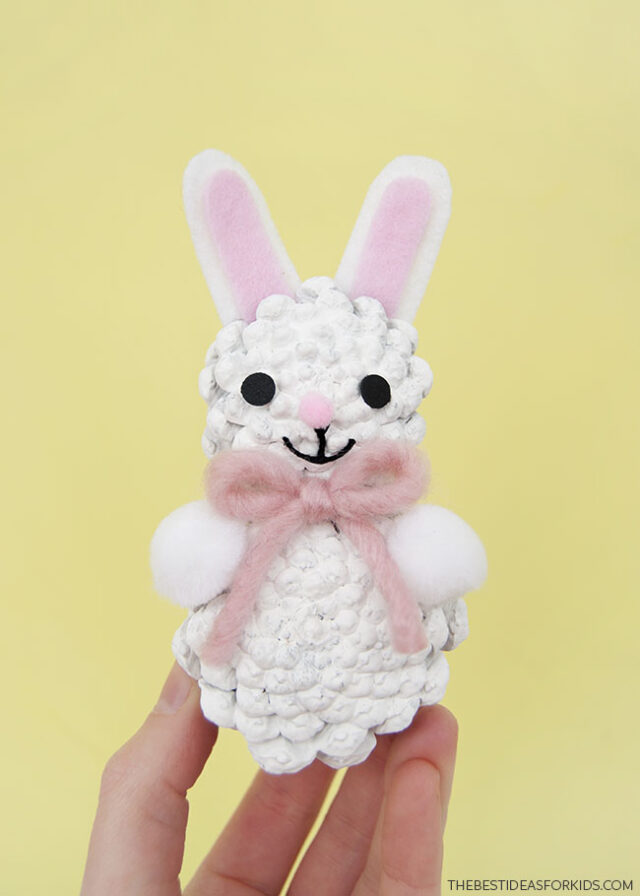
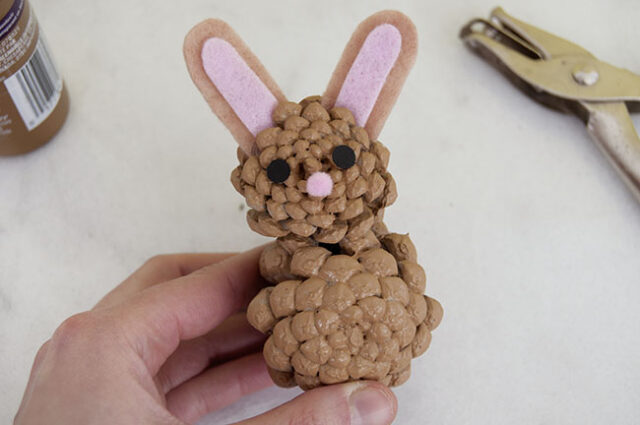
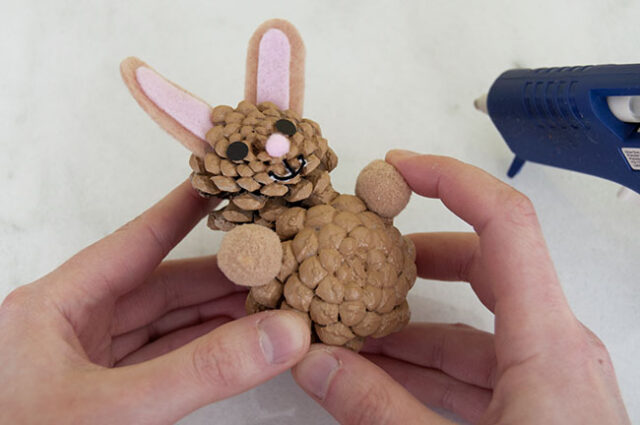
4. Make the bunny’s face.
Hole punch 2 circles from black cardstock and use tacky glue to glue them to the pine cone.
Use another small dab of tacky glue to attach a mini pink pom pom for the bunny’s nose.
To make the bunny’s mouth, use a toothpick to draw a thin line of tacky glue in a simple mouth shape.
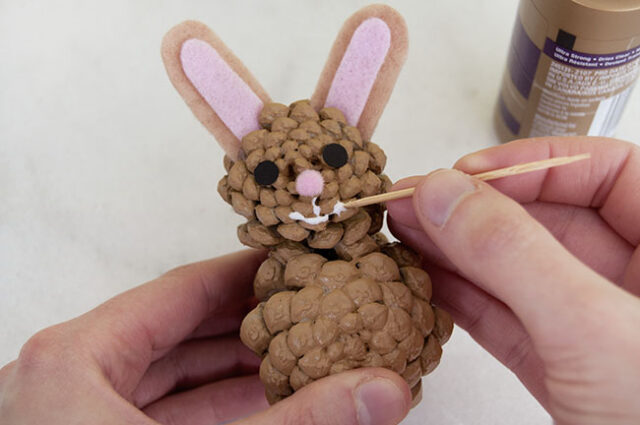
Cut 2 short pieces of black string: 1 for the vertical line and 1 for the curved horizontal mouth line.
Gently place each string into the glue and use the toothpick to press them into the glue.
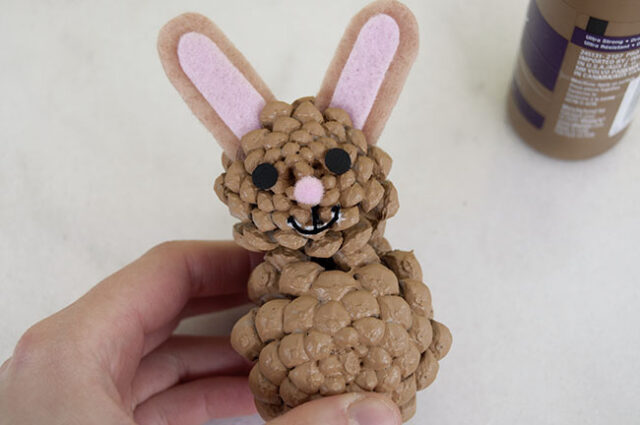
The tacky glue will dry clear, so there’s no need to worry about extra glue showing through.
You can also choose to draw the mouth with a paint marker.
5. Add the arms.
Attach 2 pom pom arms to the pine cone body using hot glue (with adult assistance).
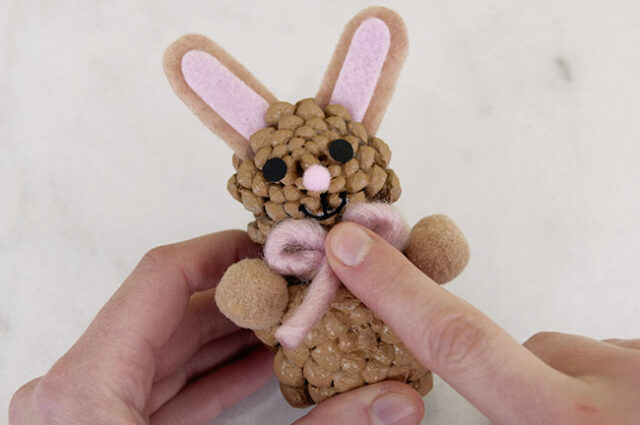
6. Attach the bow.
Cut a short piece of yarn and tie it into a small bow.
Apply a dab of tacky glue or hot glue to the back of the bow and attach it to the pine cone body, just below where the two pine cones connect, so that the bunny’s mouth is still visible.
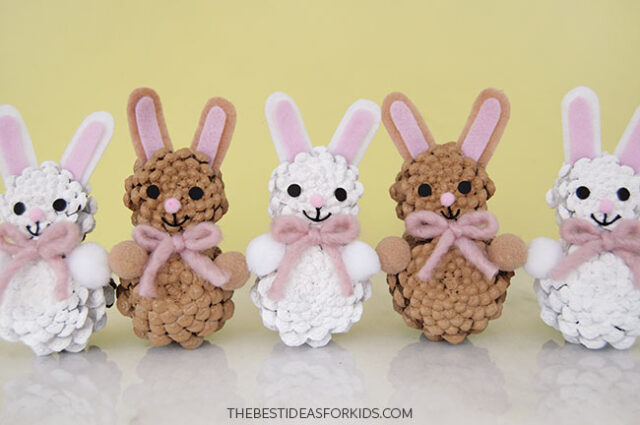
Make as many bunnies as you’d like, in as many colors as you’d like! We made white and brown bunnies with classic pink bows, but you can use a whole rainbow of colors for both the bunnies and their bows!


Share a Comment!
We LOVE hearing from you! Submit your question or comment here.
Your email address will not be published.
Required fields are marked *