

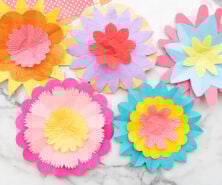
If you’re looking for an easy paper craft, make a Paper Flower Crown! These beautiful crowns are simple to make and fun for kids to wear!
Related: Paper Flower Wreath
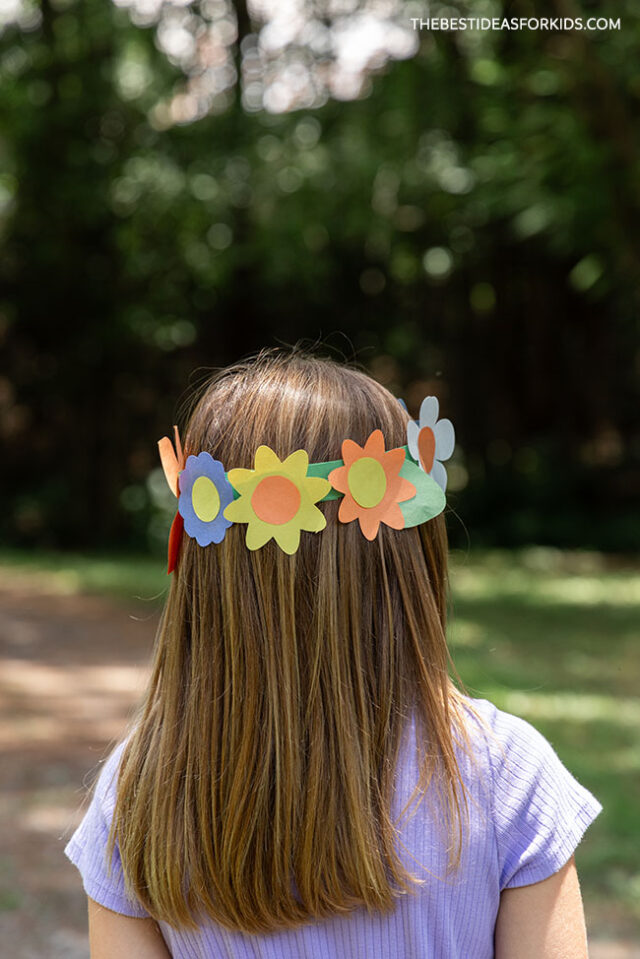
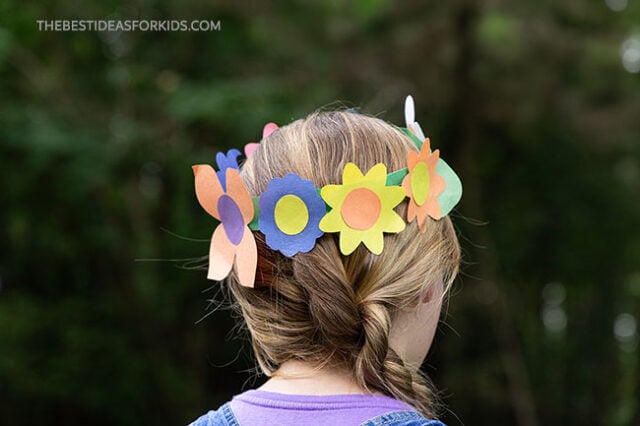
These paper flower crowns can be customized with different colors and kids can choose their favorite flowers to add to each one! Each crown will turn out beautiful and unique.
Supplies Needed

Here’s what you will need:
- Flower petal printables (get them sent to you at the bottom of the post)
- Construction paper
- Pen/pencil
- Paper cutter and/or scissors
- Glue stick
- Stapler
- Ruler
Watch the Video Tutorial
How to Make a Paper Flower Crown
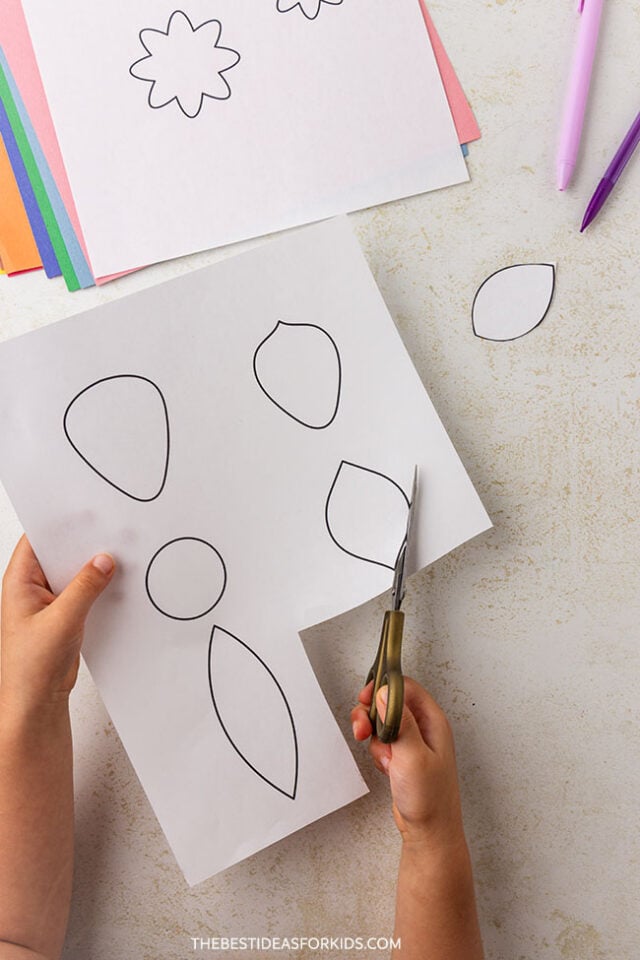
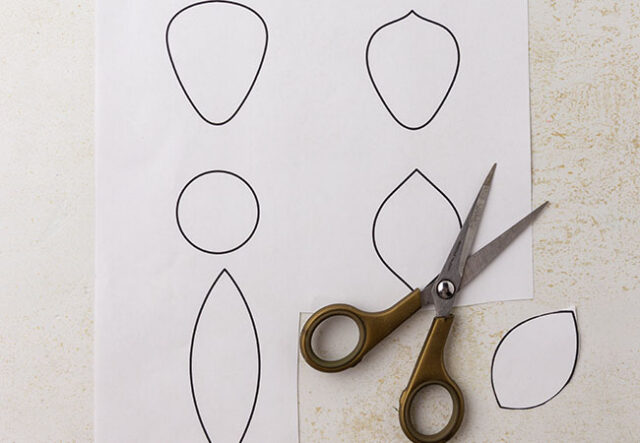
1. Cut out the flower petals and leaves from the free template and set them aside.
2. Cut a piece of construction paper in half (on the long edge).
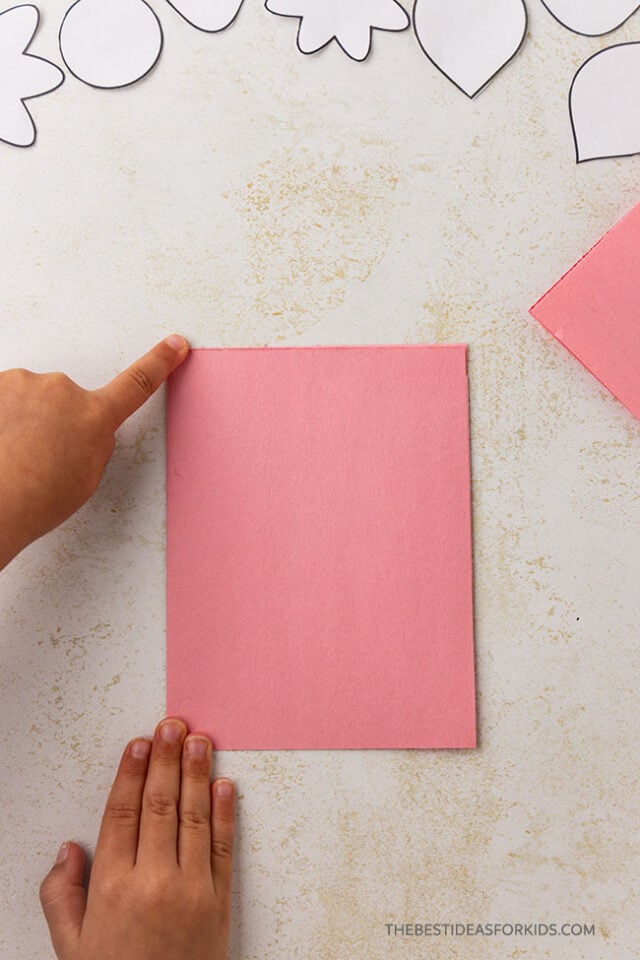
3. Fold one of the halves of construction paper in half, length-wise, left-to-right.
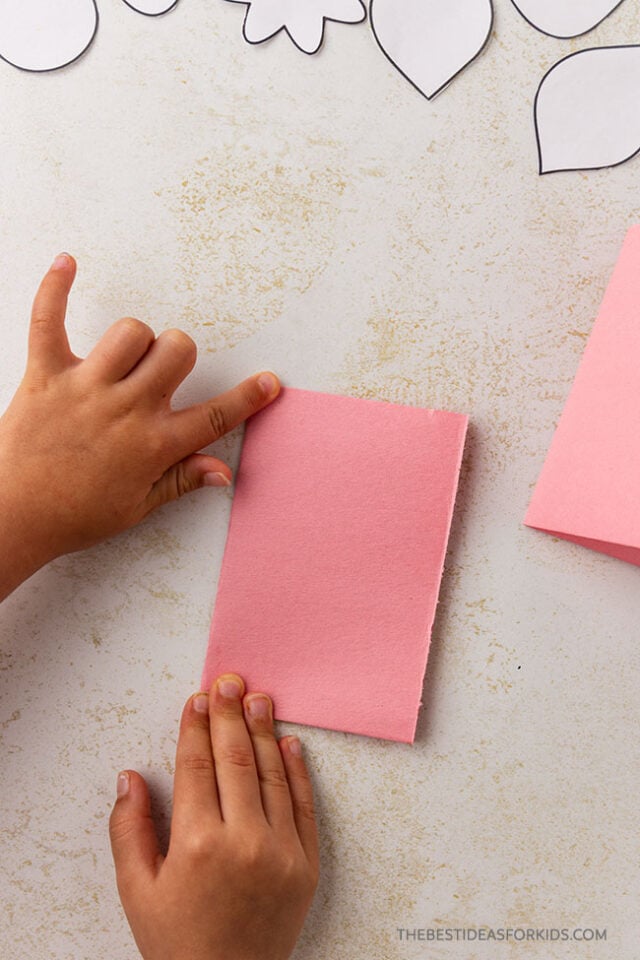
Fold again, in half, top-to-bottom, so that it is folded into fourths
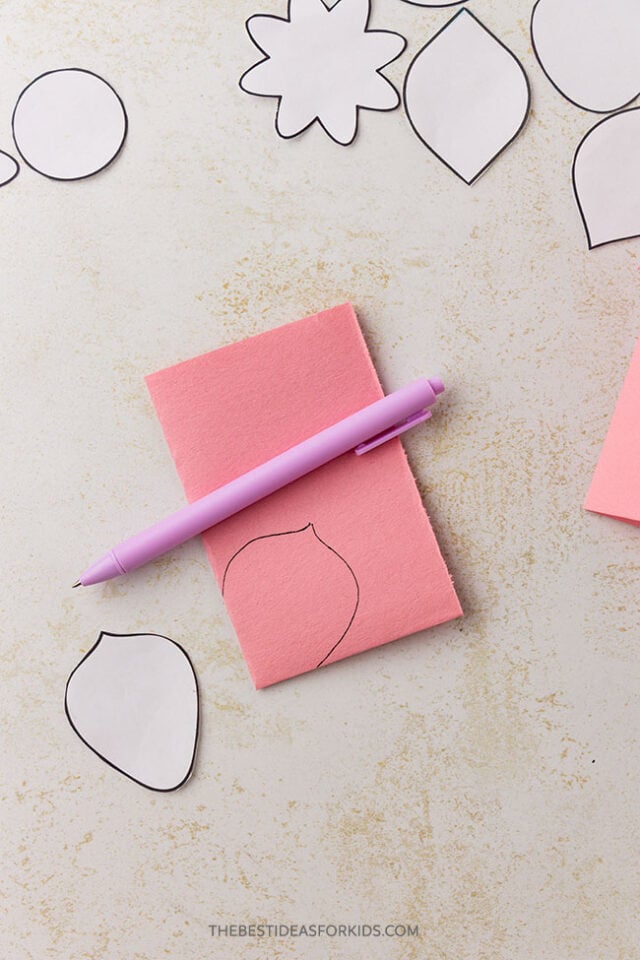
4. Trace the template.
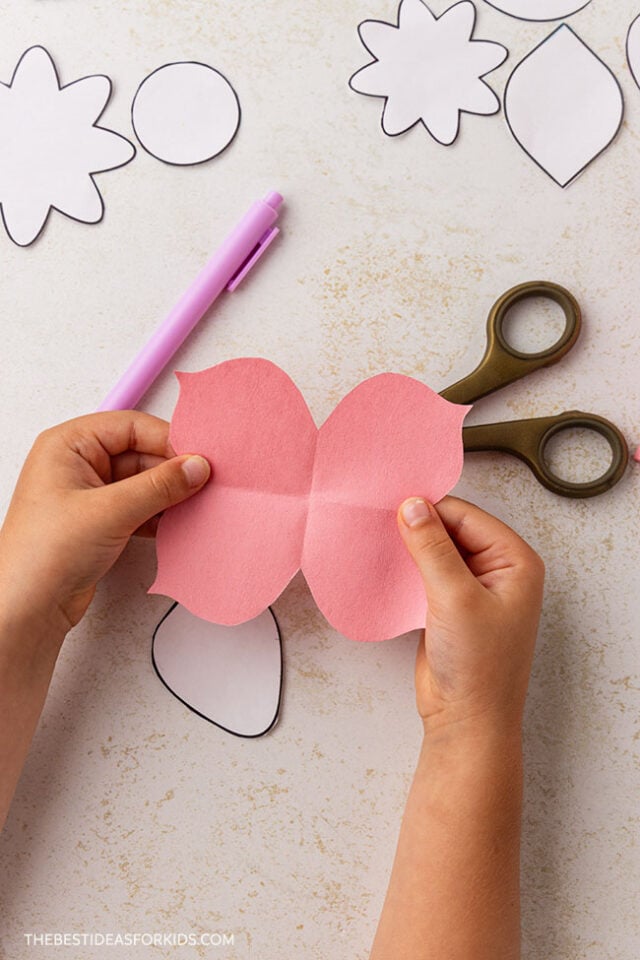
Look at your folded paper-you’ll notice that one corner is completely folded, with no open edges. This is where all the folds meet-the middle of the paper. Position one of your flower petal cut outs over this corner, letting the flower petal overhang the construction paper.
Trace around it using a pencil. Don’t draw the flower petal down to the corner.
NOTE: The closer your flower petal gets to the corner, the smaller the middle of the flower will be, and if you cut too close, the flower will fall apart when you open it up.
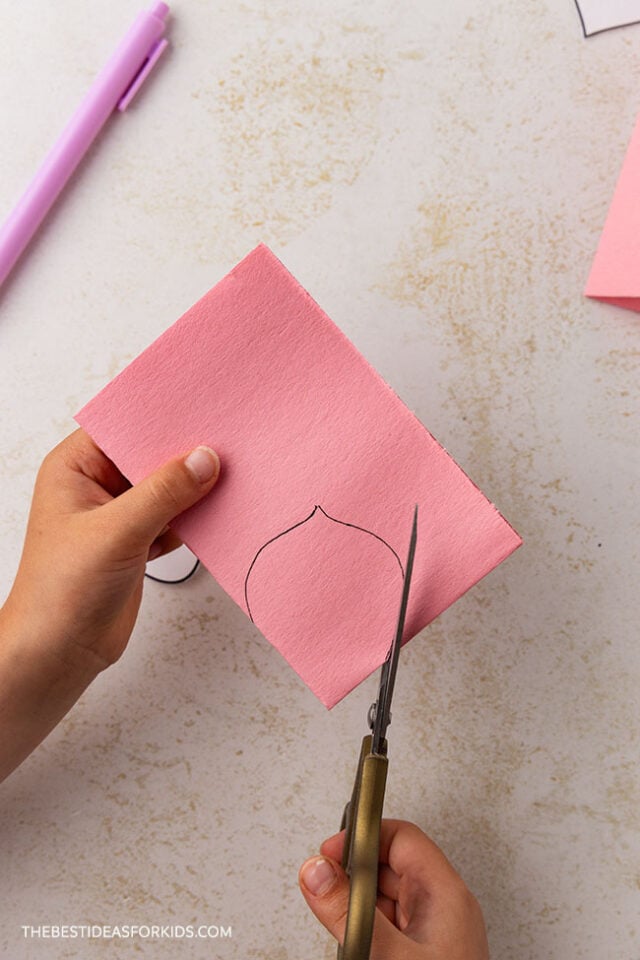
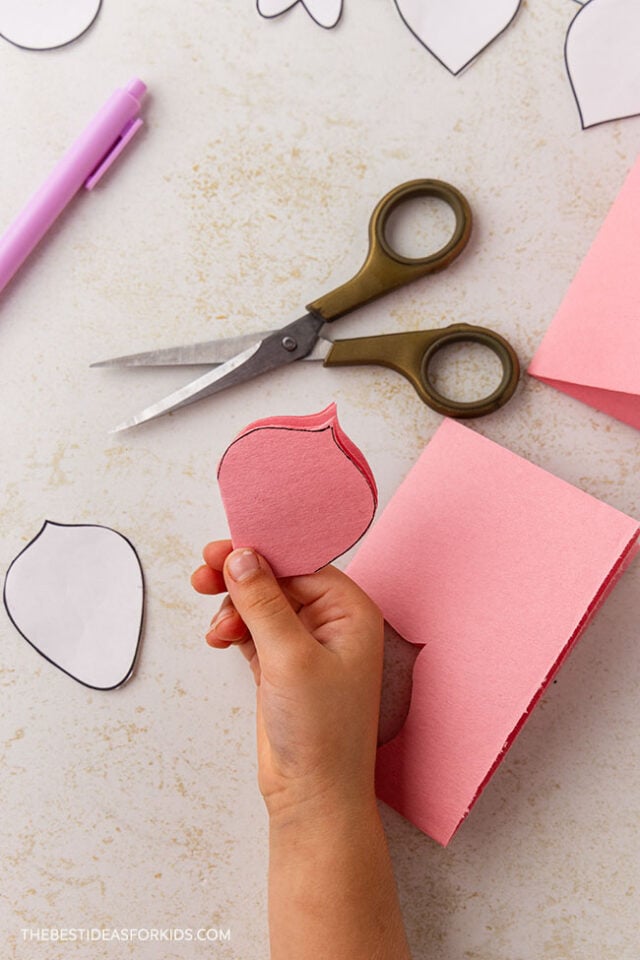
5. Keeping the paper folded, carefully cut along the lines you traced.
Do not cut through the folded corner; this is what holds your flower together in the middle.
6. Open up the paper to reveal your flower shape!
7. Repeat steps 3-6 to make as many flowers as you want for your paper flower crown.
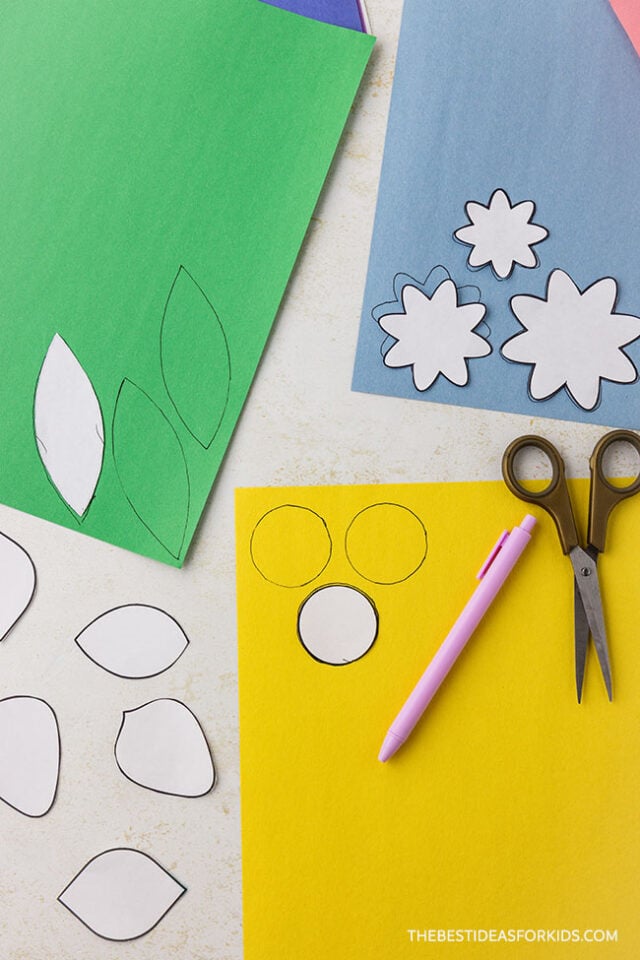
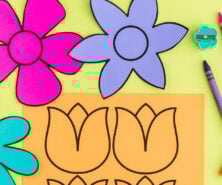
8. Onto FLAT piece of construction paper, trace as many leaves and whole flower heads from the printable as you’d like for your flower crown. Cut them out.
Kids can also design their own flower shapes!
NOTE: you could also use a cutting machine, like a Cricut, to cut out your flower shapes quickly!
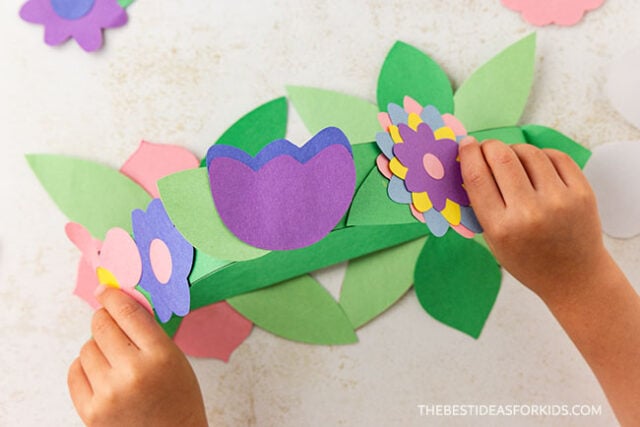
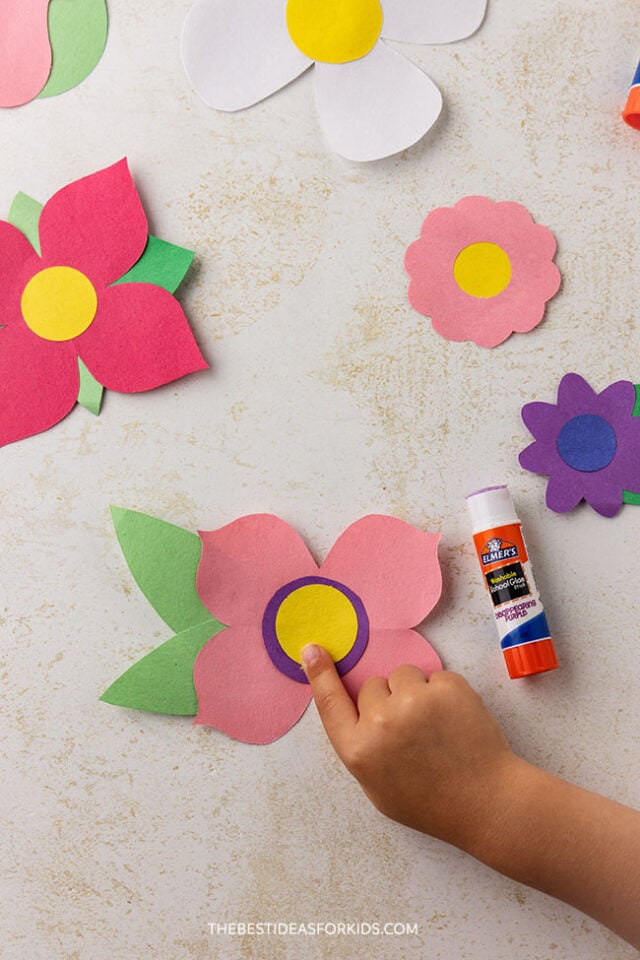
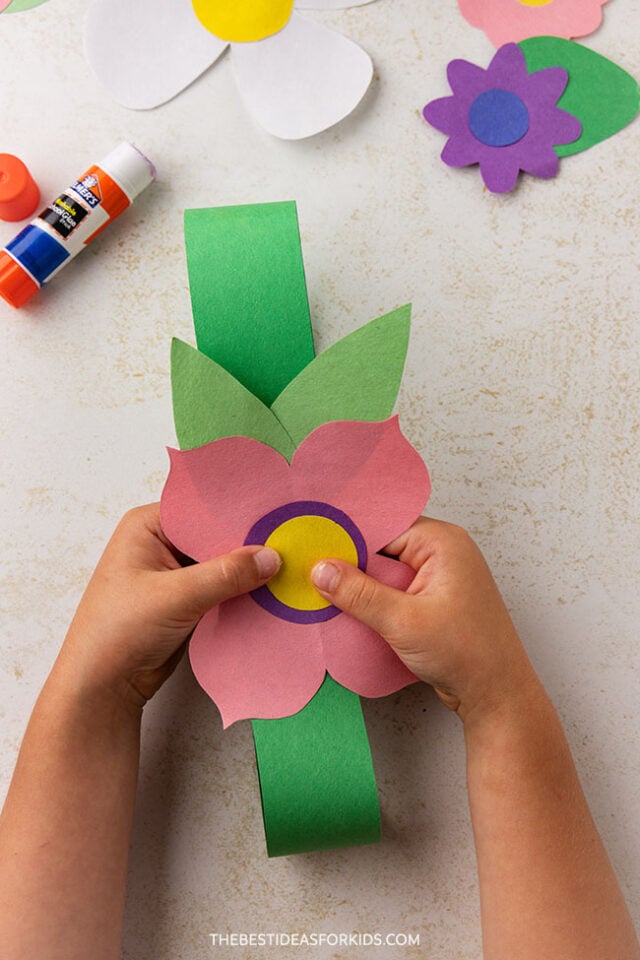
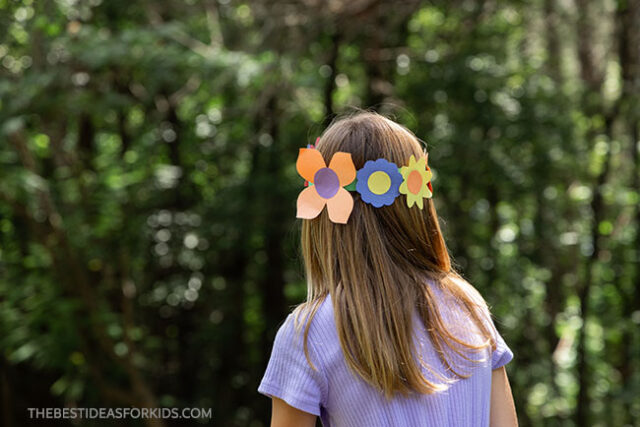
9. Assemble your flowers for your crown.
Layer the flowers and leaves to make each flower unique.
Use a glue stick to glue the pieces together.
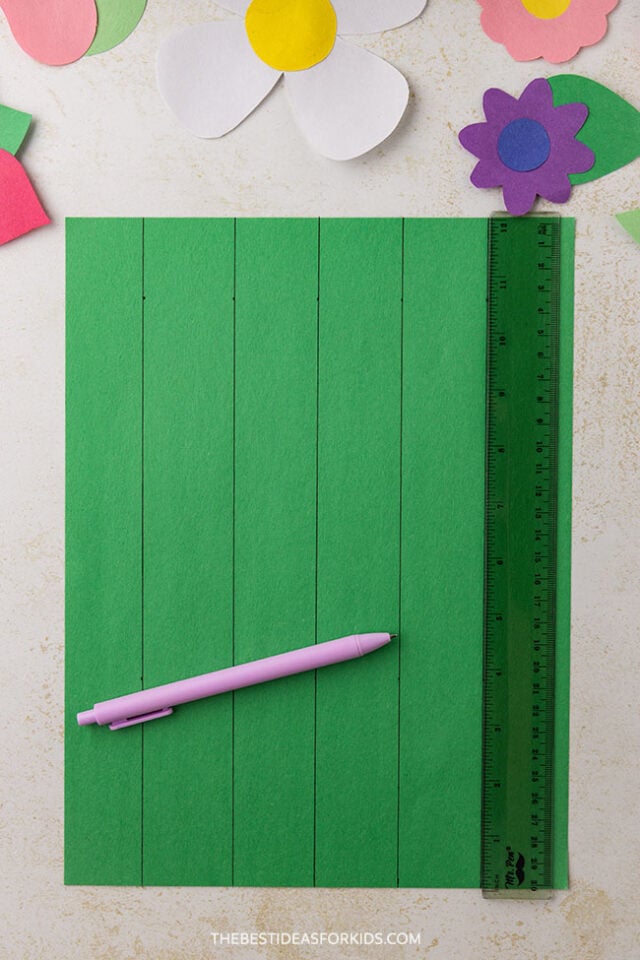
10. Make the crown strip.
Cut strips from a piece of construction paper for your crown/headband. Make sure your construction paper is in portrait (vertical) orientation.
To make the strips nice and even, we used a ruler and marked near the top and bottom all the way across the page in 1 ½ inch increments, then we drew a line to match up each set of points.
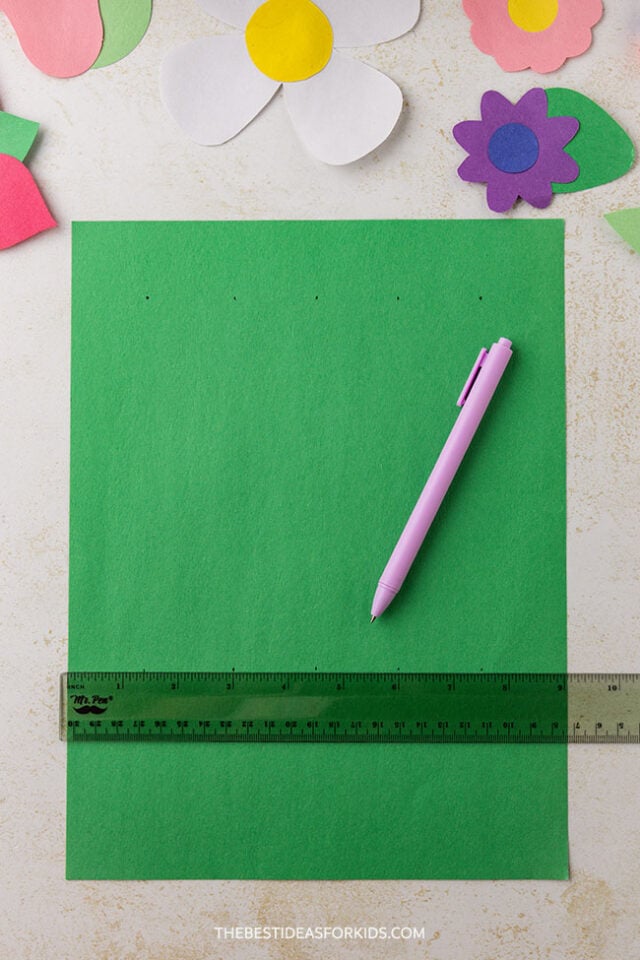
You should have 6 strips to cut out from a standard-size piece of construction paper.
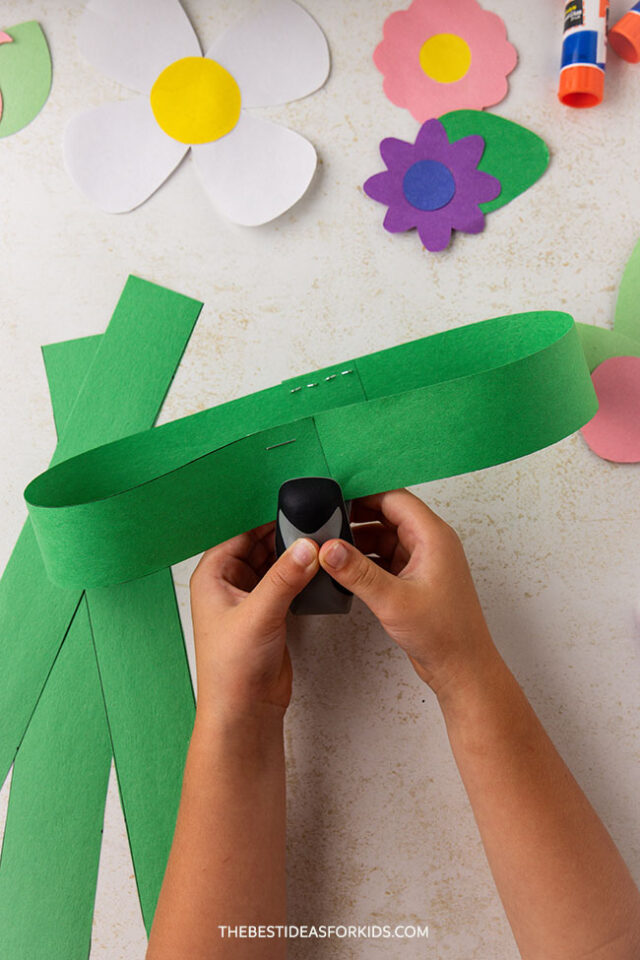
11. Combine the strips.
Cut the strips and staple them together. Be sure to measure the crown by wrapping it around your head and marking where it overlaps before stapling it together.
We were able to use two strips of construction paper to fit a variety of sizes.
12. Use glue to attach the flowers to your crown.
You’re all done and ready to wear your beautiful crown!
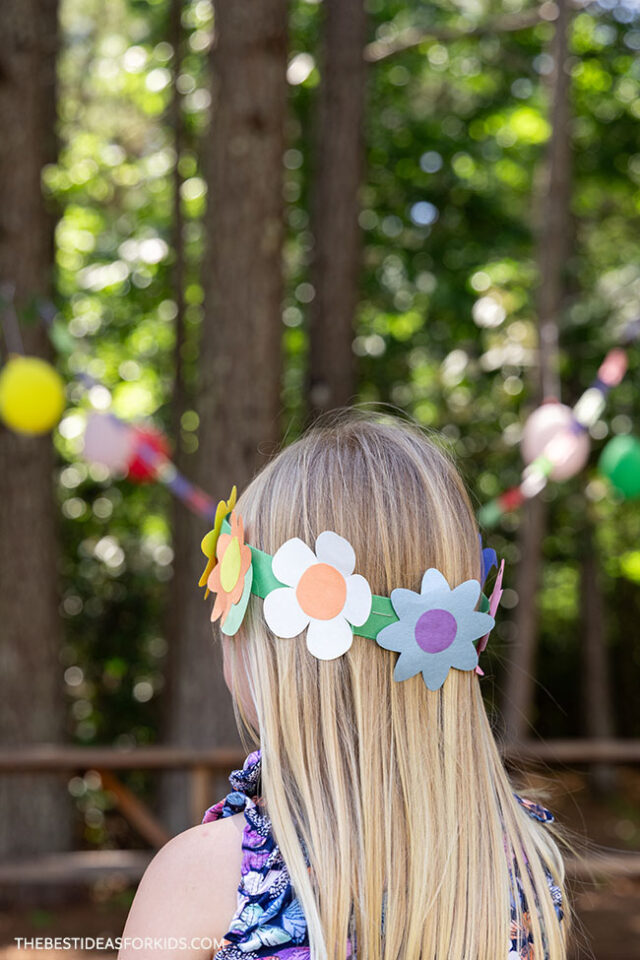
These flower crowns would be so fun to make and wear for a spring or summer birthday or garden party!
Get the Templates Here
Get the Flower Template
Get the FREE templates delivered to your inbox. You’ll also receive our free weekly newsletter.
Already a subscriber? Don’t worry you won’t be subscribed twice!
Kids will love to choose their own combinations of colors and flower shapes to make their crowns beautiful and unique!
For another paper flower activity, try making these Paper Roll Flowers.


Thank you so very much for all the great ideas for kids!
I love your fun ideas for kids! Thanks so much!