

Spring has sprung and what better way to celebrate than with this Spring Handprint Art! Find all 8 designs as free printables at the bottom of this post – they make the perfect craft with almost no prep required!
RELATED: Mother’s Day Handprint Printables
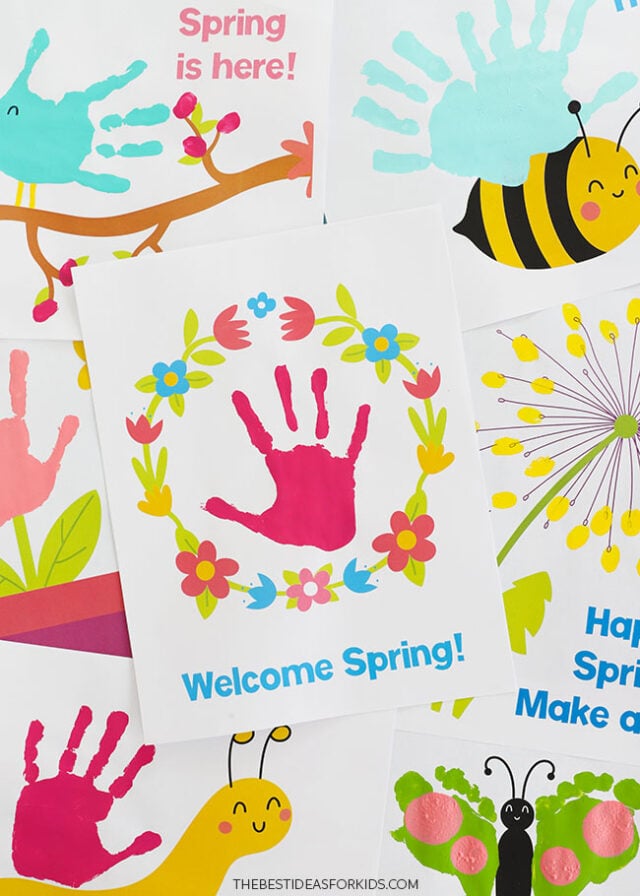
These colorful designs are the perfect way to welcome spring and make the cutest keepsakes. Don’t forget to write your child’s name and the date on the back of each paper!
You can even add handwritten messages onto the pages to turn them into giftable art for friends or family! Or add a frame to turn them into a handmade gift.
Supplies Needed
- Spring Handprint Printables – you can get them sent directly to your email at the bottom of the post
- Non-Toxic Tempera Paint – in a variety of bright colors
- Paintbrushes – medium and small
- Black marker – for adding details
- Pencil with eraser – to use the eraser end to stamp circles
- Round foam stamper brushes – in various sizes, to stamp circles (optional)
How to Make these Spring Handprint Printables
1. Set up your painting area.
- Print out all the designs you’d like to use onto white paper or white cardstock and set aside.
- Choose your paint colors – shades of pink, blue, green, and yellow are great but any colors will work!
- Fill a large bowl or dish with warm soapy water and bring it to your workstation along with some clean rags, towels, baby wipes, and paper towels for an easy clean-up.
- If you are doing the footprint art design, bring over a short stool or child-sized chair.
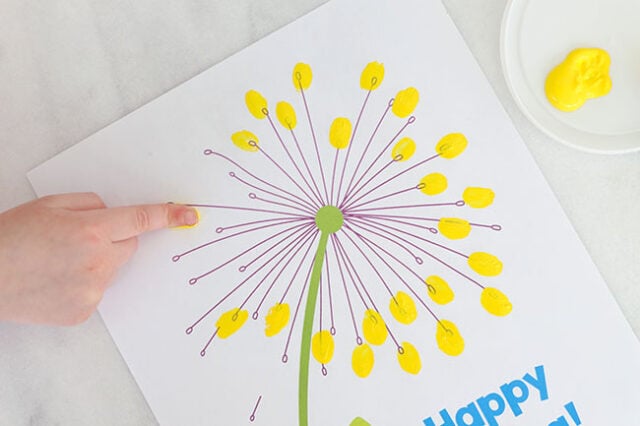
2. Paint the dandelion design.
For the dandelion design, the process couldn’t be simpler – just apply a coat of non-toxic yellow tempera paint onto your child’s finger and have them stamp their finger all around the blank template, adding some color to the dandelion fluff design.
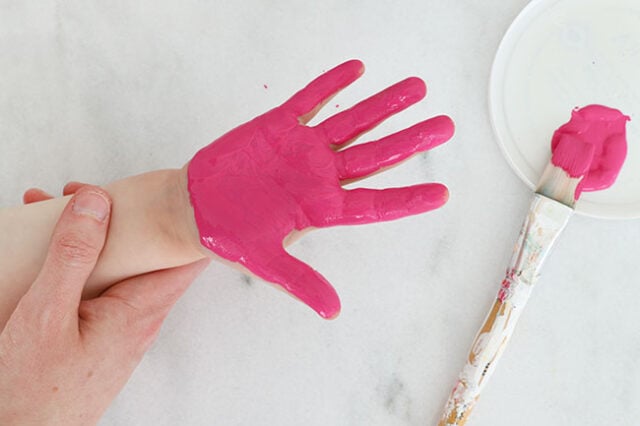
3. Paint the handprint designs.
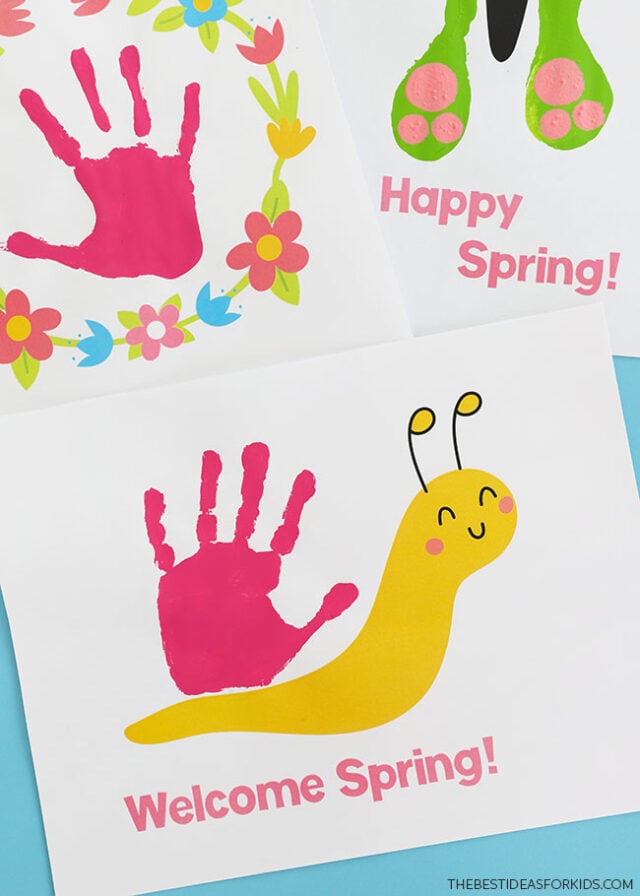
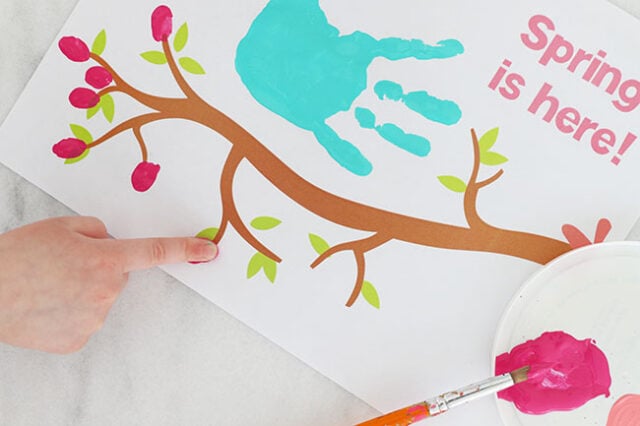
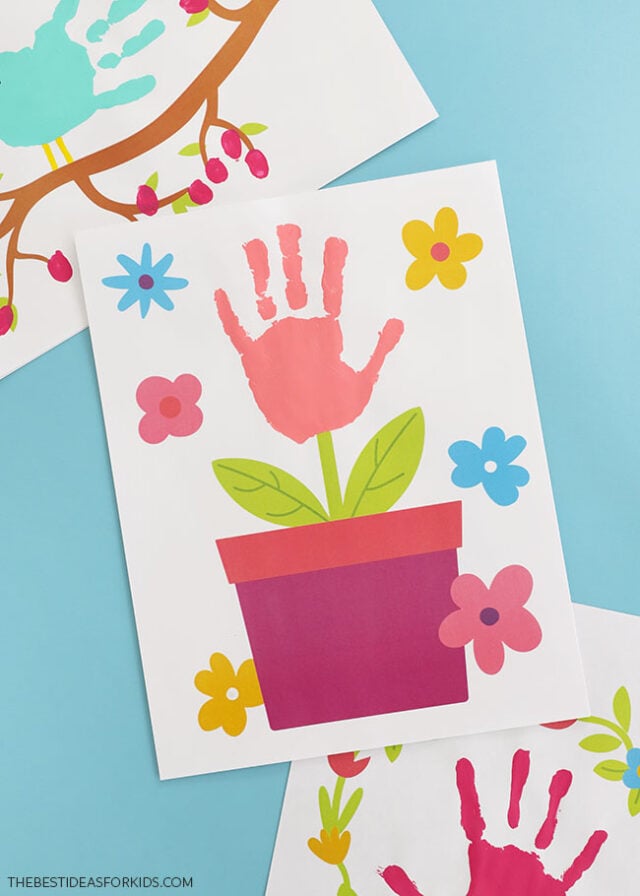
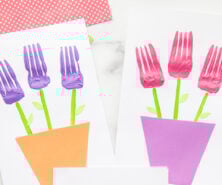
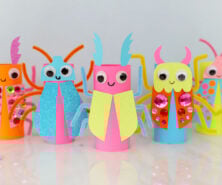
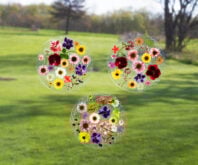
Most of the printables feature a handprint. This includes: the ladybug, floral wreath, potted flower, bumblebee, snail, and bird on a branch.
Apply a coat of non-toxic tempera paint onto your child’s palm.
Guide your child in placing their hand onto the paper and make sure they give it a good press to make a nice handprint.
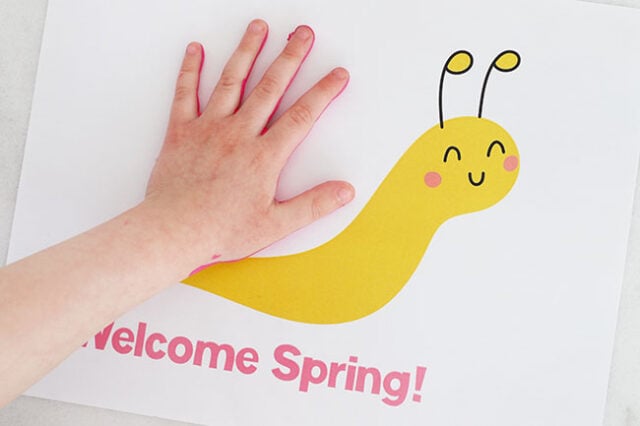
Remove their hand from the paper and voila!
If you have any missing spots you can touch them up with a paintbrush.

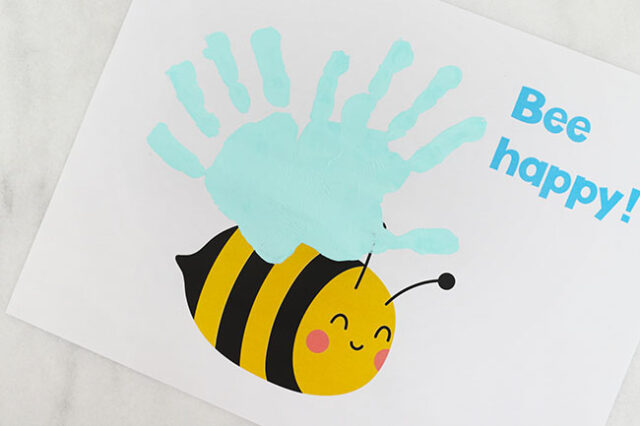
For the bumblebee design, make 2 slightly overlapping handprints as the wings. If your handprints overlap the bee’s antenna like ours did here, use a black marker to redraw it if needed.
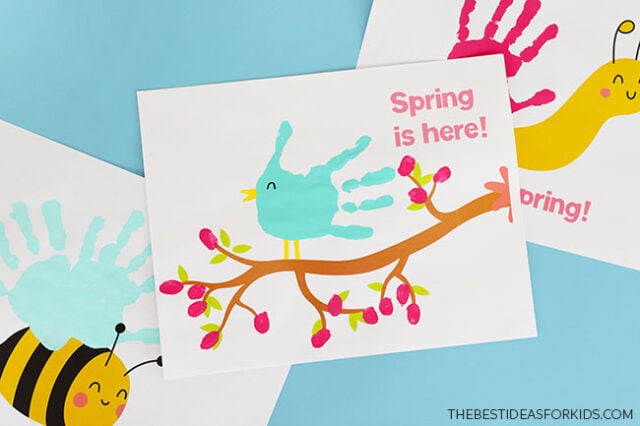
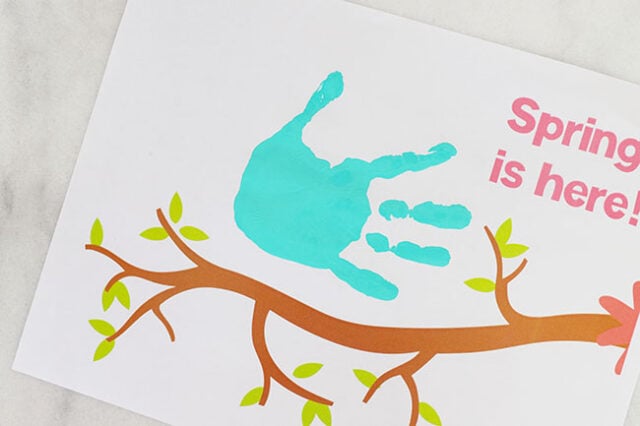
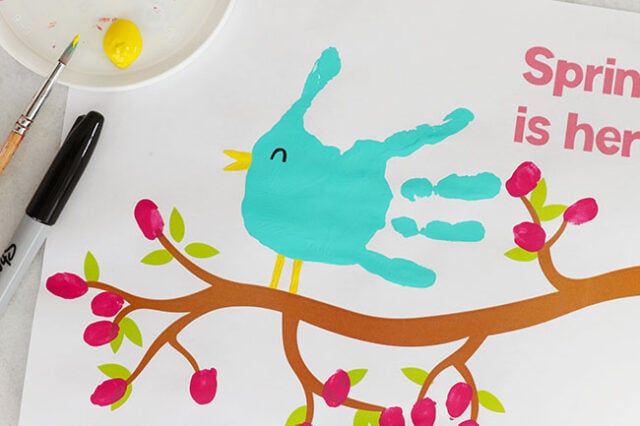
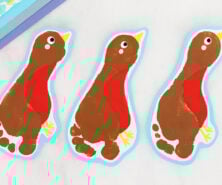
For the bird on the branch, make sure to leave a bit of a gap between the handprint and the branch to add the feet.
4. Paint the footprint designs.
Have your child sit on the stool or small chair and use a brush to apply non-toxic tempera paint onto the bottom of their foot.
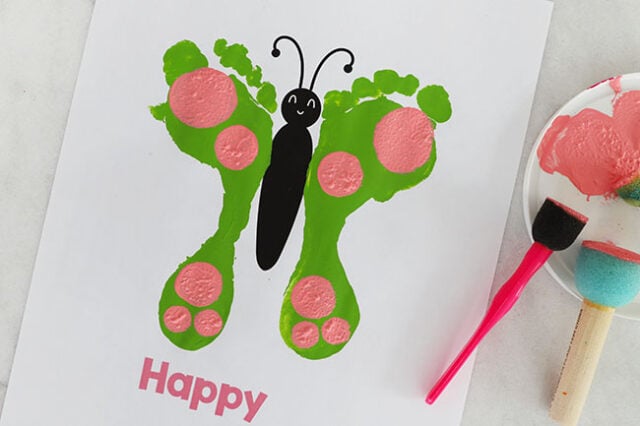
Guide them in stamping their foot onto the page, next to the butterfly’s body.
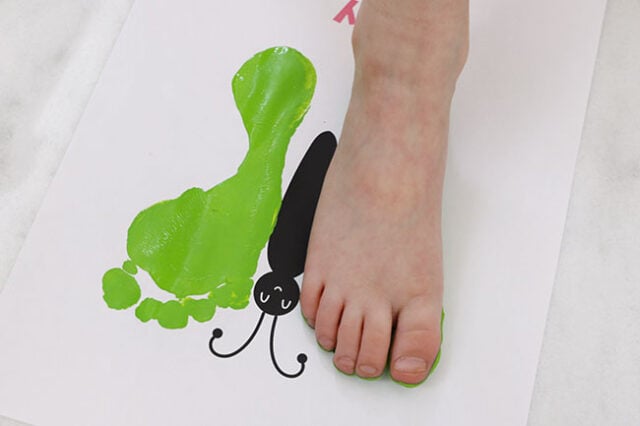
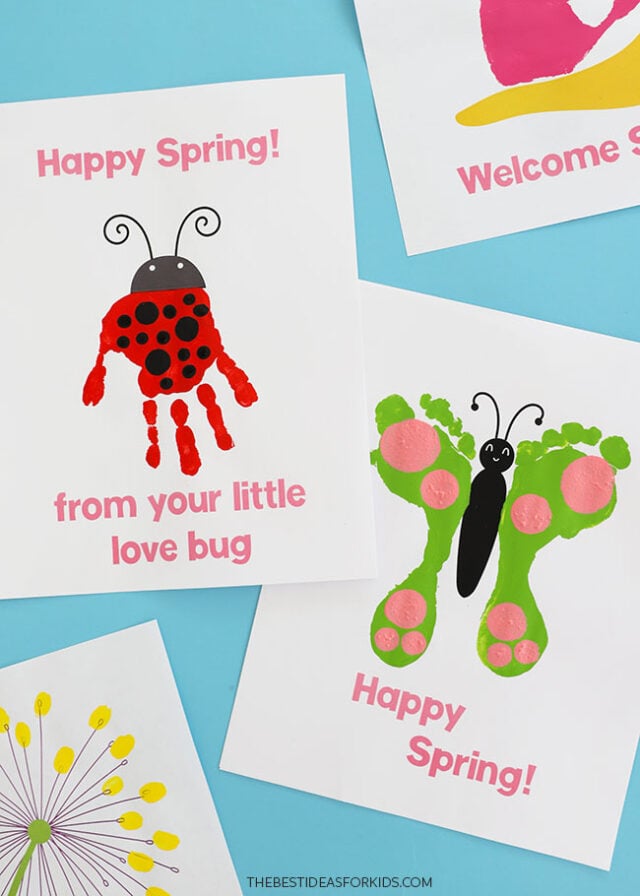
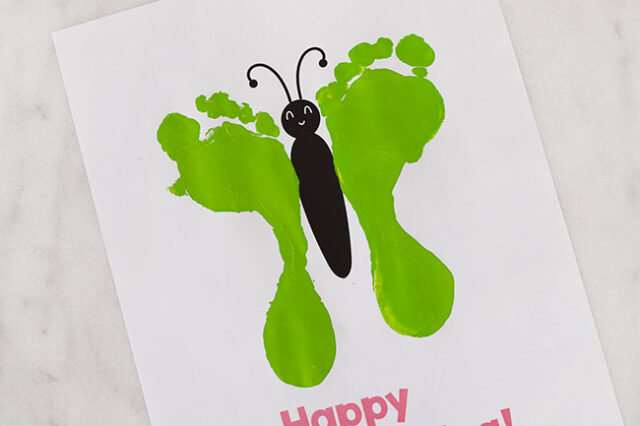
Do this for both feet, stamping on either side of the body, to create butterfly wings.
5. Add final details.
Some of the printables need a few final touches once the painted hand and footprints have dried.
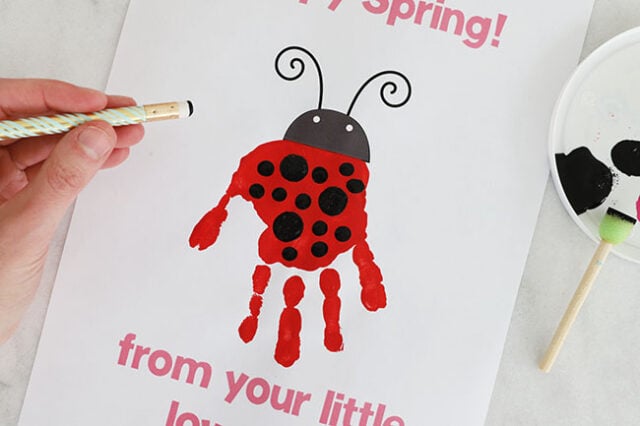
For the ladybug, use the eraser end of a pencil to stamp black dots onto the red handprint to form spots. If you want a variety of dot sizes, you can also use round foam brushes to create circles, or just paint them on by hand.
For the bird on the branch, you can apply non-toxic tempera paint onto your child’s finger and guide them in stamping buds onto the branch.
Then, add the final details for the bird – we drew the eye with black marker and painted the beak and legs with yellow paint and a fine brush.
For the butterfly, use a round foam brushes to stamp circles onto the butterfly wings. If you don’t have these round brushes in your craft stash, you can also just use a regular paint brush and paint on circles or other shapes onto the wings.
Once the paint has dried, your handprint and footprint art is complete!
Don’t forget to write your child’s name and the date on the page!
Get the Free Templates Here
Get the Free Spring Printables
Get the free spring templates sent straight to your inbox. You’ll also receive our free weekly newsletter.
Already a subscriber? Don’t worry you won’t be subscribed twice!
If you love handprint crafts, see our full handprint arts and crafts section.


Share a Comment!
We LOVE hearing from you! Submit your question or comment here.
Your email address will not be published.
Required fields are marked *