

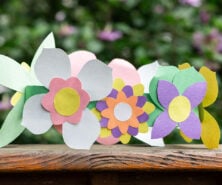
Looking to make your own DIY Flower Crown for kids or yourself? These beautiful flower crowns are simple to customize and would be perfect for kids to wear for a photo session, as a flower girl, shower or birthday party!
Related: Paper Flower Crown
Whether you want to make a flower crown for a party, wedding, or just for fun – you will love this simple DIY flower crown craft!
You can customize the flowers to match any color scheme or season that you’d like. These crowns would also make a beautiful DIY gift!

Supplies Needed
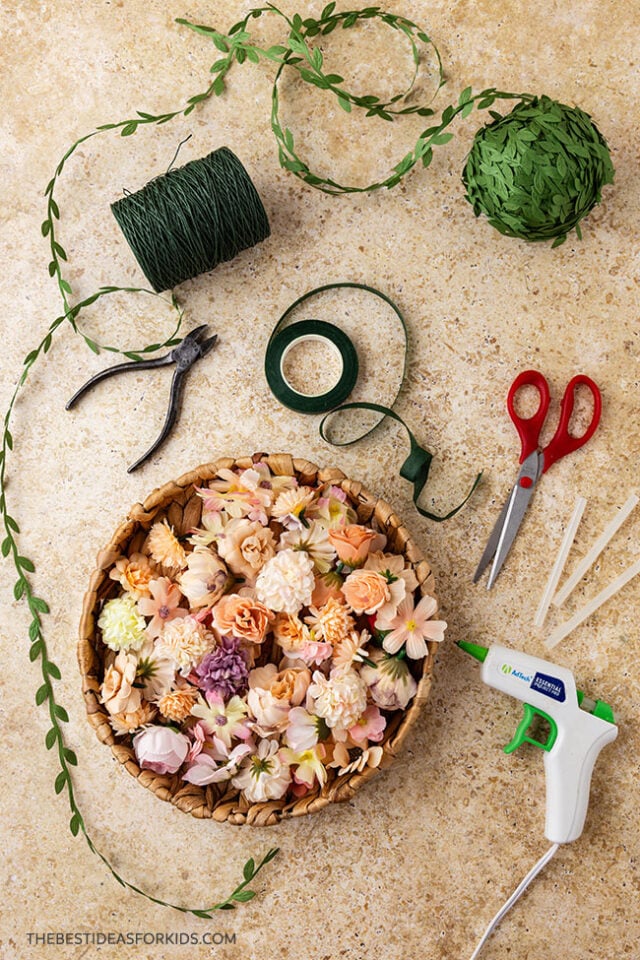
Here’s what you need:
- Artificial flowers
- Leaf ribbon
- Floral vine wire
- Wire cutters (adults to use)
- Floral tape
- Scissors
- Hot glue gun plus extra glue sticks (adult assistance)
How to Make a DIY Flower Crown
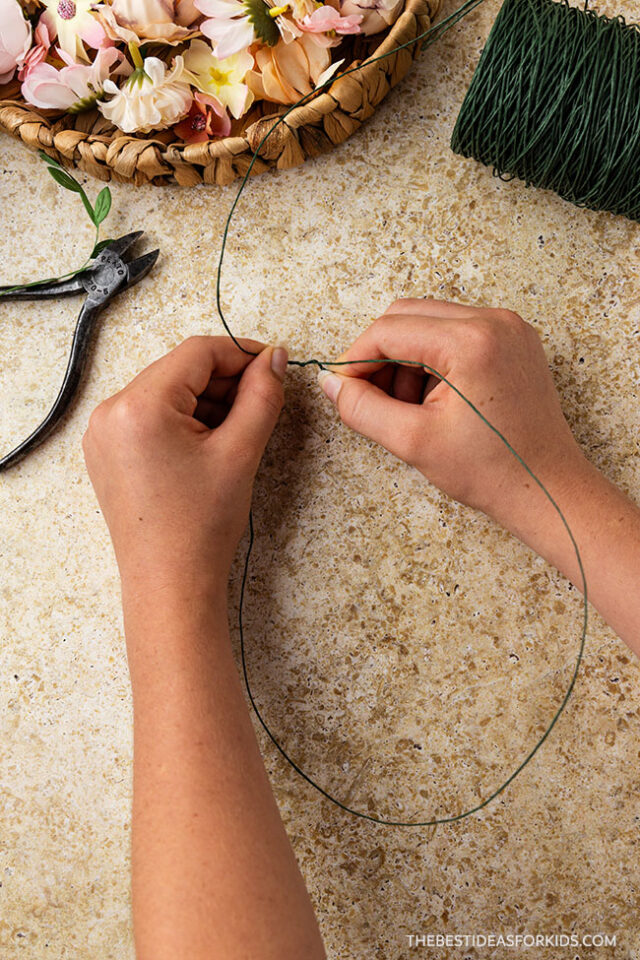
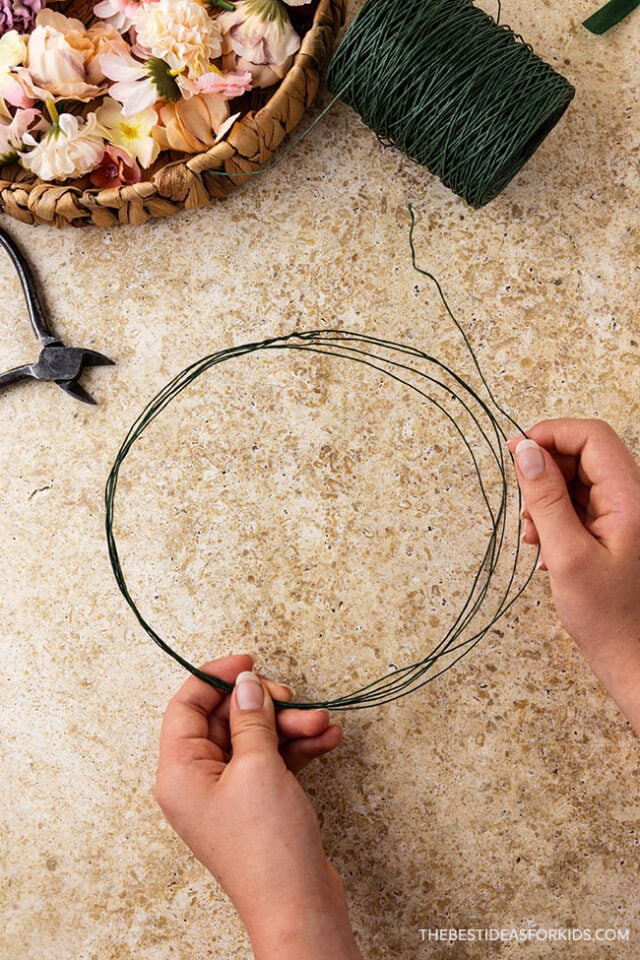
1. Wrap one strand of the floral wire around the model’s head and make sure to find the perfect fit using your finger to mark the spot.
Wrap the loose end of the floral wire around the point that you’ve marked to secure the correct size for your crown.
Note: this tutorial is meant for adults to complete to make flower crowns for their kids but you can also make adult-sized ones too!
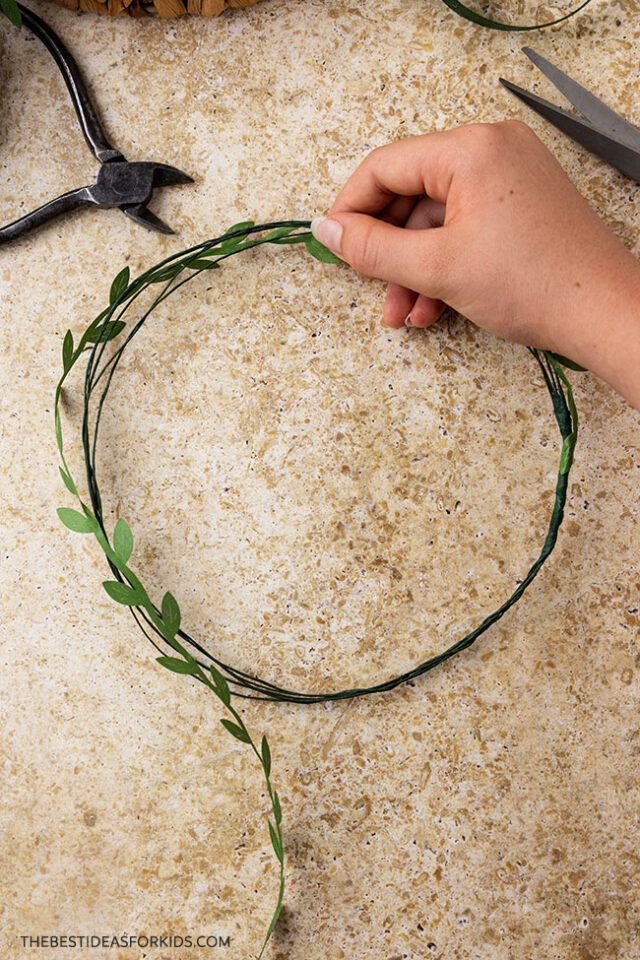
2. Starting at the wrapped point, go around the crown four more times to make 5 total strands of floral wire.
This will make your crown sturdier, and it will also give you some extra surface area to glue your flowers on in a later step.
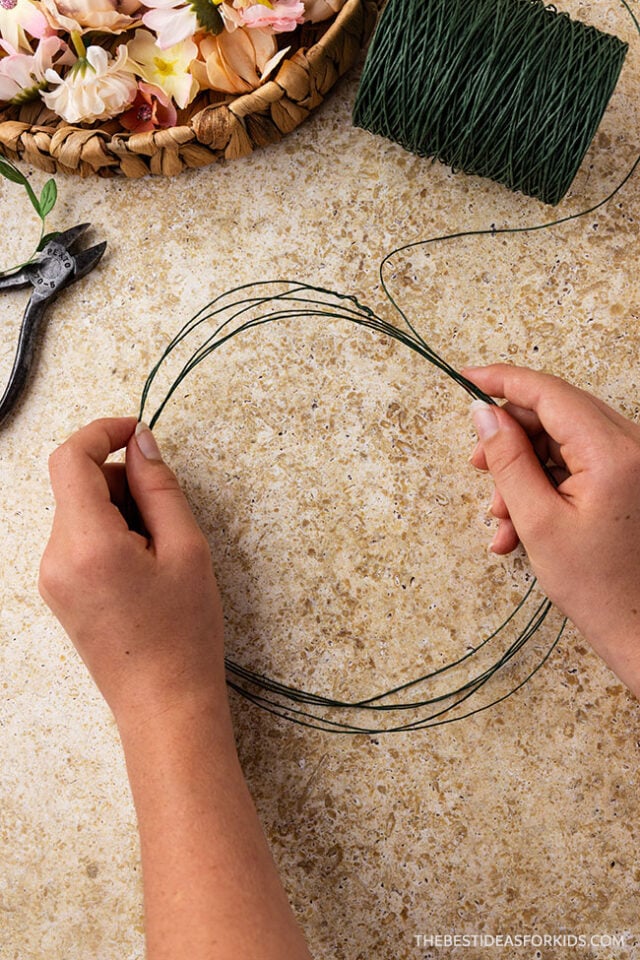
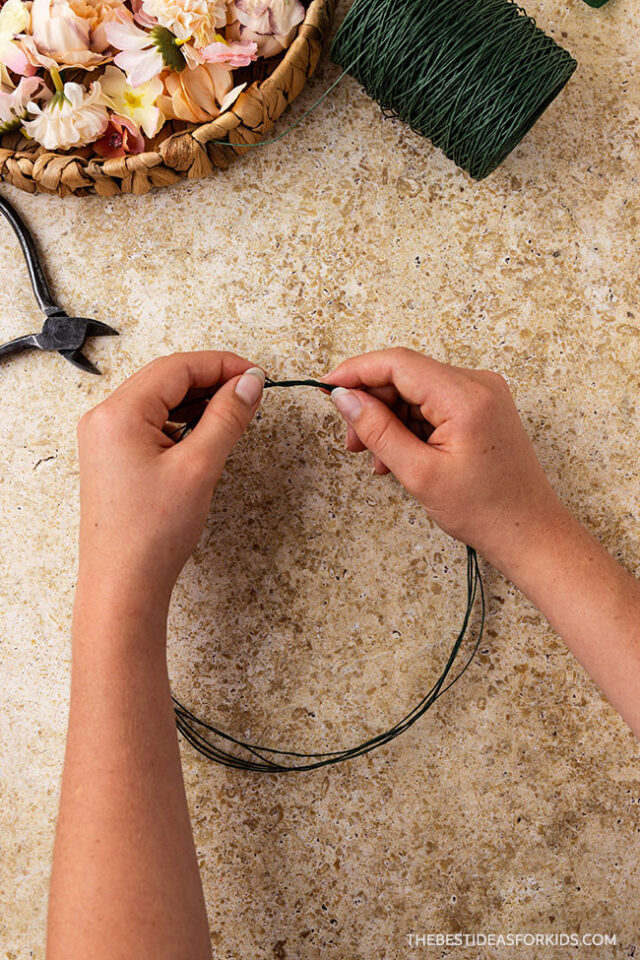
3. Cut the connected end of the floral wire using wire cutters.
*Adults to use the wire cutters only.
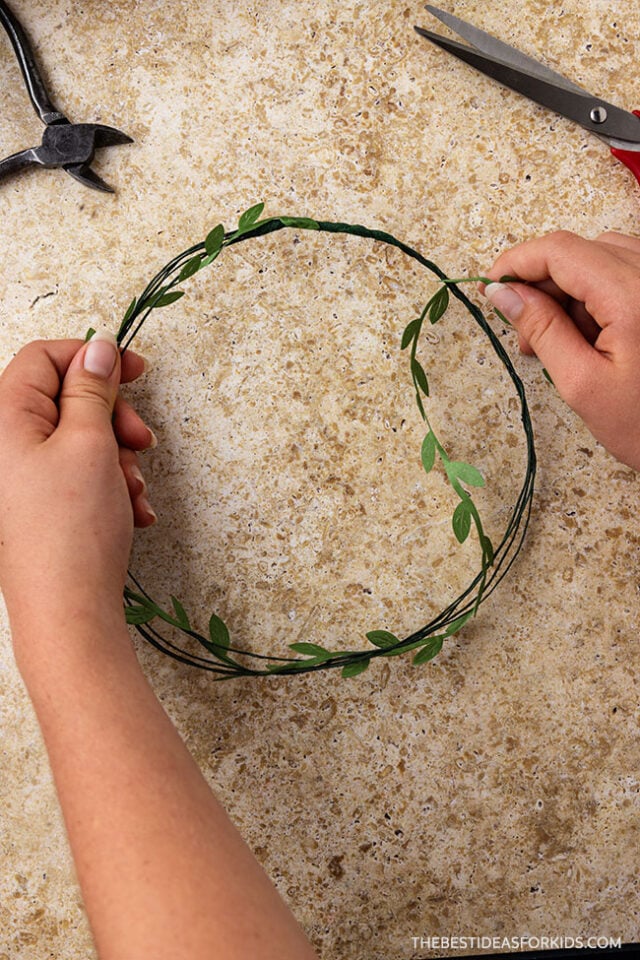
4. Loop the loose end of the floral wire in and out all the way around the crown to help keep the other strands nice and neat.
Twist to secure once you’ve made it back around to the starting point.
5. To cover the twisted wire, cut about three inches of floral tape, and place it underneath the twisted floral wire.
Use a small dot of hot glue (adults only) to help it get started.
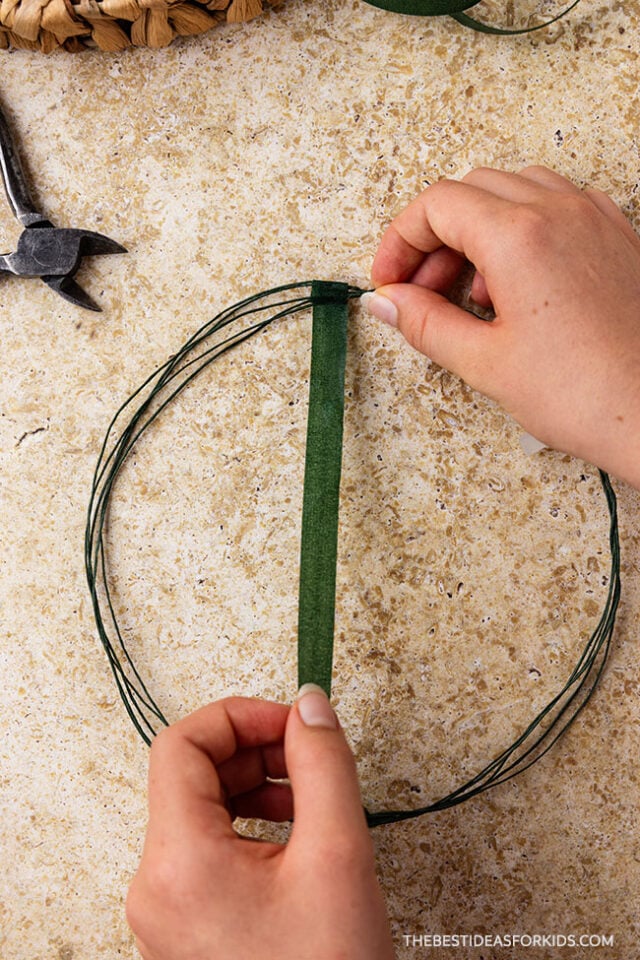
6. Wrap the floral tape around the twisted floral wire.
This will help hold your crown together and also keep the twisted wire from scratching.
*Pro tip: Pull the floral tape tight, but not too tight, to activate the adhesive and get it to stick to itself.
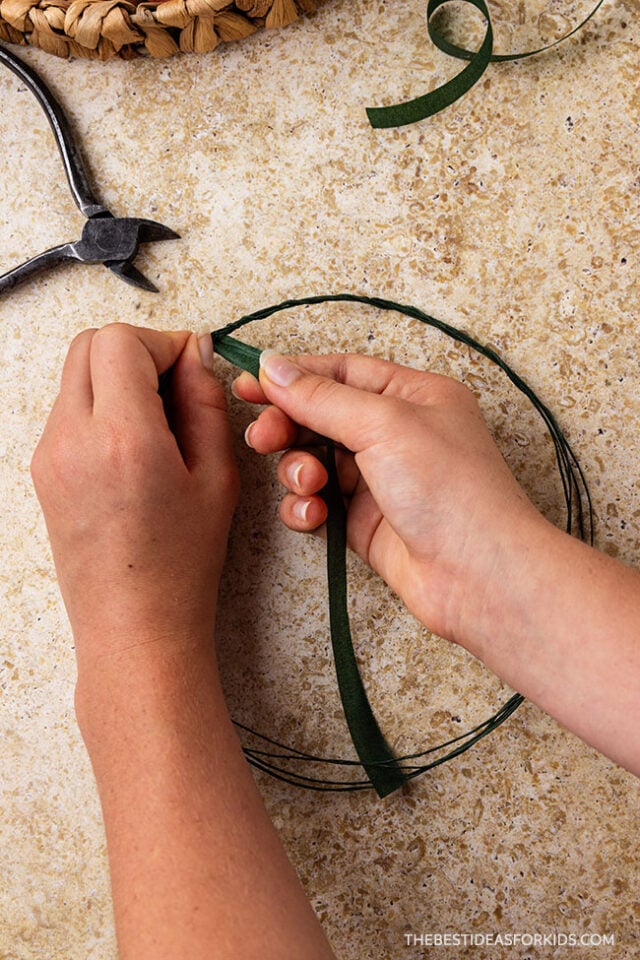
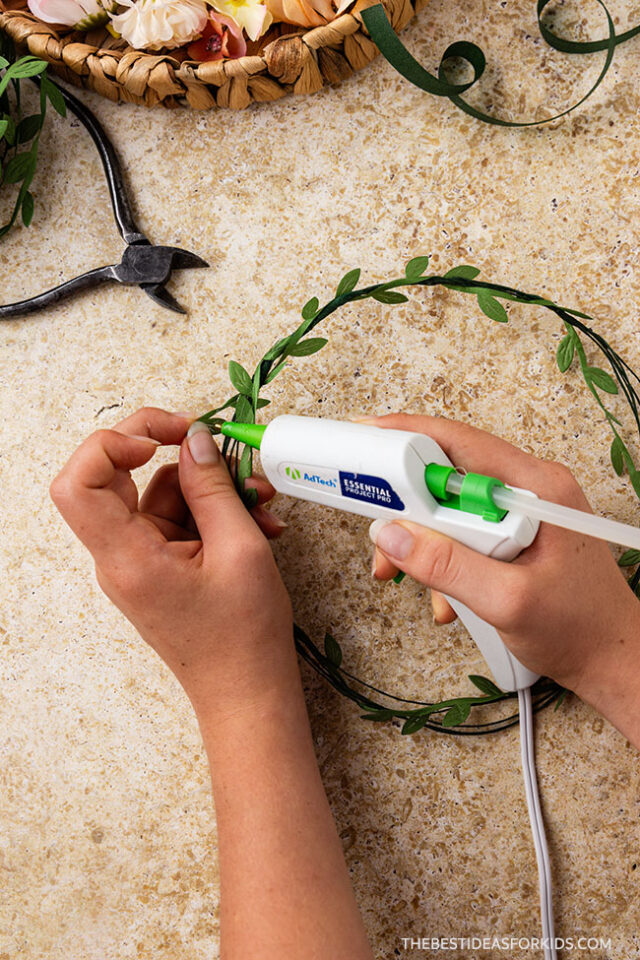
7. Now it’s time to wrap your crown with the leaf ribbon!
Start by placing a small dot of hot glue (adults only) where you just wrapped the floral tape on the outside of the crown.
Carefully press the loose end of the leaf ribbon to the glue and hold until set.
8. Take the leaf ribbon all the way around the crown to measure before cutting it.
Make sure you meet back up with the start of your leaf ribbon when giving it a little slack. You will need a tiny bit extra to ensure you have enough leaf ribbon when wrapping to make it back around to your starting point.
This is not an exact science – simply cut about an extra half inch beyond the starting point.
9. Wrap the leaf ribbon loosely all the way around the crown.
Secure with a small dot of hot glue (adults only).
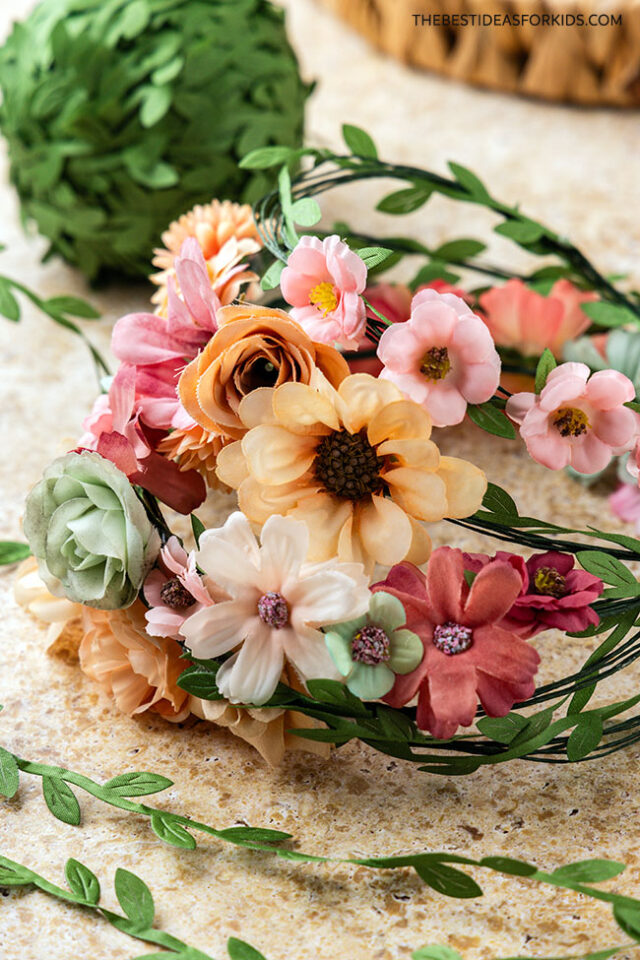
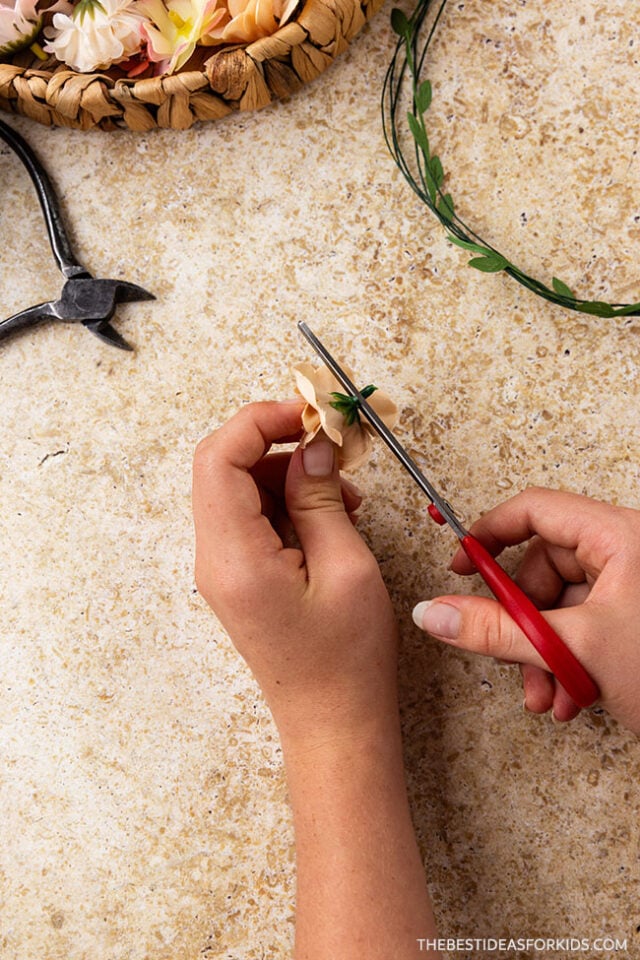
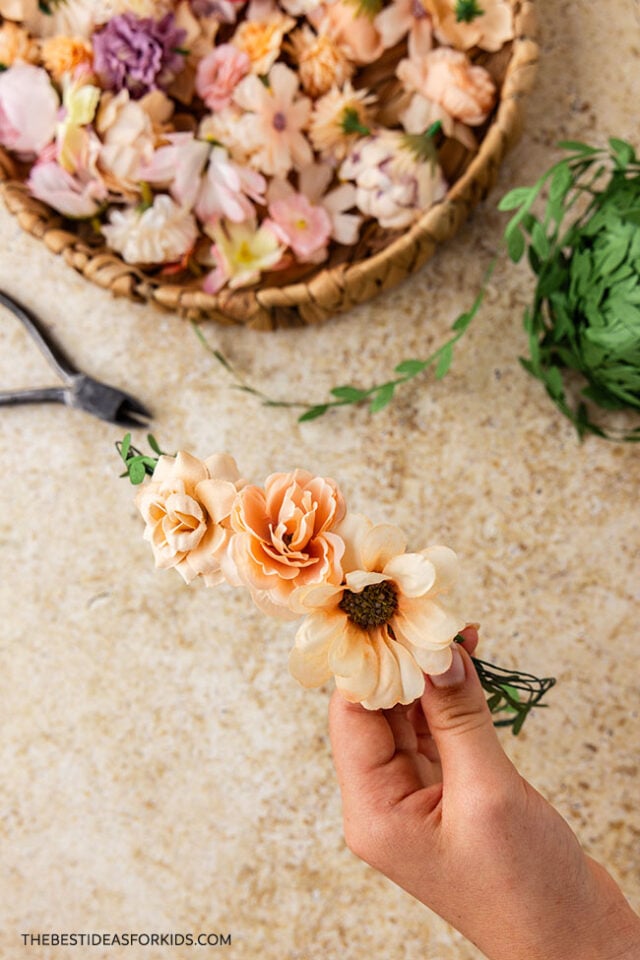
10. It’s time for the flowers!
If your flowers have a short stem on the backside, use scissors to cut the stem off close to the flower to make the back of the flower a little more flat.
Don’t skip this step, as the stem might get in the way and make the flower sit awkwardly on your crown.
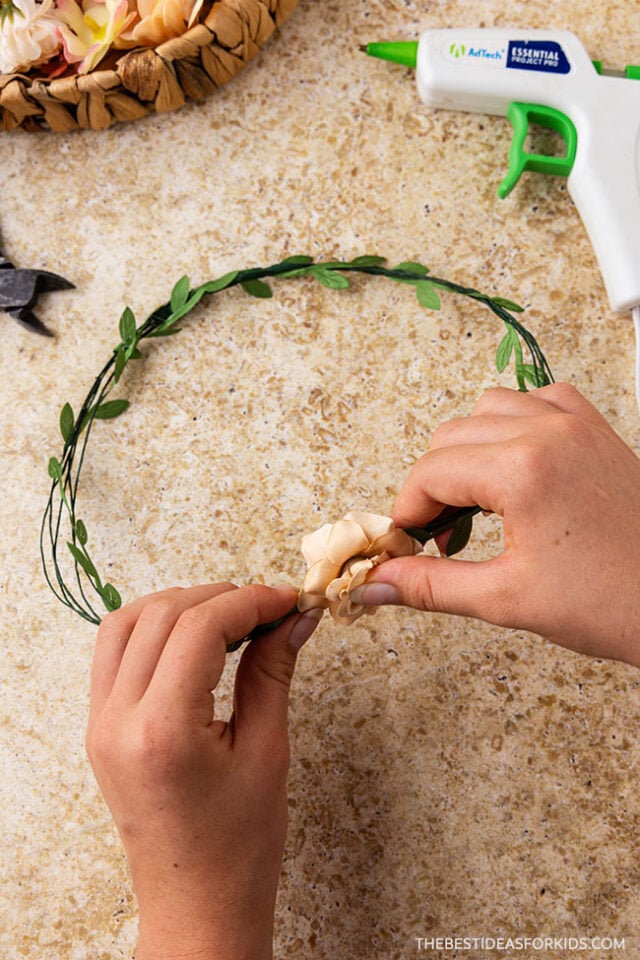
11. Once the stem is cut off, apply a generous amount of hot glue on the back of the flower head, and press onto the crown.
You can use some of the leaves from the leaf ribbon to help hold the back of the flower head on, and as you place more flowers, you can use them to help hold the other flowers in place.
Use small dots of glue in inconspicuous spots on the sides and on the petals to help hold everything together. It may feel flimsy at first, but once the hot glue sets, the crown should hold together nicely!
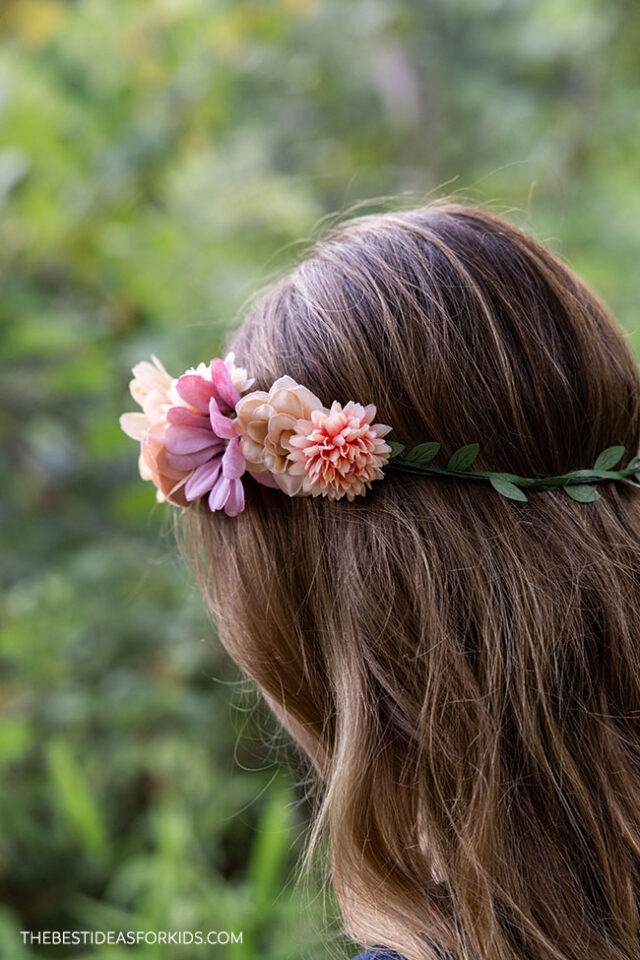
Keep adding until you’re happy with the amount of flowers.
Your beautiful new crown is now ready to wear!
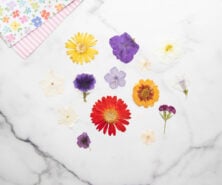
If you don’t want to use artificial flowers, you can try real ones!
Real flowers would look so beautiful on this crown, but of course, will only last the day you make them.
These flower crowns would be a great activity for a garden birthday party!
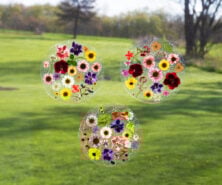
For another flower activity, try making a Pressed Flower Suncatcher!


Share a Comment!
We LOVE hearing from you! Submit your question or comment here.
Your email address will not be published.
Required fields are marked *