

Celebrate Easter by making this adorable mini Pine Cone Easter Bunny! As the weather warms up take a walk around your neighborhood to scout out pine cones to use for this craft – and see our tips below on how to prep them for crafting!
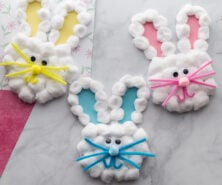
RELATED: Easter Crafts for Kids
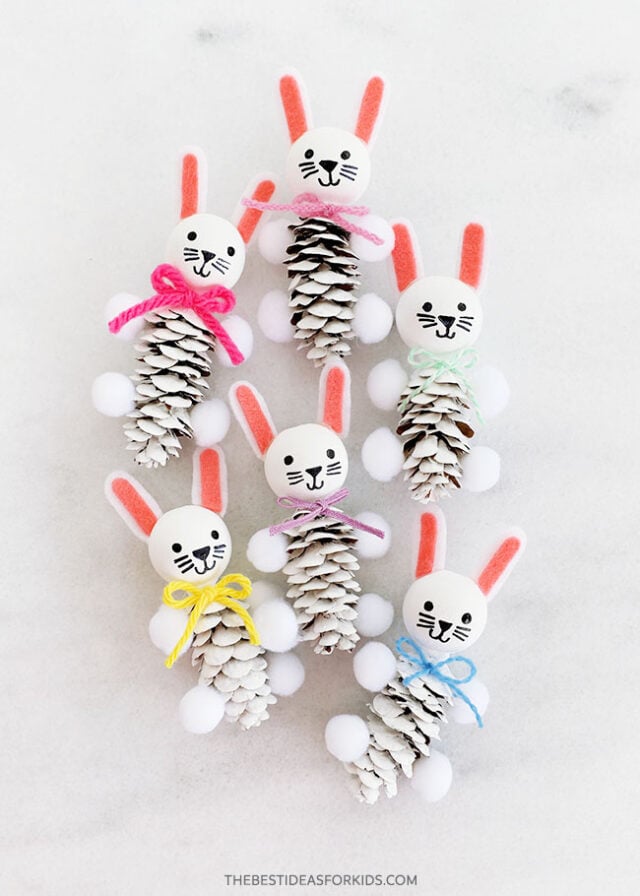
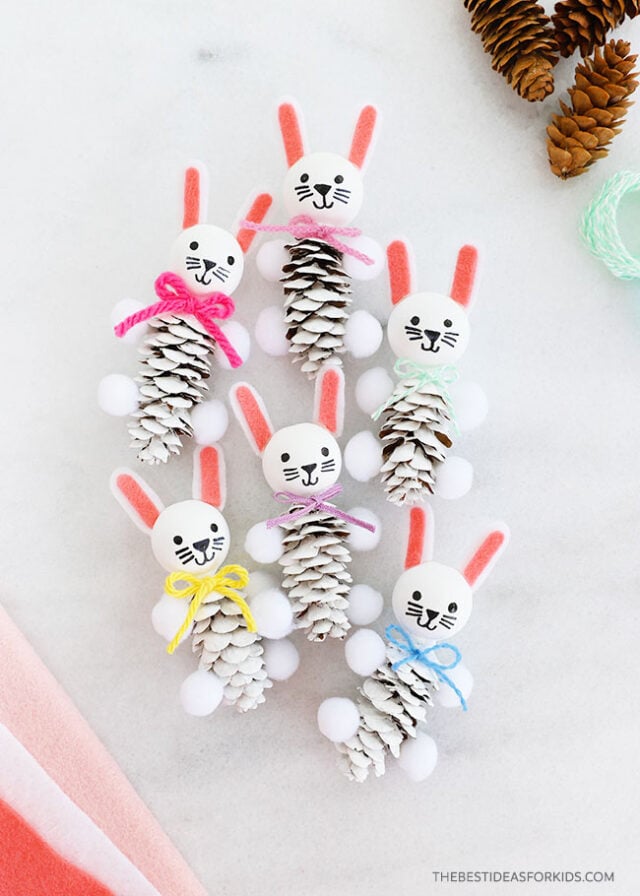
Customize the bunnies with different colors of bows – you only need a tiny bit, so it’s a great way to use up any odds and ends in your stash!
This project comes together in no time so kids will have fun making a whole bunch of them for Easter!
Watch the Video Tutorial
Supplies Needed
- Pine cones – 1 per bunny (you want the smaller pine cones, if you have larger pine cones see our other pine cone bunny here).
- Felt – white and pink
- Fine yarn – or cord, in various shades
- White pom poms – 10mm across, 4 per bunny
- Wood bead – 1″ diameter, 1 per bunny
- Black permanent marker – with a sharp, fine tip or a black acrylic paint pen
- Hot glue gun – used with adult assistance
- Tacky glue – or white glue
- White paint
- Paintbrush – medium-sized
Note
If using pine cones collected from outside, be sure that they are dry and ready to use. It can be helpful to bake the pine cones in the oven at 250 degrees Fahrenheit for 10-20 minutes on a parchment or foil-lined baking sheet (adults only). This will help speed the drying process and make sure there aren’t any bugs in the pine cones. Keep a close eye on them in the oven and let them cool completely before crafting.
How to Make a Pine Cone Easter Bunny
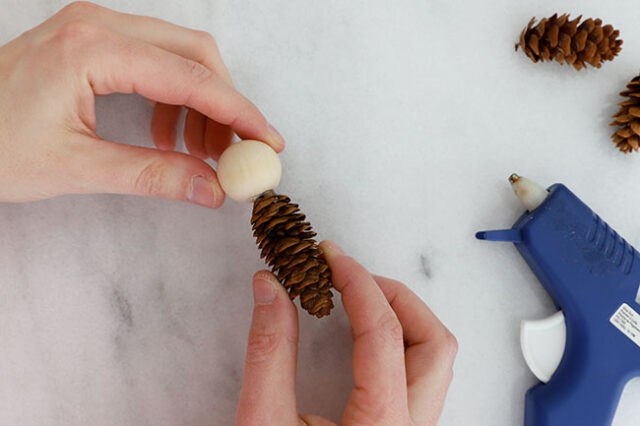
1. Assemble the bunny bodies.
Use a hot glue gun with adult assistance and attach a wood bead to the end of a pine cone, holding it in place as the glue dries.
You can also paint the pine cones and wood beads separately and then glue together. To help with painting the wood beads, it does make it easier to glue to the pine cone first.
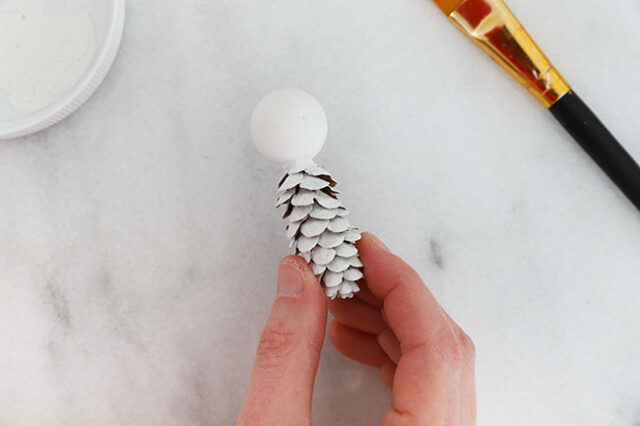
2. Paint the bunny body.
Apply a coat of white paint all over the pine cone and wood bead. Set aside to dry completely.
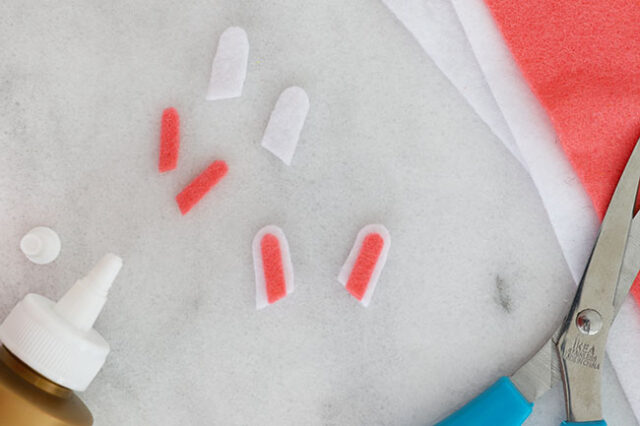
3. Make the bunny ears.
Cut out an inner and outer bunny ear piece. We used white for the outer ear and pink for the inner ear. Use tacky or white glue to attach the inner ears to the outer ears.
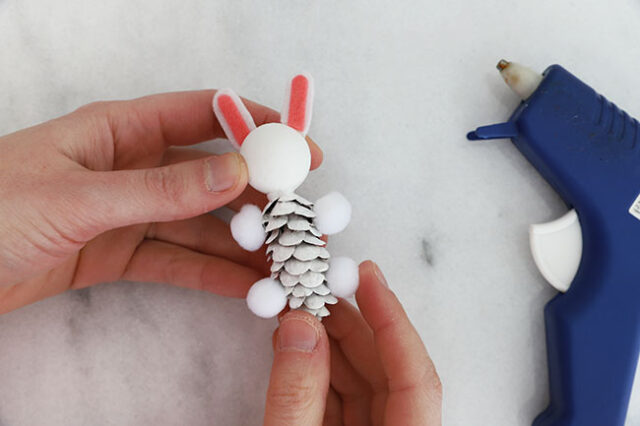
4. Add the ears and arms onto the bunny.
With adult assistance, hot glue the felt ears onto the wood bead head and the 4 pom poms onto the pine cone body.
This step can also be done with white or tacky glue if you prefer, but you will have to hold the pieces in place as they dry.
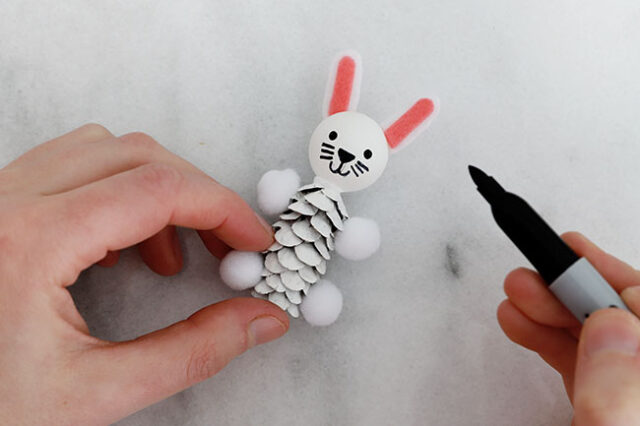
5. Add the face.
Use a fresh fine-tip permanent marker or black acrylic paint pen to draw the eyes, nose, mouth, and whiskers onto the bunny’s face.
Tip: we used a pencil to sketch them on first to get the placement right – you can erase the pencil after when done.
6. Attach the bow.
Cut a piece of fine yarn that is about 4″ long and tie it into a tiny bow, trimming off any excess from the tails as needed.
Apply a tiny dab of tacky glue to the back of the knot of the bow and place it onto the top of the pine cone, right below the bead head. Allow to dry completely.
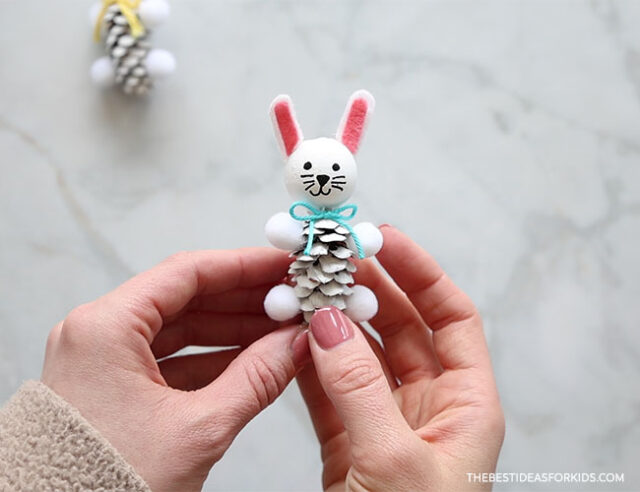
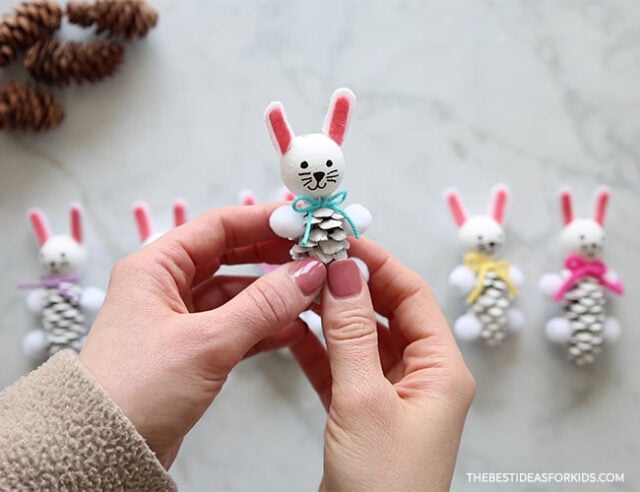
Your pine cone Easter bunny is now complete!
See more Easter crafts for kids.


Share a Comment!
We LOVE hearing from you! Submit your question or comment here.
Your email address will not be published.
Required fields are marked *