

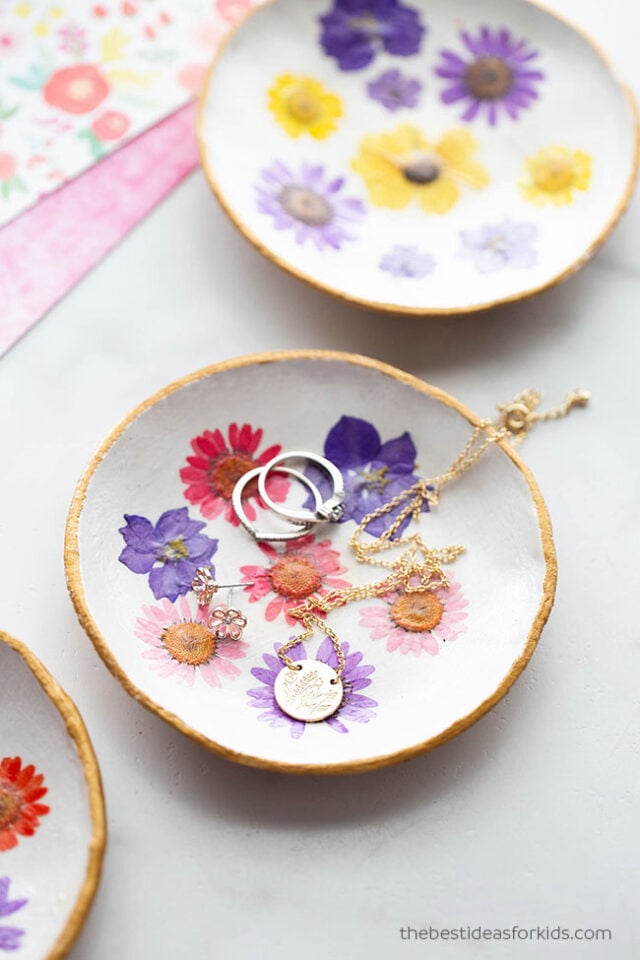
This pressed flower clay dish is a beautiful craft to make for a gift or as a spring or summer activity! Kids will love working with the clay and picking out their flowers to include in their dish.
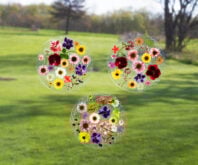
RELATED: Pressed Flower Suncatchers
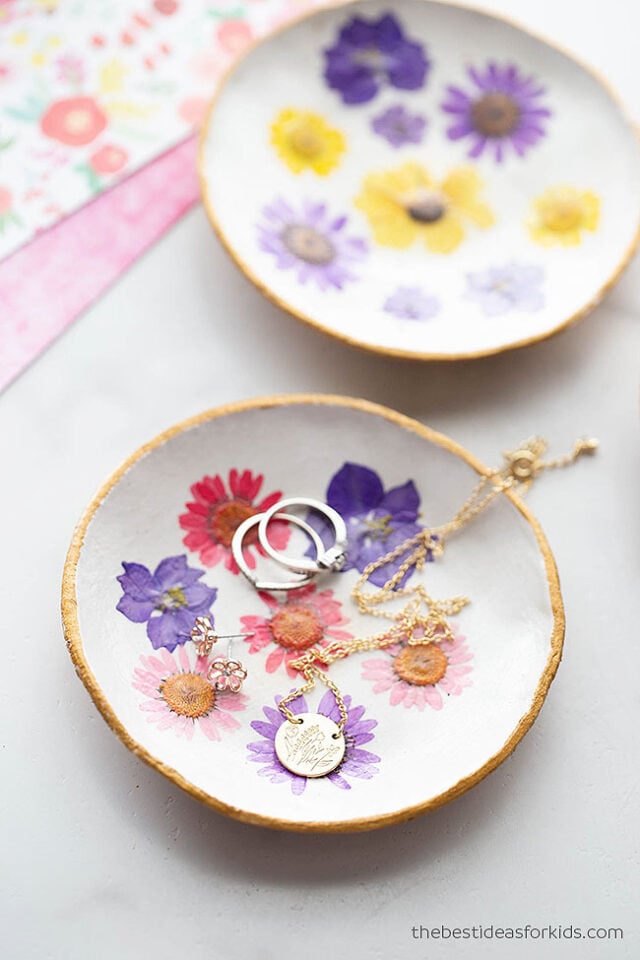
Handmade Pressed Flower Clay Dish
This craft is also a fun summer camp craft to make with kids! Older kids or teens would love this DIY also (even adults!). This makes a beautiful gift for Mother’s Day or a birthday.

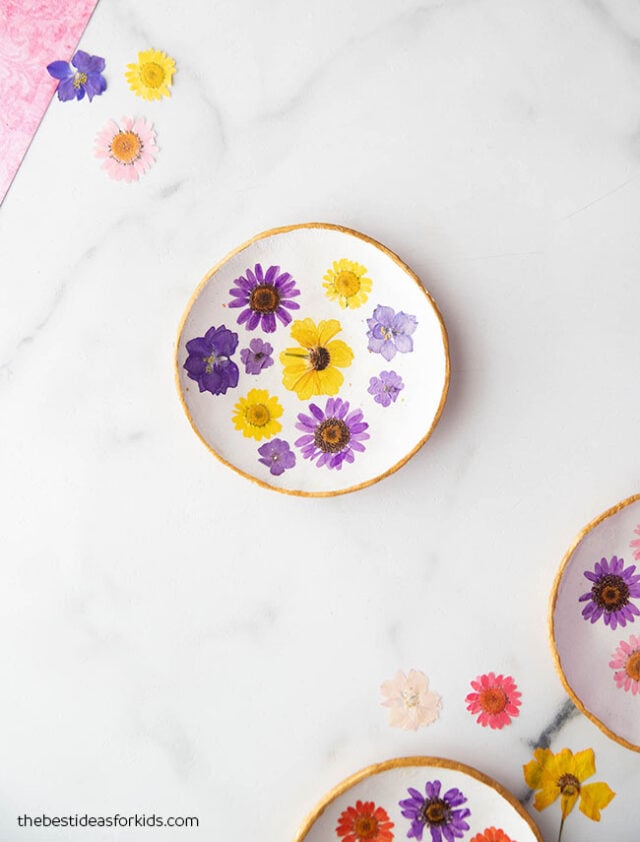
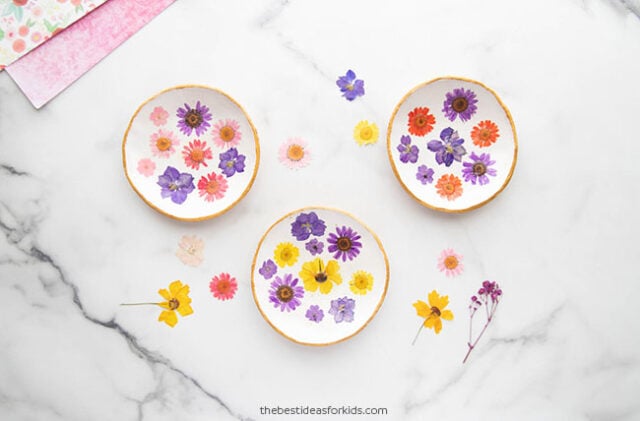
Every dish turns out unique and kids can customize it to make it with their favorite flowers or colors. For another pressed flower craft, try also making these pressed flower suncatchers.
If you’ve never made your own pressed flowers, it is really easy! See our simple tutorial how to press flowers.
Watch the Video Tutorial!
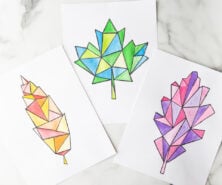
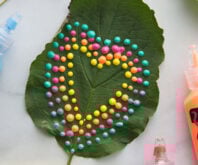
If you like working with clay – see how to make our leaf clay dish also!
Supplies Needed
- Air dry clay (white) – make sure the air dry clay says it is white or it may dry darker (you can also paint it white if you get the wrong clay).
- Pressed Flowers – you can make your own by collecting wildflowers or fallen flowers from your garden. See how to make your own pressed flowers. Or you can order some pressed flowers here.
- Bowls – one bowl to make the size you’d like and one bowl for letting it air dry.
- Clay tools – you may find it easier to clean the edges with a wooden clay knife tool. Here is a set. You can also use a butter knife.
- Gloss Mod Podge – for a glossy finish we like the gloss mod podge but any mod podge would work.
- Rolling pin or clay roller
How to Make a Handmade Pressed Flower Clay Dish
1. Roll out the air dry clay.
Roll to an even thickness. About 1/4 to 1/8 inch thick.
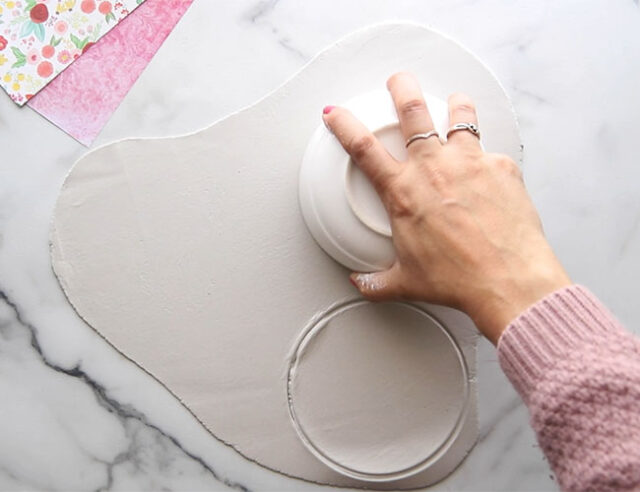
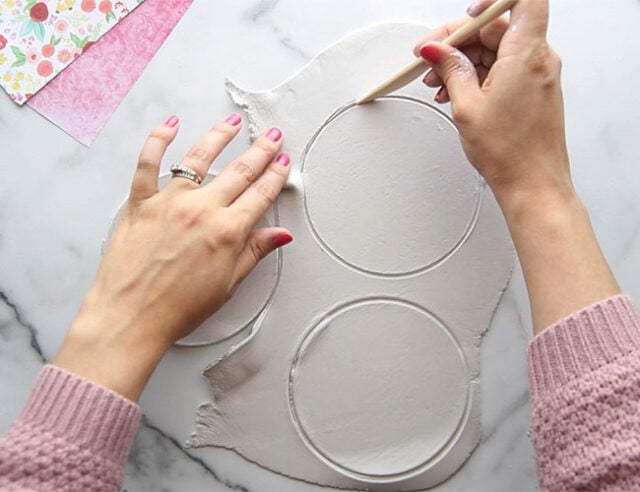
2. Use a bowl to make a circle shape.
A bowl with a thin lip will work better to make the shape. You can also use the bowl as a guide and use the clay knife tool or a butter knife to cut around the bowl for the shape.
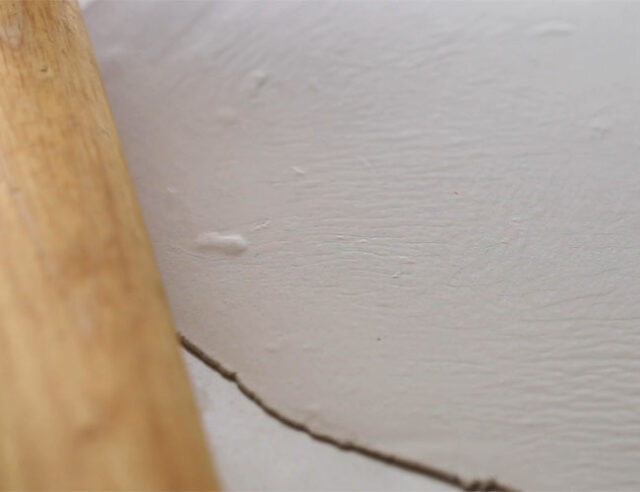
3. Peel off the extra clay from the circle shape.
Use a clay knife tool to clean up the edges or a butter knife.
If the edges are still not smooth, use your finger to smooth them out.
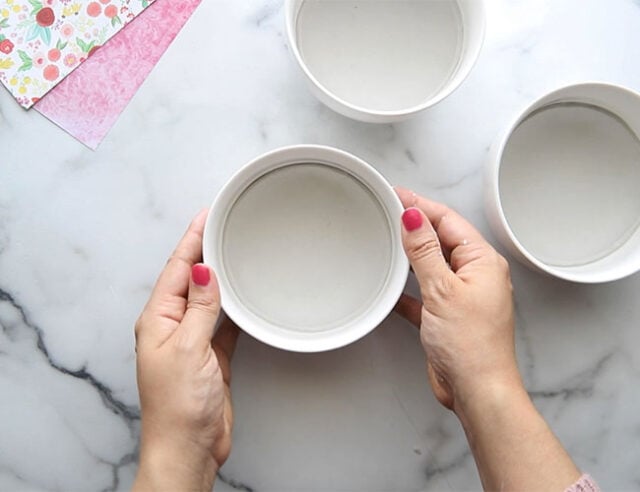
4. Carefully lift up the circle clay shape and place inside a bowl.
Place inside the bowl to dry partially to create the shape. When placing in the bowl adjust the shape to even it out.
Once partially dry you can remove the dish to let it air dry outside of the bowl.
Make sure to flip it over so the bottom can air dry also.
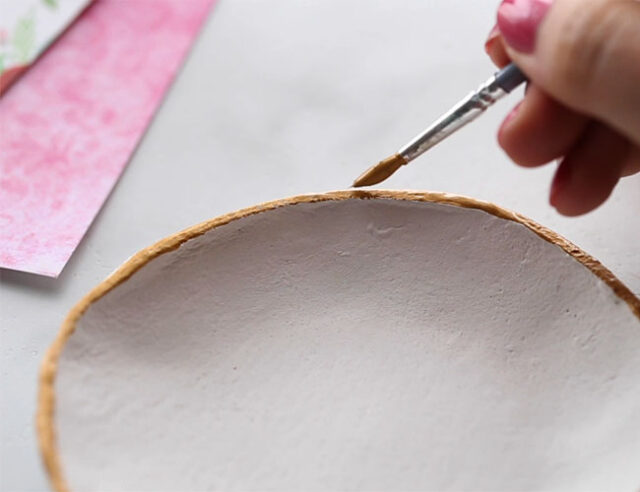
5. Paint the dish.
Let the dish completely air dry before painting.
Paint the top edge with a gold acrylic paint (or whatever color you’d like!). Paint the bottom of the bowl and let it dry. You may need a few coats to get good coverage.
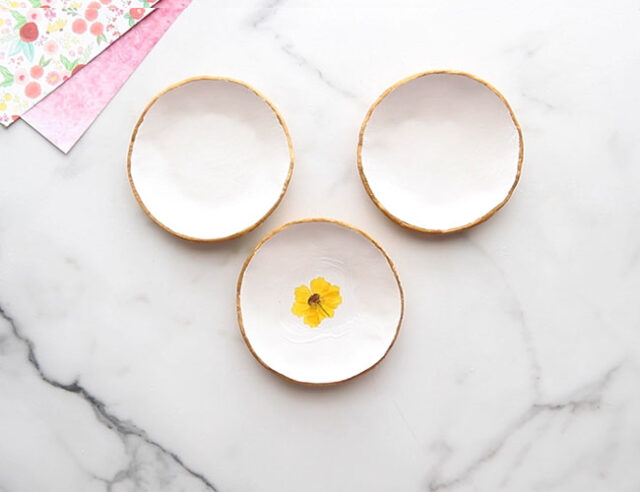
6. Add some mod podge to the inside of the bowl.
Add some mod podge to the inside of the bowl and then carefully place the pressed flowers. Let this dry.
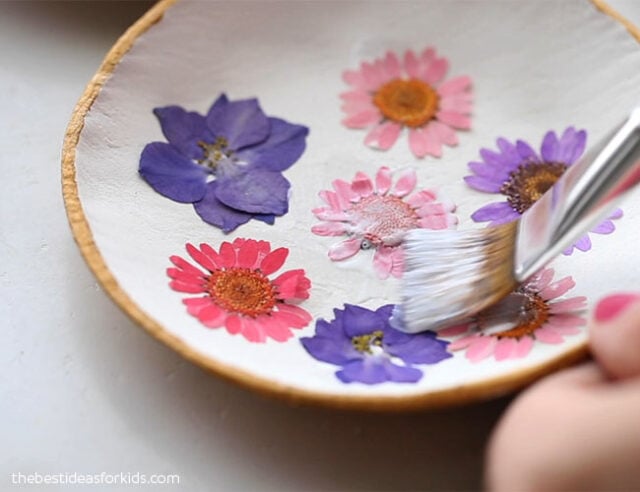
7. Add a final layer of mod podge.
Once the flowers have all been placed and the first layer of mod podge is dry, add a final layer of mod podge on top. Cover the whole dish with this final layer of mod podge.
If you find there are some spots you missed, you may need to do another coat.
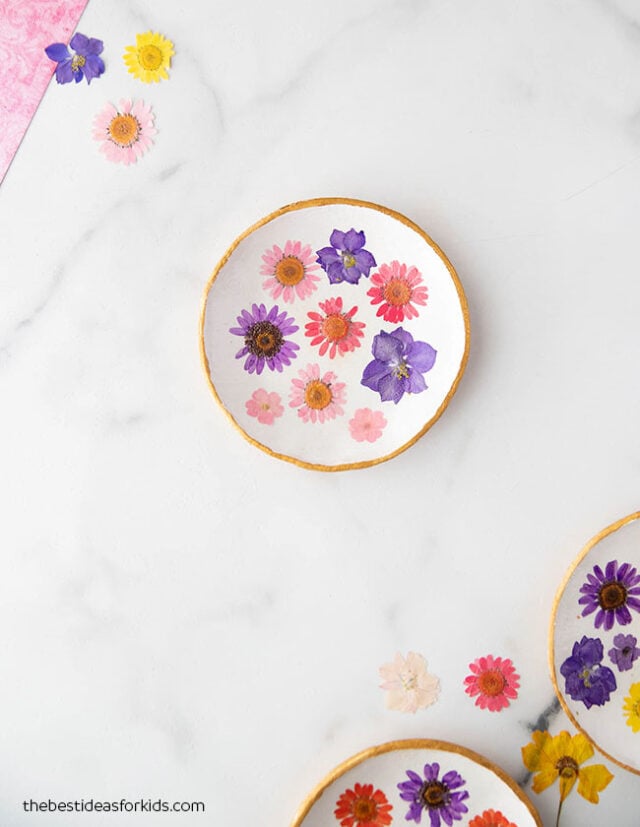
Your final dish should now be completely sealed. You can also add an extra layer of a spray seal if you’d like.
We love how these final dishes turn out. This is such a pretty craft to make for all ages!


Which air dry clay do you recommend? There are quite a few options.
There’s a link above to the one I use but any should be fine as long as it’s white color or it will dry more brown in color. You can always paint it though.