

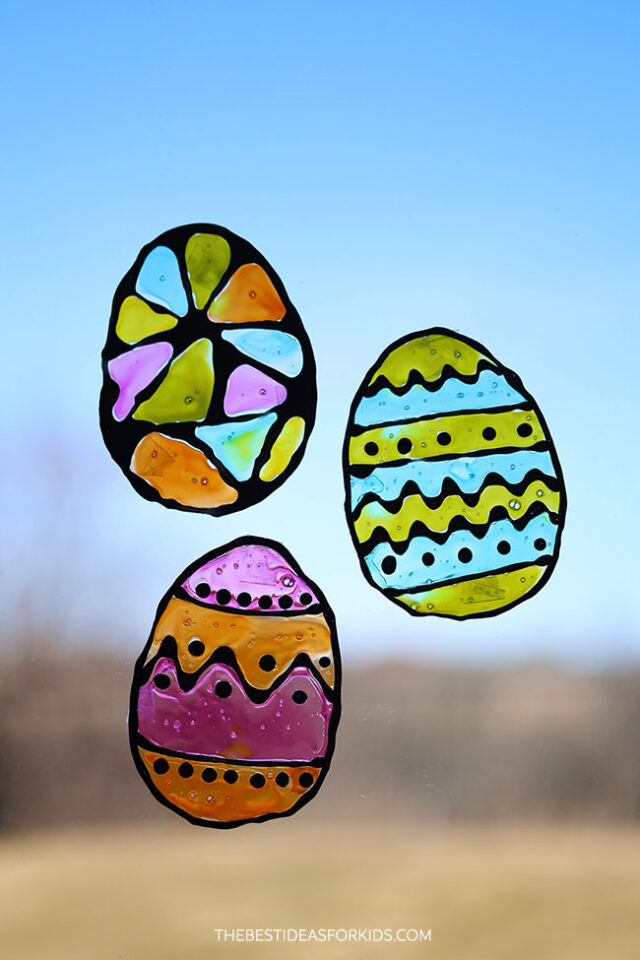
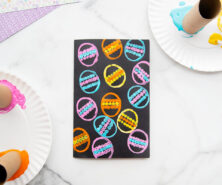
Add a pop of color to your windows with these DIY Easter Egg Window Clings! These are a fun Easter craft and they make beautiful decorations for your window as warmer weather approaches.
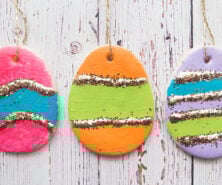
RELATED: Easter Egg Suncatchers
Use our free printable template to make your own custom design! Mix and match different colors and shapes to make cute window clings that you can use year after year.

Supplies Needed
- Black acrylic paint – for the borders of the window cling
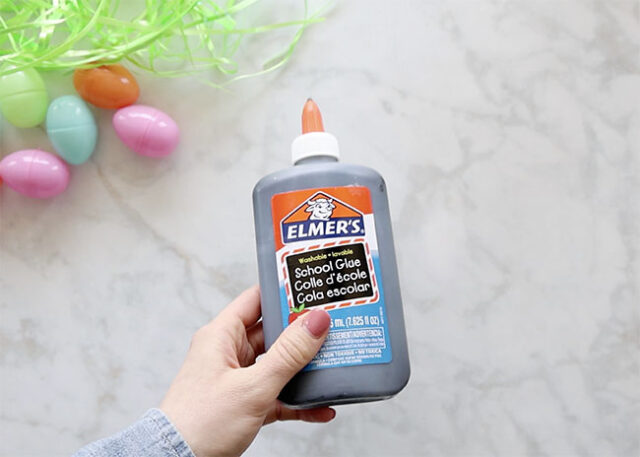
- Washable white glue – for the borders of the window cling
- Concentrated food coloring – to add color to the stained glass sections
- Washable clear glue – for the colored stained glass sections, or you can use colored clear glue
- Dish soap – to mix into the clear glue
- Sheet protectors or plastic covers – for the window cling to dry on
- Printable egg templates – we used the blank egg 2 per page

Watch the Video Tutorial
How to Make Easter Egg Window Clings
1. Make the black glue.
Mix black acrylic paint with white glue – this is what you’ll use to make the black border outlines on the stained glass window cling.
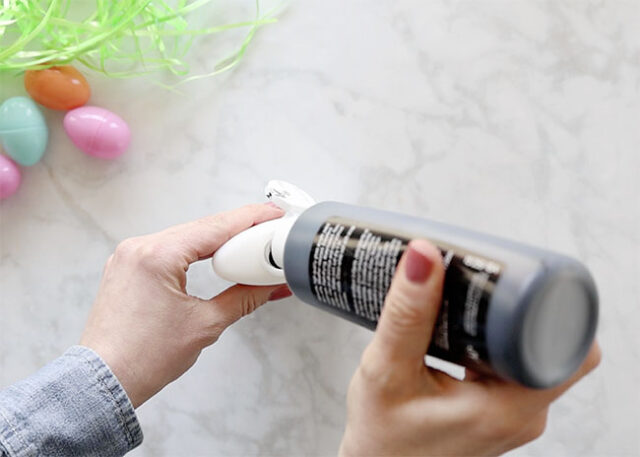
Add about 2 really good squirts into the white glue bottle and shake the bottle until it’s mixed. You can test the color if it’s too gray and if not dark enough, add a little more black paint to the glue. You don’t want too much paint or the glue will be too watery. If this happens, just add more white glue back into the bottle.
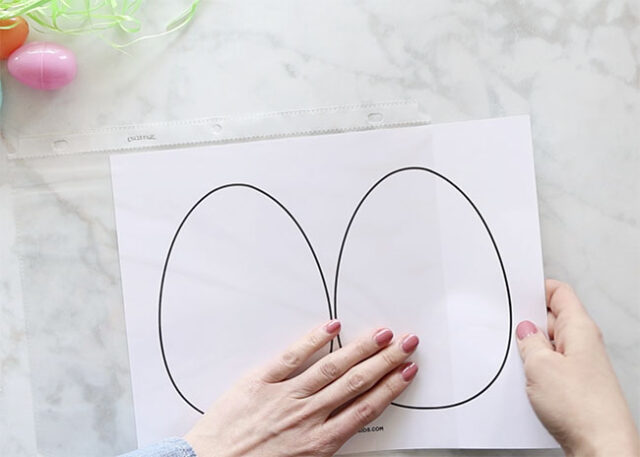
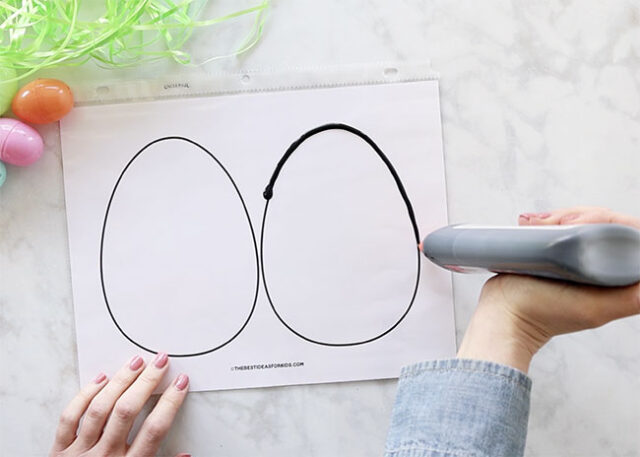
2. Create the window cling outline.
Print out the egg template (we used the 2 per page blank egg) and slide it into a clear sheet protector. You can also use recycled clear plastic, you need a plastic surface for the glue to dry on.
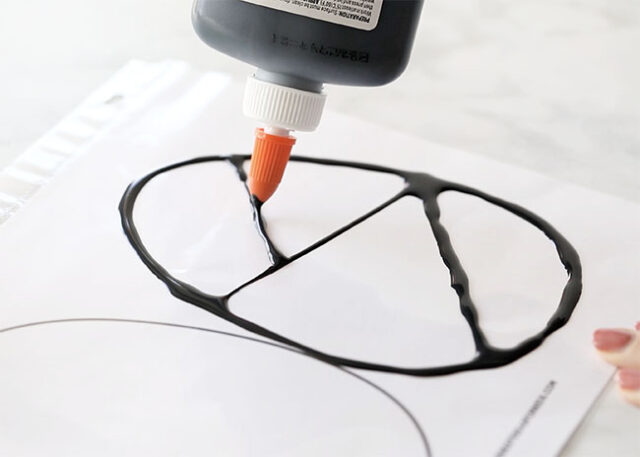
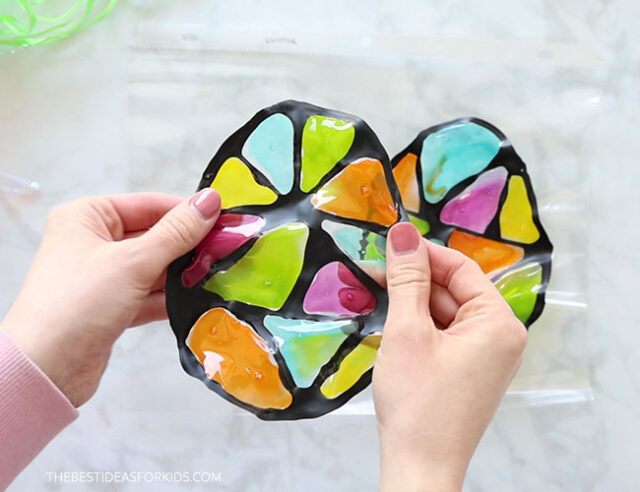
Use the black glue to make the border on the egg, following the printed outline as a guide.
Then, make interior lines to add details to the egg. You can make geometric shapes or make or any creative egg design you’d like! Once done, let the black glue dry. You’ll want to complete the project the next day or the black glue may start to lift a little bit off the sheet protector.
3. Add color to the window cling.
Add concentrated food coloring to a bottle of clear glue. Repeat for each color you’d like to make. Then add 3 small drops of clear dish soap to each bottle – this will help the cling stick to the window. Shake until combined.
Note: you can also buy colored glue if you want to skip this step.
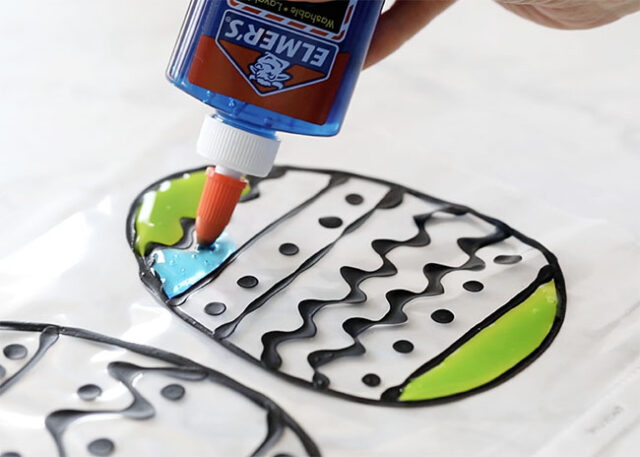
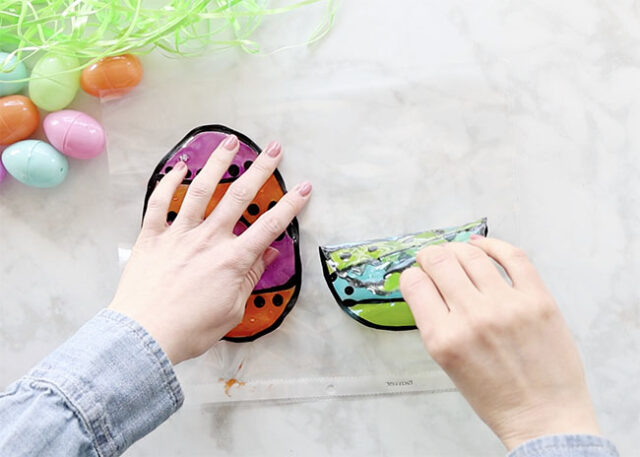
Fill in the rest of the egg with the colored clear glue. Don’t add too thick of a layer (the thinner the better) or it will spill over the borders. Apply an even, thin layer and allow it to dry completely.
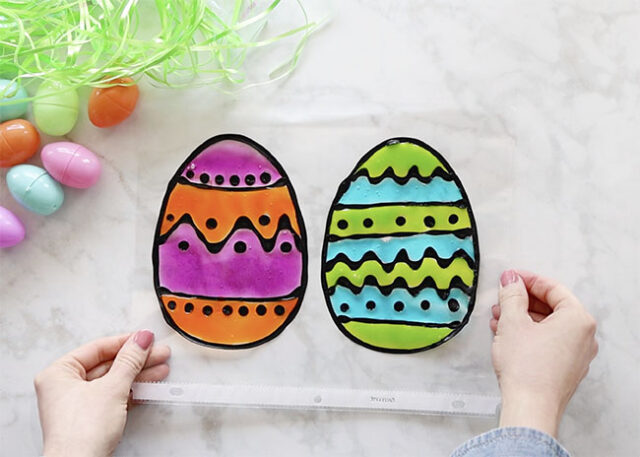
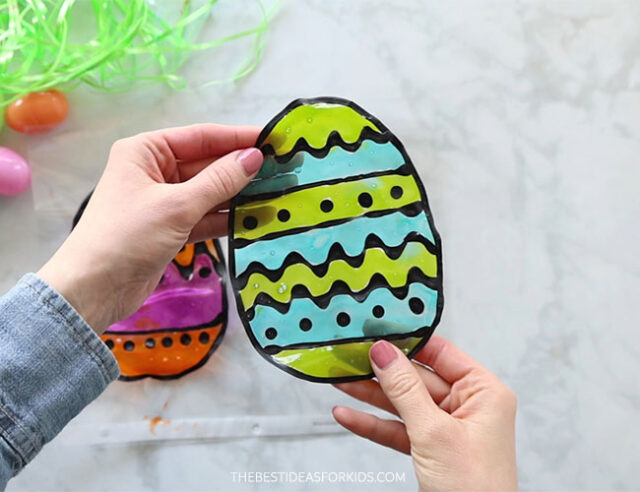
5. Peel and stick!
The next day, once dry, carefully peel the window cling off of the sheet protector. If the window cling is not sticky enough you can brush the back of it with a small amount of water.
Tip: If you find that your window clings aren’t sticking to the window nicely, you can also use tape to secure them to the window.
Note: the glue may start to curl a little if you wait a few days before adding to the window, you can soften it up again by brushing a bit of water to the back and then pressing them on the window. When you go to remove, they may leave some glue residue if you do this. Make sure you use washable glue and then you can use some soap and water to get the glue residue off the window.
Now you can stick it to the window and enjoy!
See more fun Easter crafts with our 25+ Easter Crafts for Kids.


Love your ideas
Do you have a hand craft for busy 2 year toddler boy?
And 8 year old easy craft
Hi Carol, if you head to the craft index you can sort by handprint crafts and age. Hope that helps!