These salt dough heart ornaments are perfect to make for Valentine’s Day or Mother’s Day. You can even save them to give as gifts at Christmas. If you’d rather not make an ornament you can turn this into a magnet or just have them as paper weights too. Kids will love painting their own and even toddlers can paint them!
RELATED: Salt Dough Flower Magnets

Salt Dough Hearts
This is a great classroom activity for Valentine’s Day or Mother’s Day. You can have each child decorate their own heart. Just note that you will need to bake them or let them air dry for a few days before painting.
We also love that you can easily make a large batch of these to hand them out to friends and family.
Supplies Needed to Make Salt Dough Hearts
- Flour
- Salt
- Heart Cookie Cutters – you’ll need a large and a small one. This set is perfect since it includes both sizes you’ll need to make the photo version.
- Acrylic Paint – we used pink and red
- Mod Podge (glossy) or we like this spray for a durable finish
- Glitter
- Twine for hanging the ornaments
Note: Please remember to keep salt dough out of reach of pets.
Watch the full tutorial video here before you get started!
Directions to Make Heart Salt Dough Ornaments
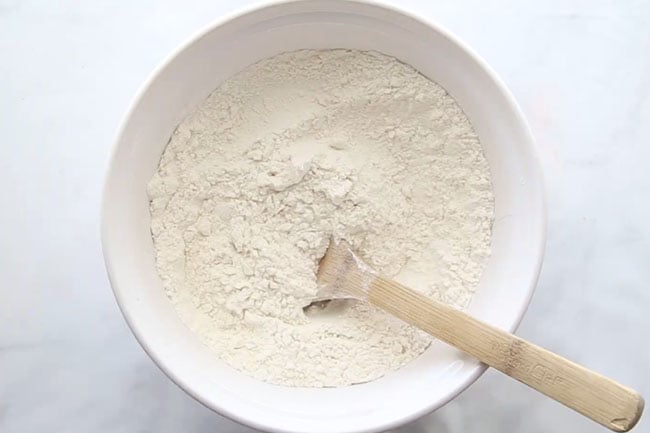
- Begin by mixing 4 cups all purpose flour with 1 cup of salt. If you want to make a smaller batch, just cut this in half.
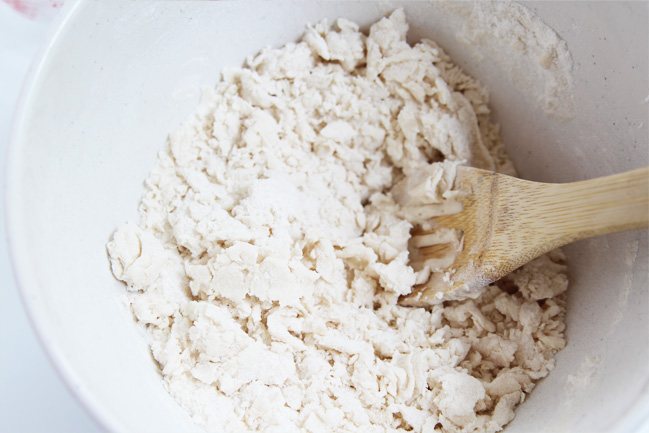
2. Add 1.5 cups warm water until it starts to form a dough.
3. If it feels a little dry, you can add more water. Add one tablespoon at a time. If it is too sticky, then add a little more flour in.
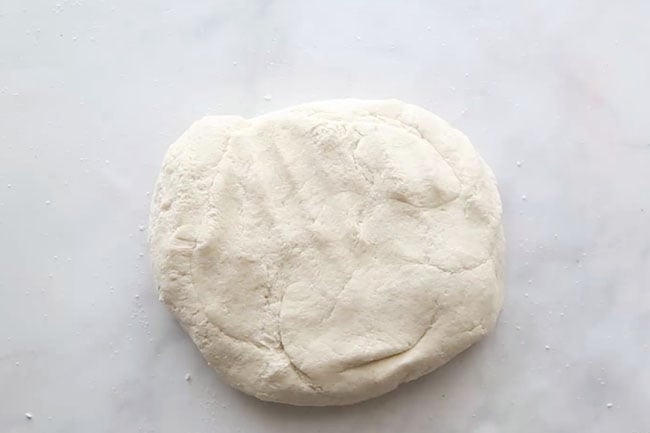
4. Knead the dough until it forms a soft ball. You will need to knead for at least 5-10 minutes to get it to a good consistency. Roll it out to about 1/4 inch in thickness.
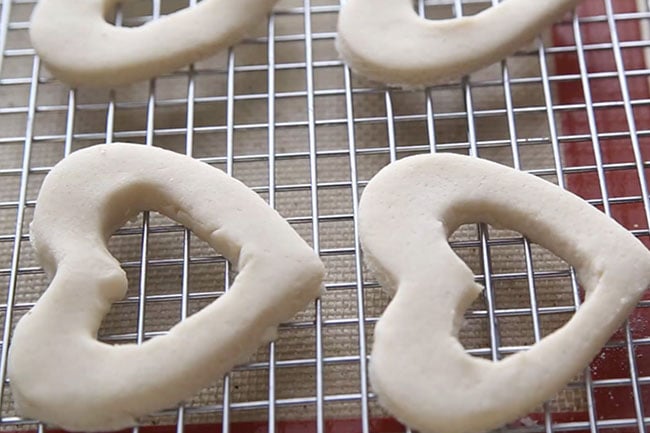
5. Cut out heart shapes using a small and large heart cookie cutter.
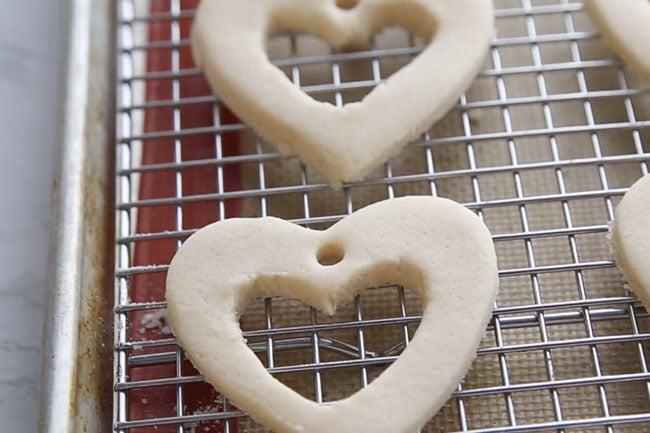
6. Add a hole in the top of the ornaments with a straw if you want to be able to hang the heart. Alternatively you can add a magnet to the back.
7. Place the salt dough shapes on a parchment paper lined cookie sheet or non-stick baking pan and bake at 250 degrees F for about 2-2.5 hours (Adults only). If the dough is not completely dried out, you can let it bake longer or turn the temperature of the oven slightly up.
If you do decide to turn the temperature up, keep an eye on the ornaments to make sure they do not puff up. If this happens, turn the temperature back down. If you find the ornaments are still not dry, let them sit out on a cookie drying rack to air dry overnight. The air needs to access the bottom of the ornaments to fully dry them out.
8. Once they are fully dry, seal with either mod podge or a clear glaze spray. We like this spray for a durable finish. Adults should do the spraying and always follow directions of the product chosen. Sealing the final ornaments will help stop them from cracking in a few years.
If you would like to paint them, paint the ornaments first and then seal them.
To add glitter: add some glue on top of your ornament and then sprinkle the glitter on top. Shake off any excess.
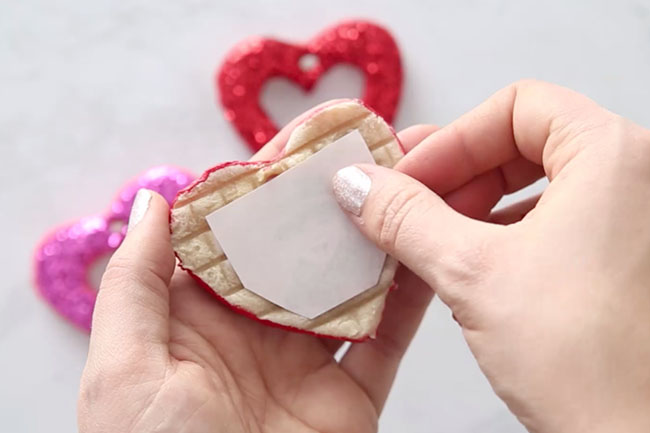
9. Glue a photo to the back of the ornament.
10. Add some twine or ribbon for hanging.
We love making salt dough ornaments! They are a fun kitchen activity to do with kids and we love that they can paint and customize them all on their own!
See these other favorite salt dough ornament ideas we have:
More Mother’s Day Ideas
We love these salt dough handprint ornaments – these make the perfect keepsake! You can make them for Mother’s Day and save them to hang on the tree for Christmas too!
These flower salt dough magnets also make a great homemade gift!
See over 20+ of our favorite Mother’s Day Craft ideas.





Hi. This is right in time. It’s easy cute and did I mention, easy! Question: How can I speed up the time (w/o possible cracking) if I want to do for a toddler playgroup. Thanks for sharing!! 🙂
Bake for as long as you can and then send instructions home for them to let air dry (and expose bottoms to dry also) for a few days.