

Need an easy art activity for kids? Try this Q-tip painting activity to make your own Q-tip painted handprint tree! You can add handprints or even do the trees with painted tree trunks. Kids can paint with spring-themed or fall-themed colors!
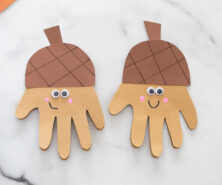
RELATED: Handprint Tree
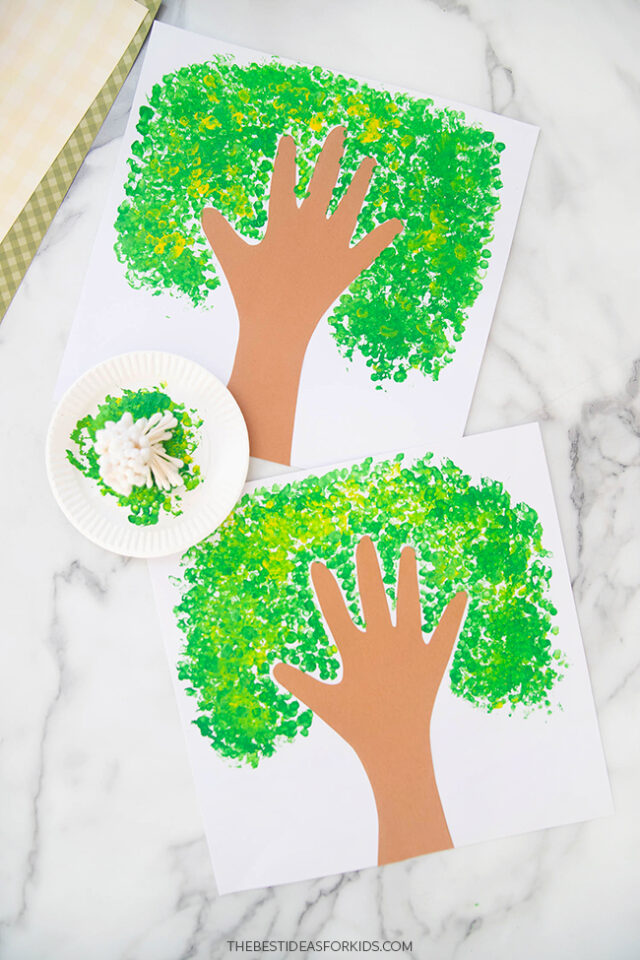
Handprint Tree Painted with a Q-tip
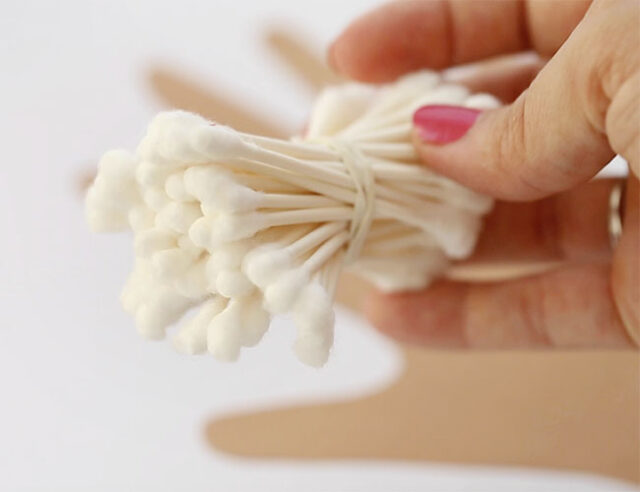
Instead of a regular paintbrush for this project, we bundled a handful of Q-tips to make this unique stamper. When dipped into paint, it creates a really fun leaf print perfect for your tree!
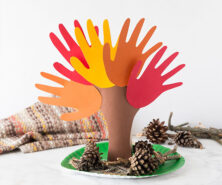
For more handprint tree ideas see our paper roll handprint tree and handprint heart tree.
Your child’s hand is the perfect tree trunk for this craft, making this project an instant keepsake. Don’t forget to write your child’s name and the date on the back!
Supplies Needed
- Q-tips – approximately 25
- Elastic band – to secure the Q-tips together
- Light brown cardstock – for the tree trunk
- 12 x 12 white cardstock – for the background
- Glue – to attach the tree trunk to the paper background. Regular white glue or a glue stick works well.
Watch the Video Tutorial!
How to Make a Q-Tip Painted Handprint Tree
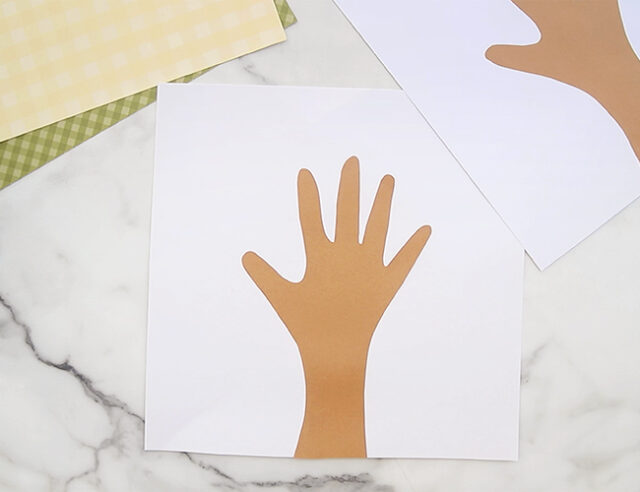
1. Make the tree trunk.
Place your child’s hand (fingers and thumb separated) and several inches of their arm on the light brown cardstock. Trace around it with a pencil.
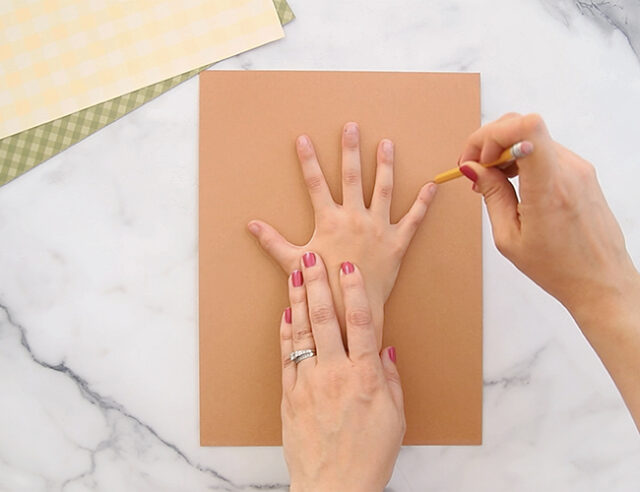
Cut out the handprint – this will be your tree trunk.
Glue it onto the white 12 x 12 cardstock so that the bottom edge of the trunk is in line with the bottom edge of the paper.
You can also use a regular 8.5×11 paper but your tree may be smaller.
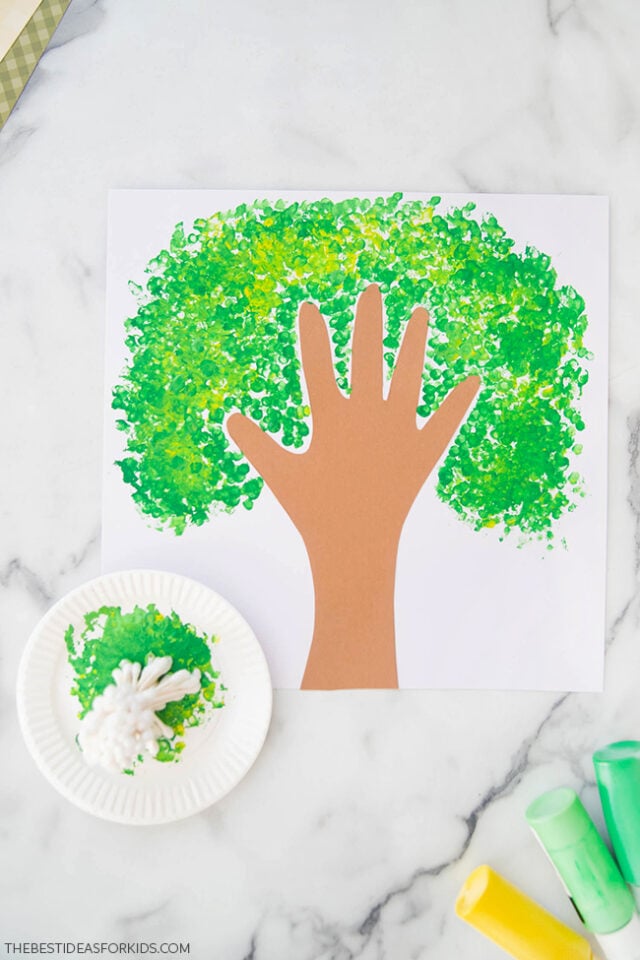
2. Paint the leaves.
Bundle about 25 Q-tips together and wrap an elastic band around them to secure.
Squeeze a few shades of green and yellow paint onto a paper plate and dip the Q-tips into the paint.
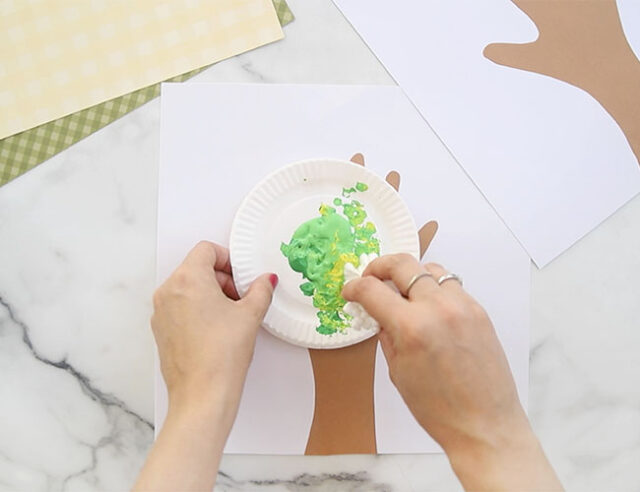
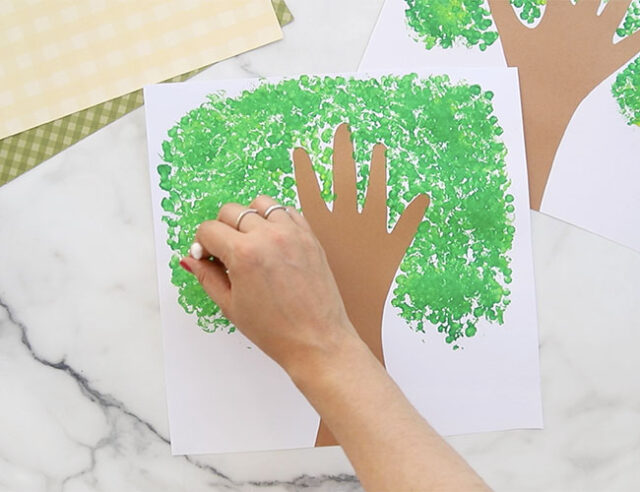
Dab the Q-tips onto the paper, forming a tree canopy around the trunk.
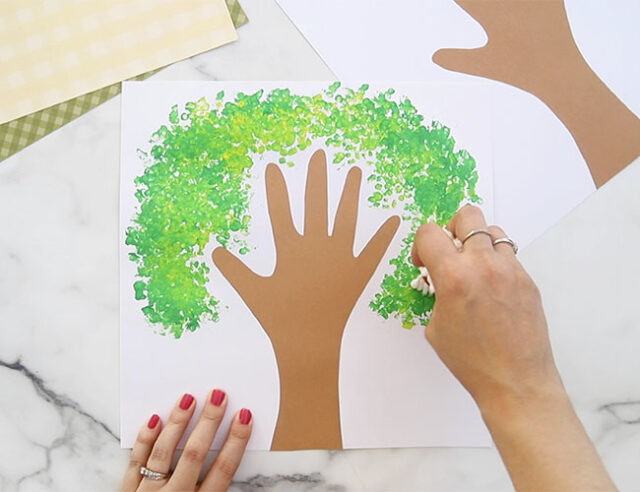
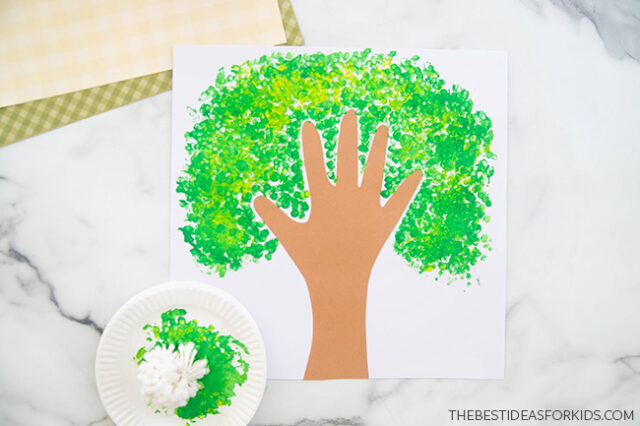
3. Add more leaves.
Dip a single Q-tip into the paint and dab it on the paper between the fingers and thumb, filling in the blank spaces.
Dip another single Q-tip into yellow paint to add a touch more yellow all over the tree canopy.
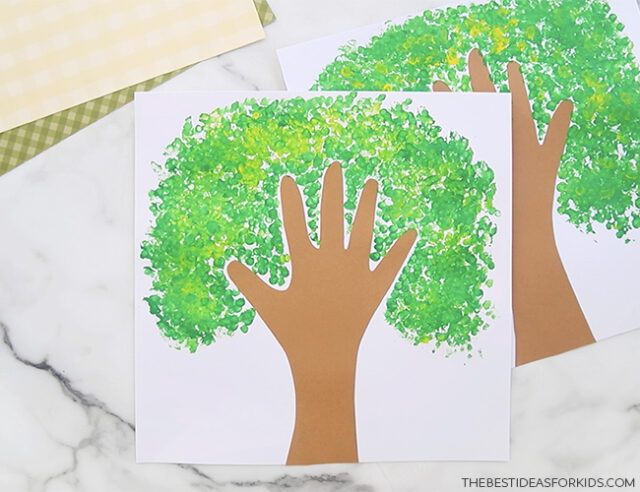
Once the paint has dried, your tree is ready to display at home or give to grandparents or loved ones.
Make a fall colored tree by using red, orange and yellow instead!
For a Valentine’s twist, you could make a red and pink tree and add some paper hearts to it. See our handprint heart tree.


Share a Comment!
We LOVE hearing from you! Submit your question or comment here.
Your email address will not be published.
Required fields are marked *