Looking for a fun nature craft to make with kids this holiday season? This simple Pine Cone Santa Ornament is the perfect craft to make this time of year.
RELATED: Pine Cone Christmas Tree
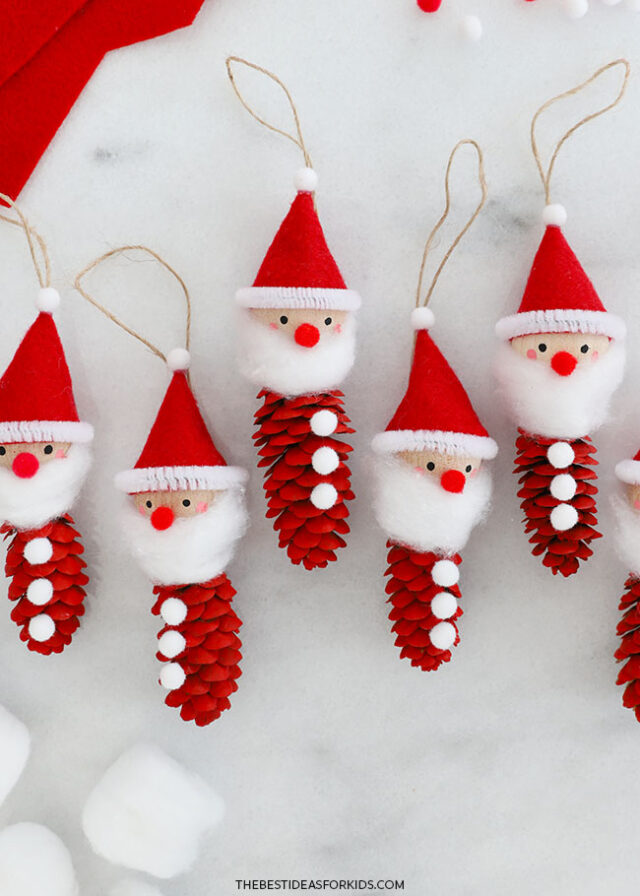
If you don’t already have pine cones in your craft stash, head out for a walk in your neighborhood to scout some out – we used pinecones that are about 1 1/2″ long, but this craft can be adapted to suit whatever pinecones are local to your area.
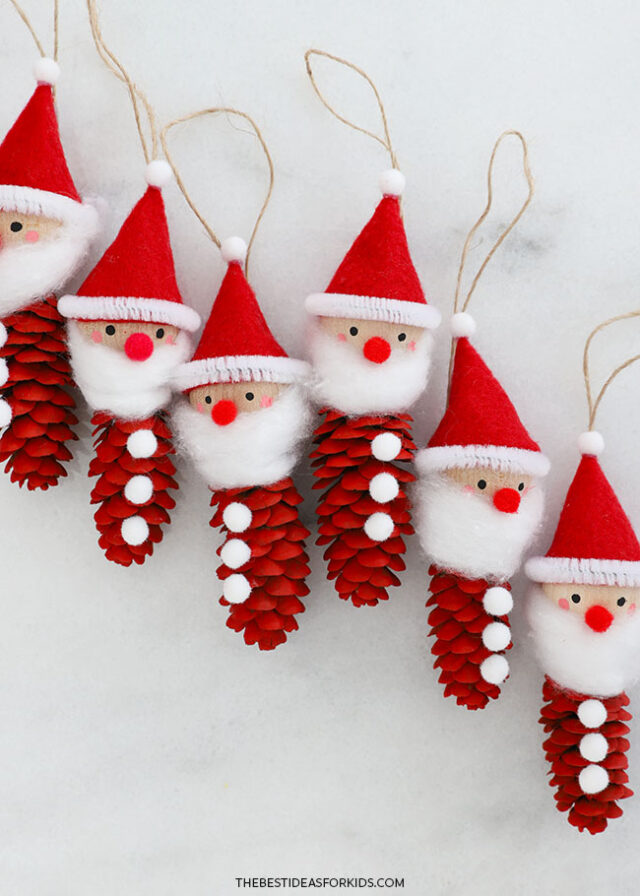
These cheerful Santas make adorable decorations for the Christmas tree, but they would also be so cute as little gift toppers for holiday presents.
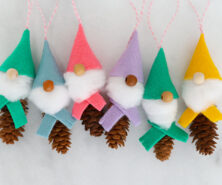
Also check out our pine cone angel and pine cone gnome for other pine cone Christmas ideas!
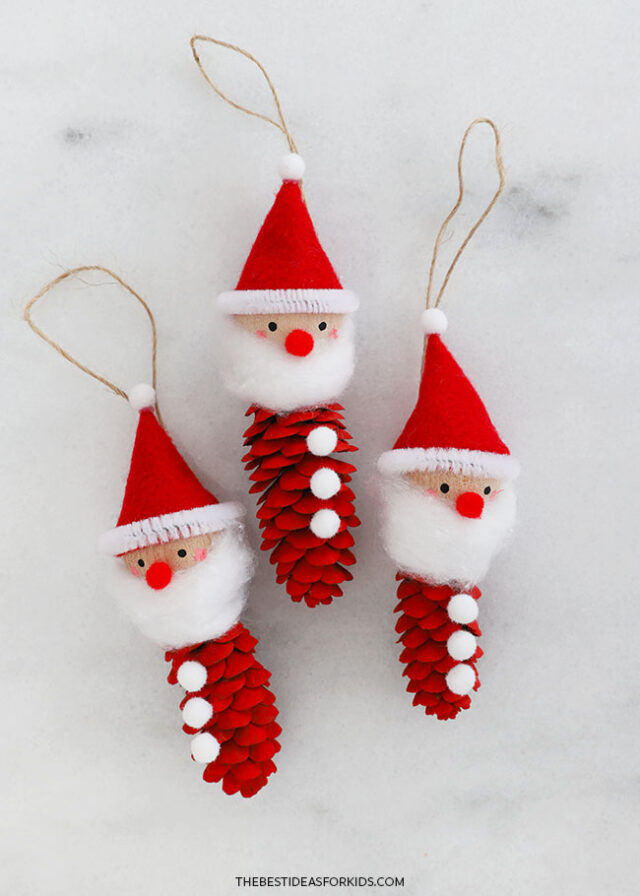
Supplies Needed
- Pine cones – 1 per Santa – see note below for tips
- Paint – red, black, and pink or acrylic paint markers
- Paintbrush – medium sized
- Toothpick – for painting on face details
- Wooden beads – 1 per Santa, 1″ across
- Red felt – to make the Santa hats
- Mini white pom poms – 4 per Santa, about 5mm across
- Mini red pom pom – 1 per Santa, about 5mm across
- White pipe cleaner – for Santa’s hat (you can also use felt or the cotton ball here)
- Cotton ball – to create Santa’s beard
- Tacky glue – or white glue
- Hot glue gun – used with adult assistance
- Scissors
- String – to make the hanging loops
- Chalk – for tracing the template onto felt
- Printable Santa hat template – get the printable template at the bottom of the post.
Note
If using pine cones collected from outside, be sure that they are dry and ready to use. It can be helpful to bake the pine cones in the oven at 250 degrees Fahrenheit for 10-20 minutes on a parchment or foil-lined baking sheet (adults only). This will help speed the drying process and make sure there aren’t any bugs in the pine cones. Keep a close eye on them in the oven and let them cool completely before crafting.
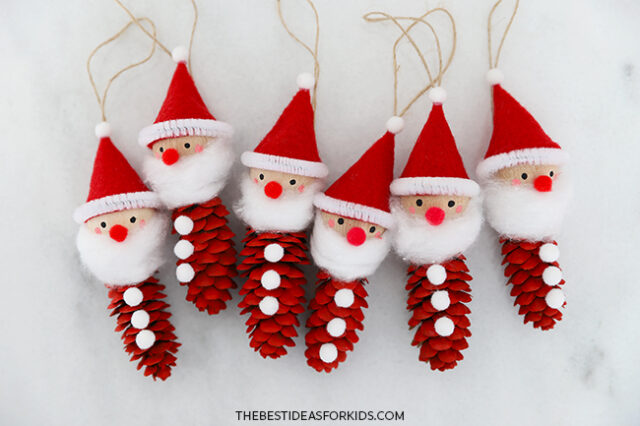
How to Make a Pine cone Santa Claus
1. Make the bodies.
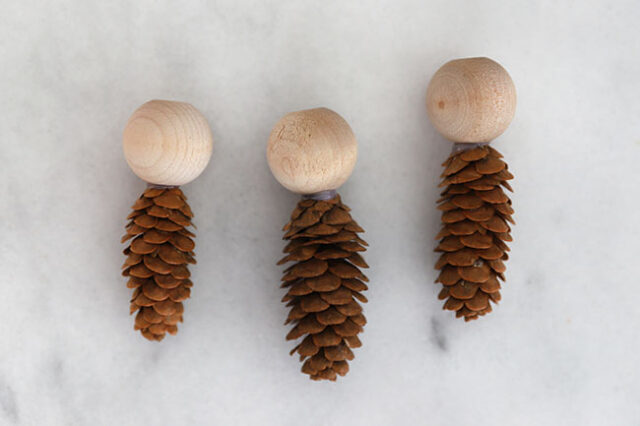
Glue the wooden bead to the top of the pine cone with hot glue (with adult assistance). Hold it in place as the glue dries.
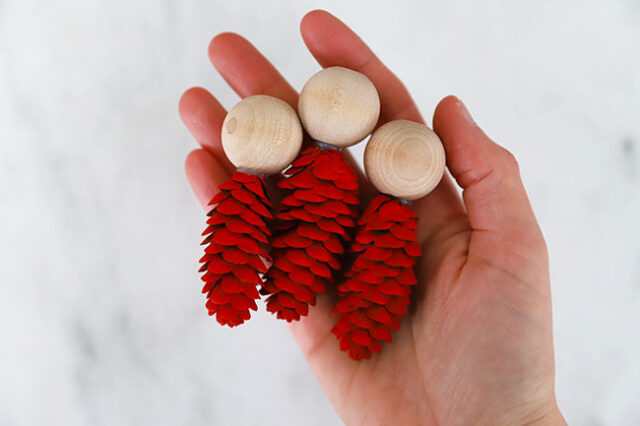
Paint the pine cone red – this will be Santa’s red suit.
We found it helpful to hold the wooden bead head as a handle as you paint. Set aside to dry.
2. Make Santa’s hat.
Download and print the free printable template, found at the bottom of the post.
Cut out the template and trace onto red felt with a piece of chalk and cut out the felt shape.

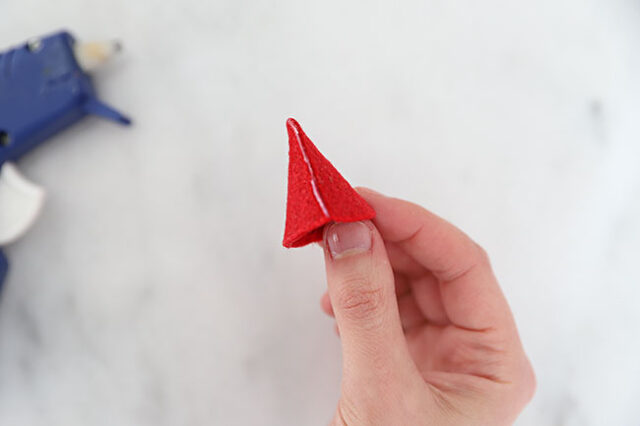
To glue the hat together, carefully apply a thin line of glue along 1 of the straight edges of the felt. Pull the other straight edge over to meet it, forming a cone. Hold the pieces together until the glue has dried.
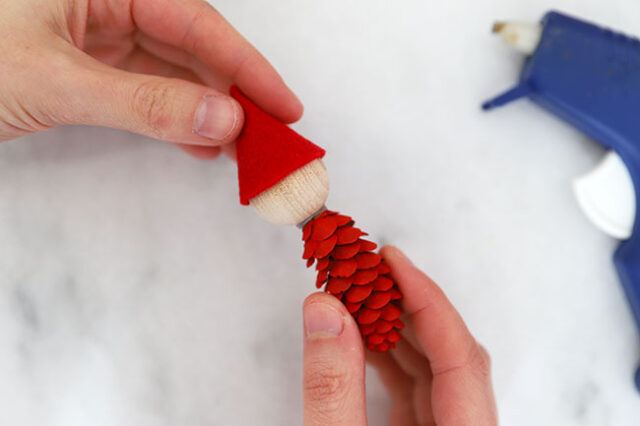
Glue the felt hat to the top of the wooden bead.
3. Add Santa’s beard.
Apply small dabs of white or tacky glue onto the wooden bead – do this in the shape of a U, so that the seam of the Santa hat is facing the back while the glue faces the front.
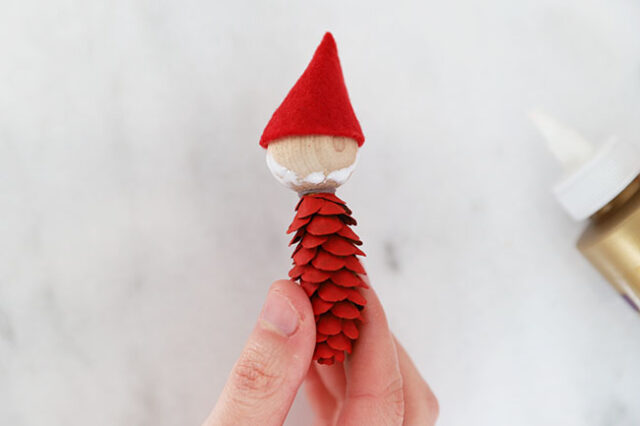
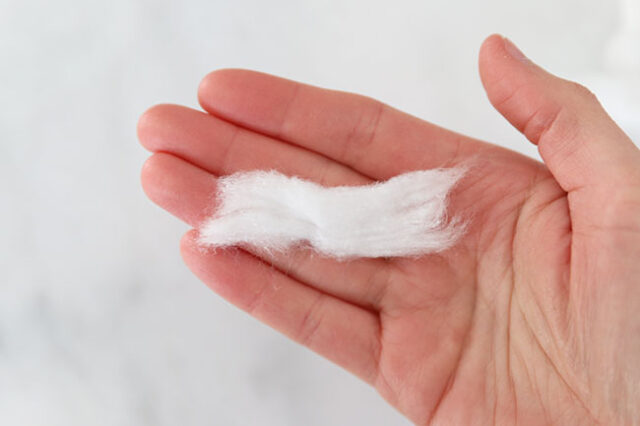
Take a cotton ball, find the edge, and gently unroll it, tearing a piece off that is about 2″ long.
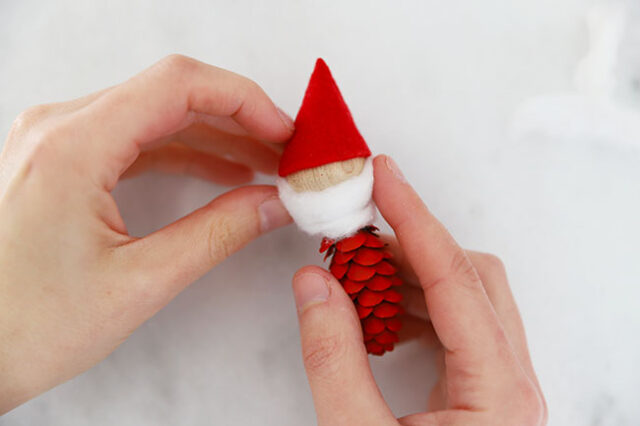
Place the cotton ball piece onto the glue, pressing to adhere, and gently tearing away any extra cotton ball if it is too big for the face.
Shape the cotton ball into a round beard.
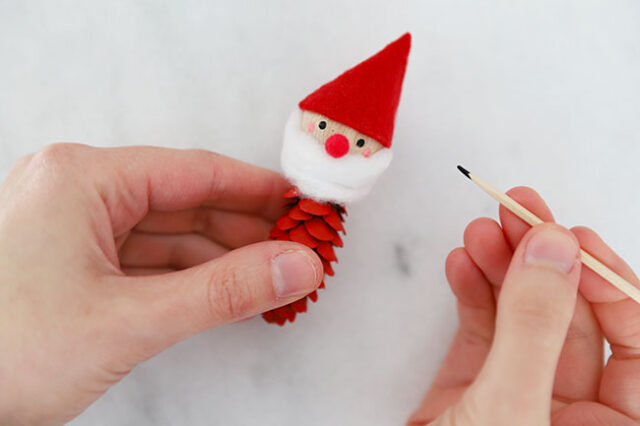
4. Create the face details.
First, apply a tiny dab of tacky glue onto a small red pom pom and glue it onto Santa’s face, forming a nose.
Then, use a toothpick dipped in black paint to make 2 small eyes. Use the other end of the toothpick to paint on 2 rosy cheeks. Allow the paint to dry.
For the hat trim, take a white pipe cleaner and cut it down to a piece about 4″ long. Wrap the pipe cleaner piece around the base of the hat, and with adult assistance, use hot glue to secure the ends down onto the back of the hat. Instead of pipe cleaner you can also glue on cotton ball, white felt or white pom poms to form the brim of the Santa hat.
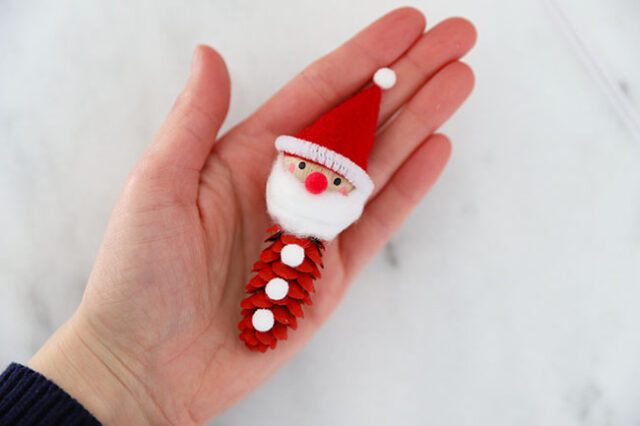
Next, use tacky glue to apply 3 mini white pom poms onto Santa’s pine cone body.
Glue 1 last pom pom on to the tip of Santa’s hat with some hot glue (adult assistance needed).
5. Attach the loop.
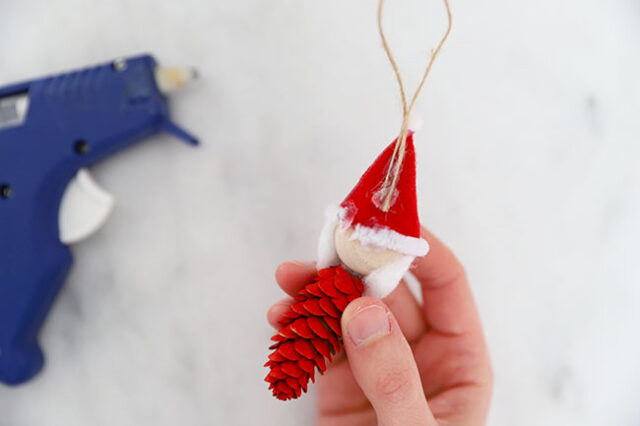
Cut a piece of string about 6″ long and bend in half. With adult assistance, apply a small line of hot glue to the back of Santa’s hat and press the 2 ends of the string into the glue.
Once dry, this will act as the loop for hanging your ornament.
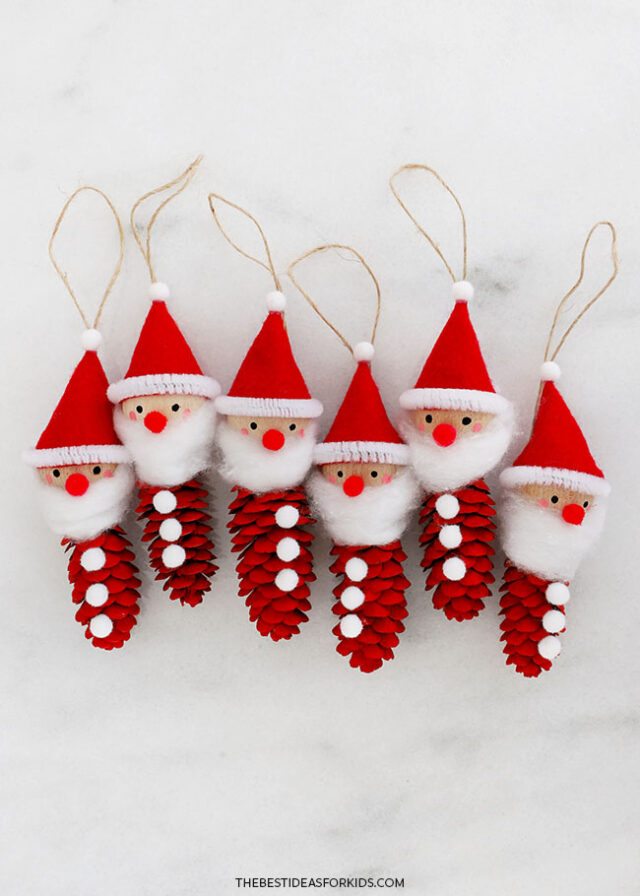
Your pine cone Santa is now complete!
Get the Craft Template Here
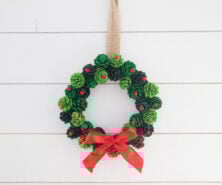
See more Pine Cone Christmas Crafts:







Share a Comment!
We LOVE hearing from you! Submit your question or comment here.
Your email address will not be published.
Required fields are marked *