

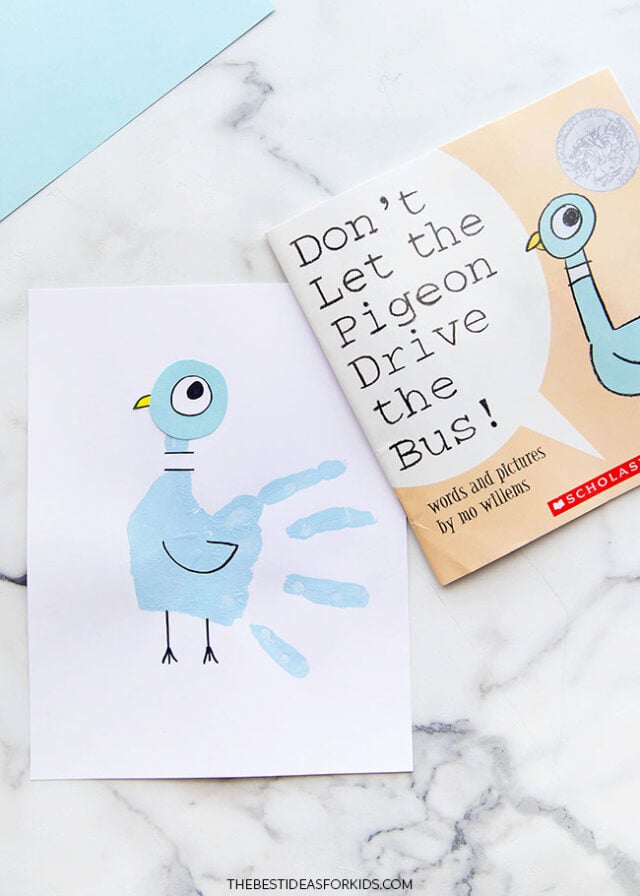
Do your kids love the pigeon books by Mo Willems? This adorable handprint pigeon craft is fun to make and makes a cute keepsake! This Don’t Let the Pigeon Drive the Bus craft is easy for kids of all ages to make and perfect to decorate the classroom or library.
RELATED: Rainbow Fish Craft
Mo Willems-Inspired Pigeon Craft
This Mo Willems-inspired handprint craft is perfect for preschoolers and kindergarteners who love the pigeon from his books. It’s the perfect keepsake and a great way to remember one of their favorite books.
Kids will love using their handprint to make the pigeon. Read one of the best-selling pigeon books afterwards and hang up your new art on the fridge or bedroom.
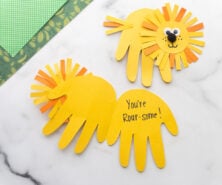
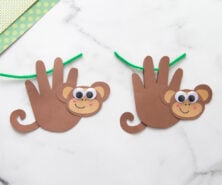
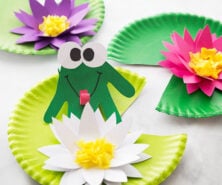
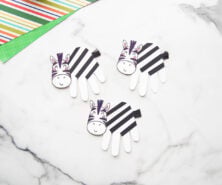
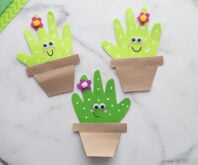
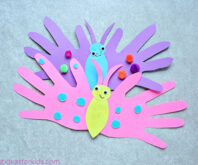
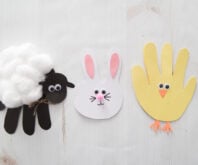
For more handprint crafts, see these:
Supplies Needed to Make Handprint Pigeon
- Paint – light blue non-toxic paint to make the handprint. You can use acrylic or tempera paint.
- Paintbrush – to apply paint onto your child’s hand
- Colored Cardstock – pale blue for the head, yellow for the beak
- White Cardstock – white for the eye, neck, and background
- Black marker – for hand-drawn details
- Glue stick
- Book accompaniment: Don’t Let the Pigeon Drive the Bus book
Watch the Video Tutorial
How to Make a Handprint Pigeon
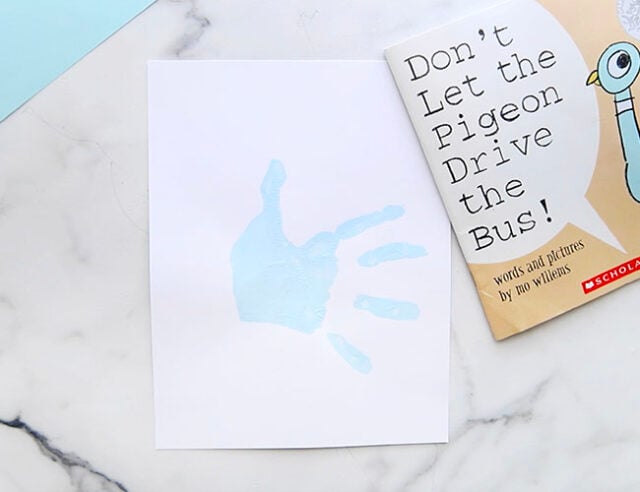
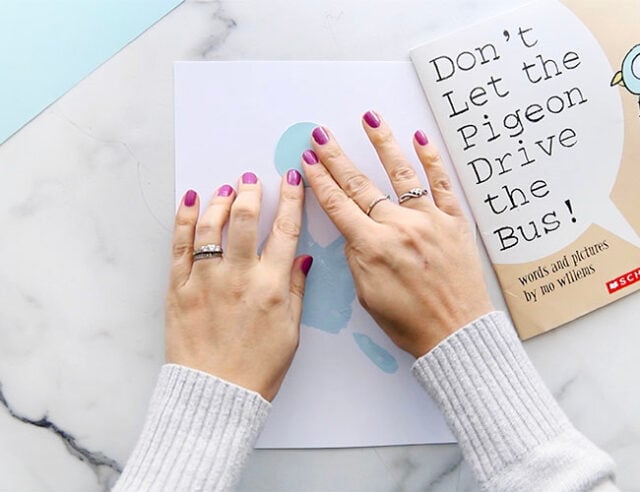
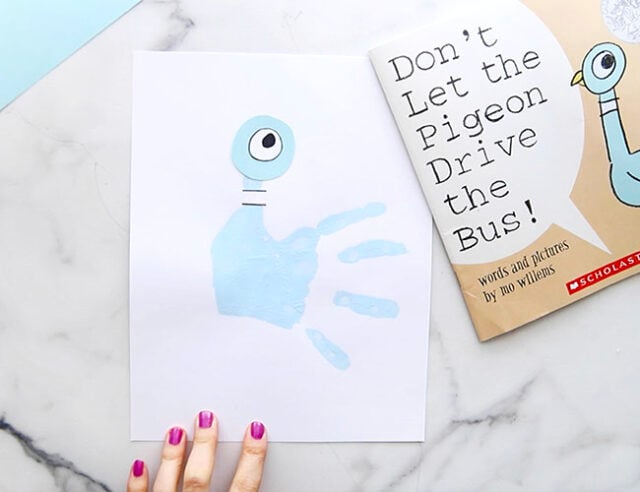
1. Make a handprint.
Brush a coat of pale blue non-toxic tempera or acrylic paint onto your child’s hand.
Help stamp their hand onto the center of a piece of white cardstock, with their fingers and thumb spread apart.
Set aside to dry completely.
Note: Use a shade of blue paint that closely matches the pale blue cardstock that will be used later for the pigeon’s head.
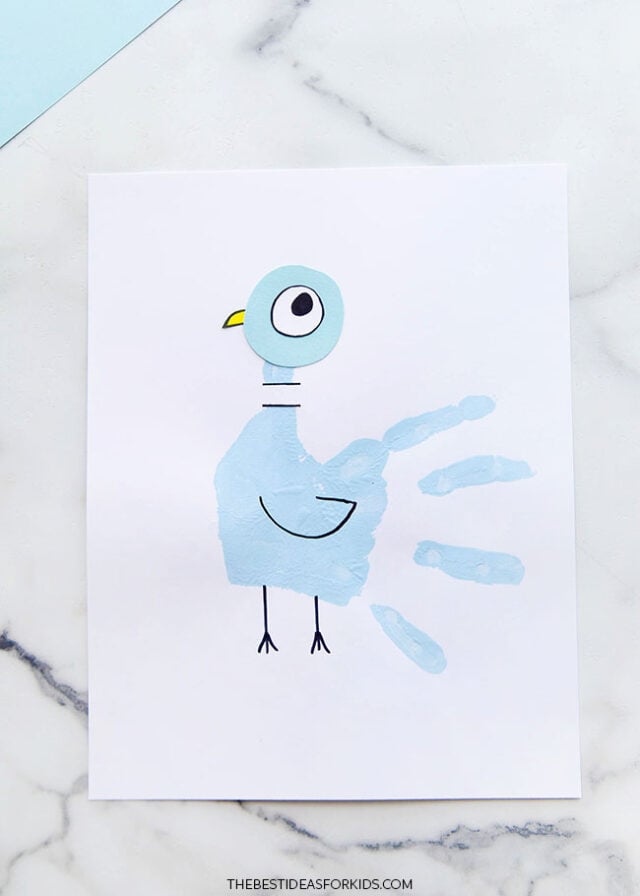
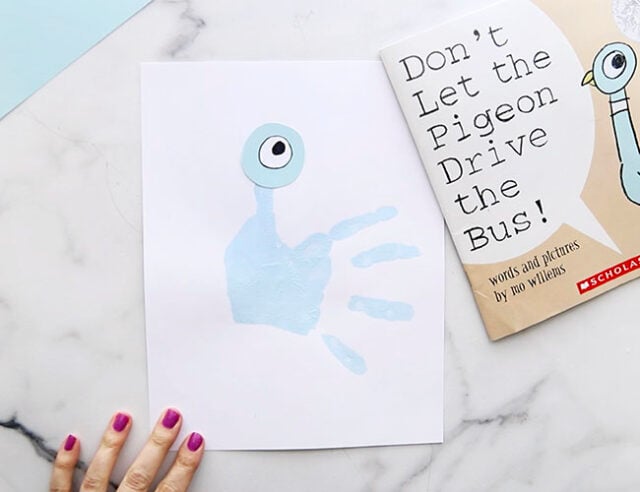
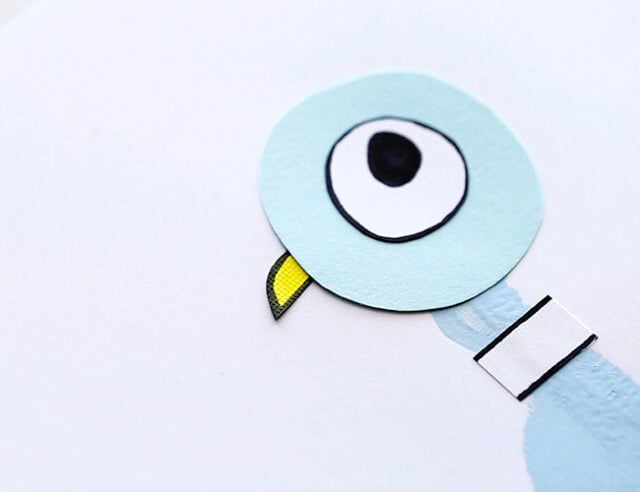
2. Make the pigeon’s head.
Draw a circle onto pale blue cardstock that is about 2″ in diameter. The circle doesn’t have to be perfect circle, the pigeon’s head is a little oval-shaped.
Cut out the circle and glue it to the end of the thumbprint, forming the pigeon’s head.
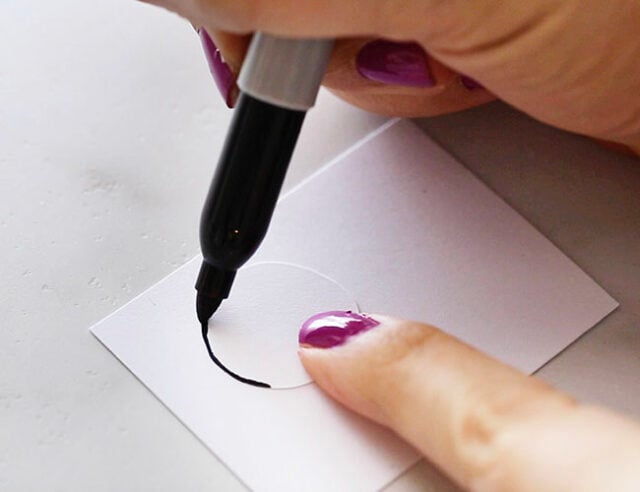
3. Make the eye.
Next, draw a circle with an approximately 1″ diameter onto another piece of white cardstock. The circle doesn’t have to be perfectly round.
Cut the circle out and then use a black marker to outline the edge of it.
Glue the eye onto the head with a glue stick and draw the pupil onto the eye with the black marker.
4. Make the neck detail.
Cut out a small rectangle from white cardstock for the neck detail, making it approximately 1/2″ tall.
Outline the top and bottom with the black marker.
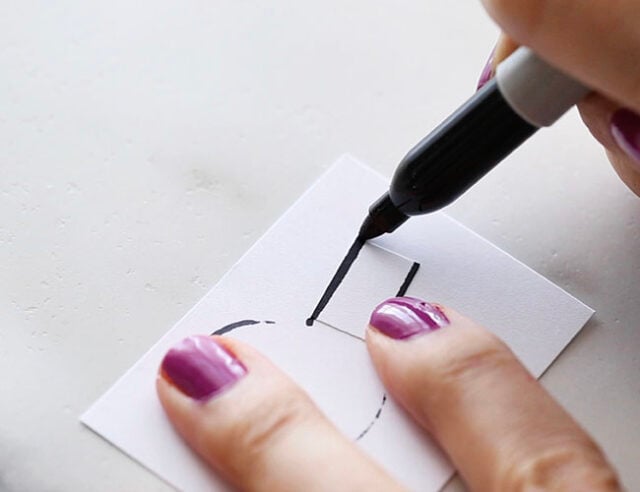
Glue the rectangle onto the handprint neck.
5. Make the beak.
Cut a small beak from yellow cardstock to match the shape of the beak shown on the book cover.
Outline the edges with black marker and stick it onto the white cardstock on the left side of the pigeon’s head.
6. Draw the final details.
Use the black marker to draw the wing onto the painted handprint body, referencing the shape of the wing on the book cover.
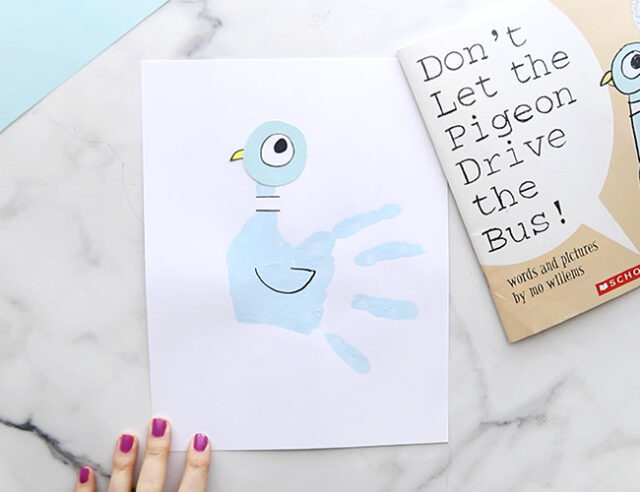
Finally, draw 2 simple bird feet on the bottom of the pigeon.

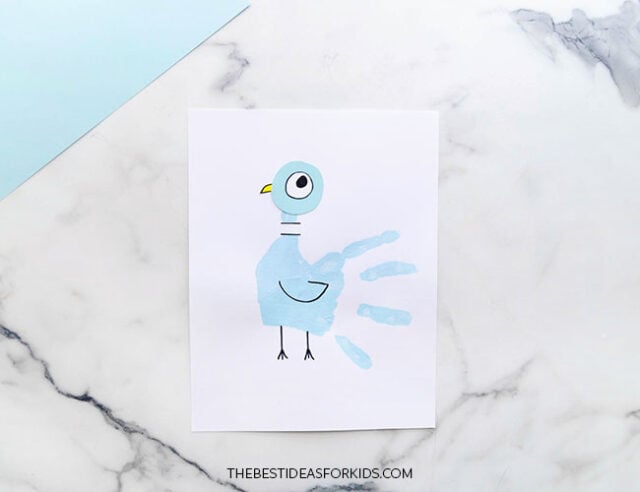
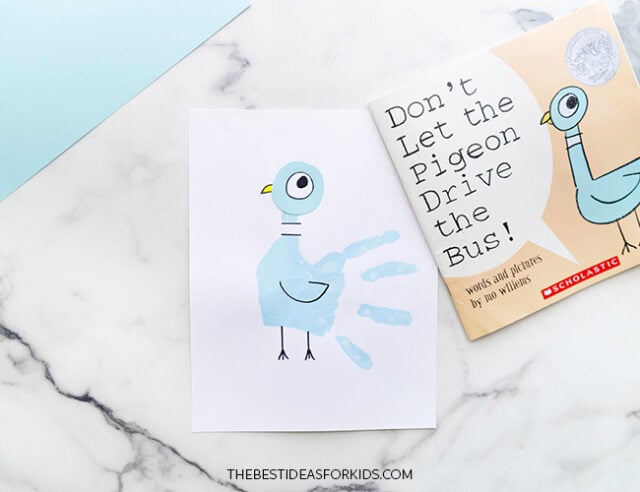
Your pigeon is complete!
Don’t forget to write your child’s name and the date on the back so you can remember the age of your kids when they made them.


Share a Comment!
We LOVE hearing from you! Submit your question or comment here.
Your email address will not be published.
Required fields are marked *