

This Handprint Christmas tree is the perfect keepsake to make for Christmas! You can even use it as table décor. Kids will love making this handprint tree for Christmas!
RELATED: Christmas Crafts for Kids

Christmas Handprint Tree – A Fun Christmas Handprint Craft!
If you love making handprint crafts – then this is such a cute one to make for Christmas! We love that it also doubles and Christmas décor. Place it at the center of your Christmas table this year. If you plan to use it as a centerpiece, just make sure to cover the back of the tree with the same amount of handprints.
Watch the full tutorial video here before you get started!
Supplies to Make a Handprint Christmas Tree
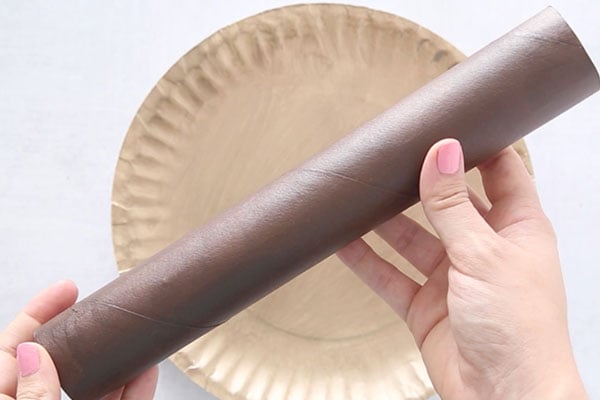
- Paper Towel Roll – painted brown
- Paper Plate – painted gold or a gold paper plate
- Tape
- Cardboard

This particular Christmas handprint craft will require a bit more adult assistance than most of our crafts but it would be fun to make with a group of kids at a Christmas party or for a classroom.
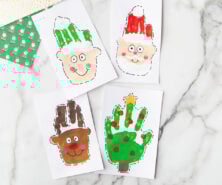
And if you’re looking for more handprint ideas for Christmas – see our Handprint Christmas Cards and Christmas Handprint Art.
Directions to Make a Handprint Christmas Tree
1. First paint your paper plate gold (or use a gold paper plate) and paint your paper towel roll brown.
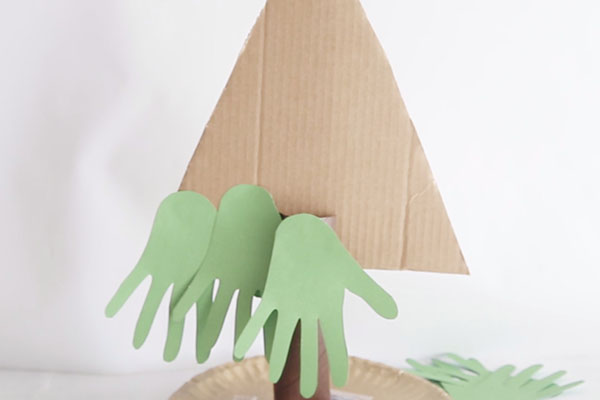
2. Cut out a triangle shape from cardboard for your body of the Christmas handprint tree.
The size we used was 10 inches wide by 11 inches tall. This is important if you want it to look like our version as you’ll need it to be this size to match the # of handprints included. We used an x-acto knife to cut out from a shipping box we had. Adults only should do this part.
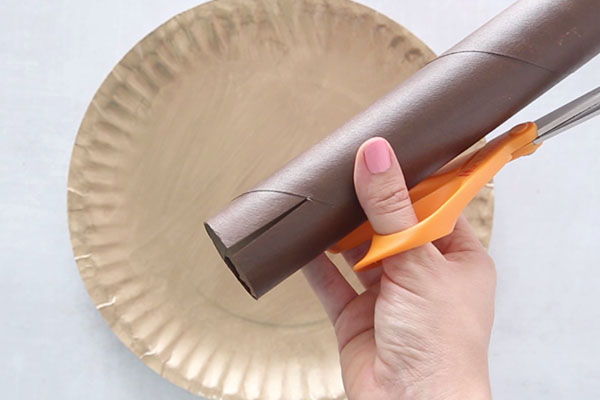
3. Cut two slits into the paper towel roll so that you can slide the triangle cardboard piece into it.
Cut three slits on the opposite end so you can use this part to tape down to your paper plate. If you have younger kids, adults should do the cutting here.
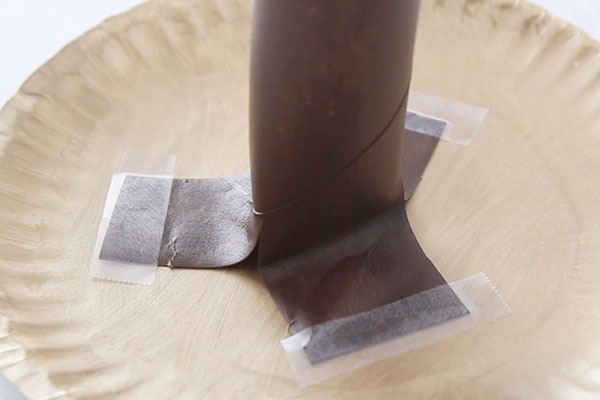
4. Tape your paper towel roll to your paper plate from the opposite end.
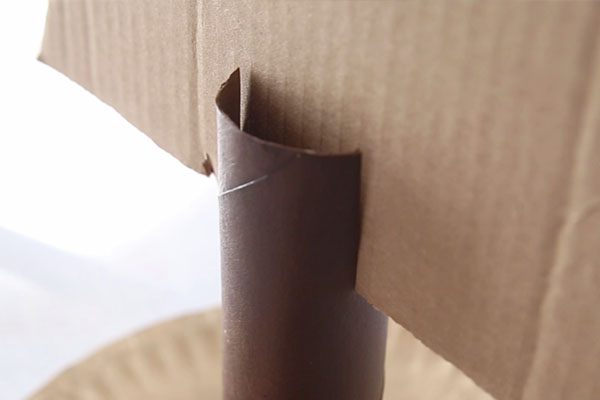
5. Now you can slide your cardboard triangle into your paper towel roll, where you made the two slits.
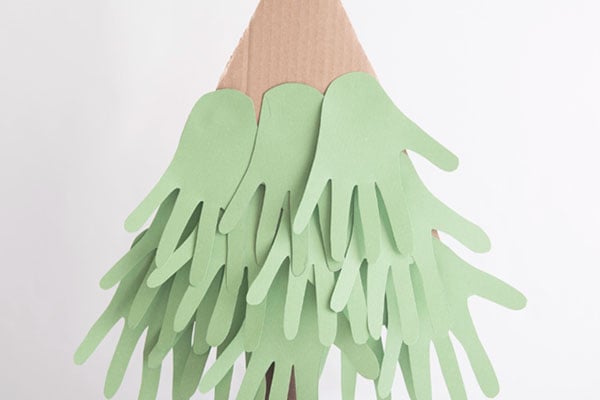
6. Trace and cut out your handprints.
Once you have 15 handprints you can start to glue or tape to your tree! We taped them down as we found it easier to stick to the cardboard.
7. Here is the # of handprints you’ll need:
5 on the bottom, then 4 above those, then 3 above those and then 2 and then 1.
You should have a total of 15 handprints on your tree when you’re done!
8. Now you can decorate your handprint christmas tree!
We kept it simple with some glittery pom poms and a gold glittered star. But feel free to get creative here! You can add stickers, gems, color in some bulbs, make ornaments out of construction paper …. there are so many ideas kids can do to decorate!

9. As a finishing touch to cover the taped bottom, we added a Christmas tea towel to make it look like the Christmas tree skirt.
You could also use a large piece of red or gold felt here as well.

Put it on display as part of your Christmas decorations or use it as a table centerpiece on Christmas day!

More Handprint Crafts


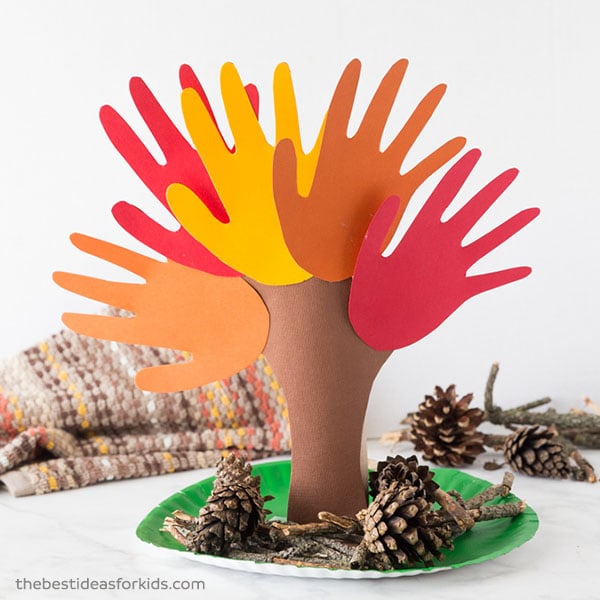
And if you like this handprint tree, check out our fall handprint tree.
For a keepsake handprint craft for Christmas – these salt dough ornaments make a perfect gift! They are also fun to make to hang on your Christmas tree.


Share a Comment!
We LOVE hearing from you! Submit your question or comment here.
Your email address will not be published.
Required fields are marked *