

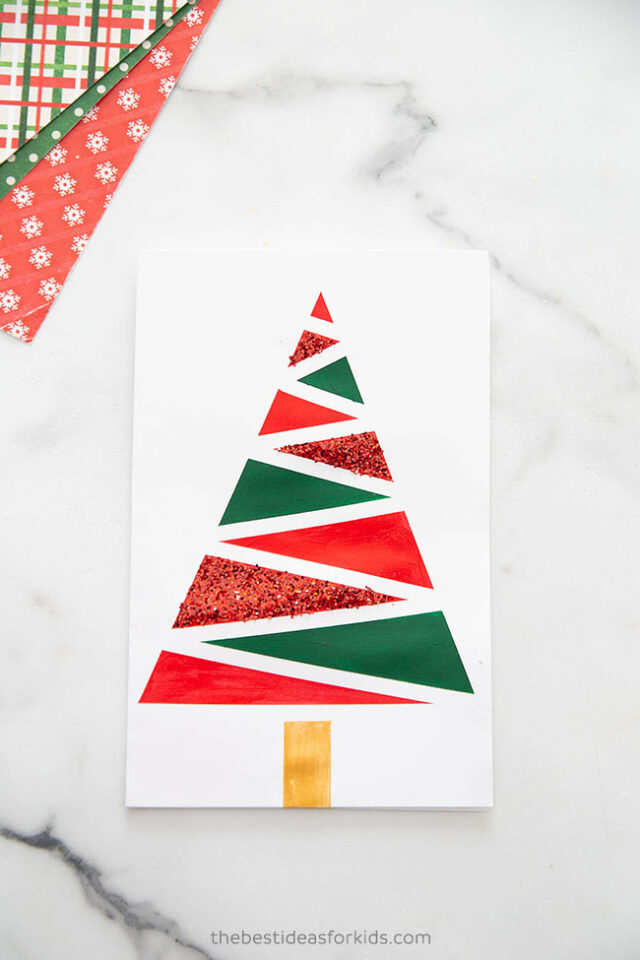
For a beautiful handmade card idea, make some tape resist Christmas tree cards! These trees are easy to make using washi tape and paint. You can even put your card in a frame to display for the holidays!
RELATED: Christmas Crafts for Kids
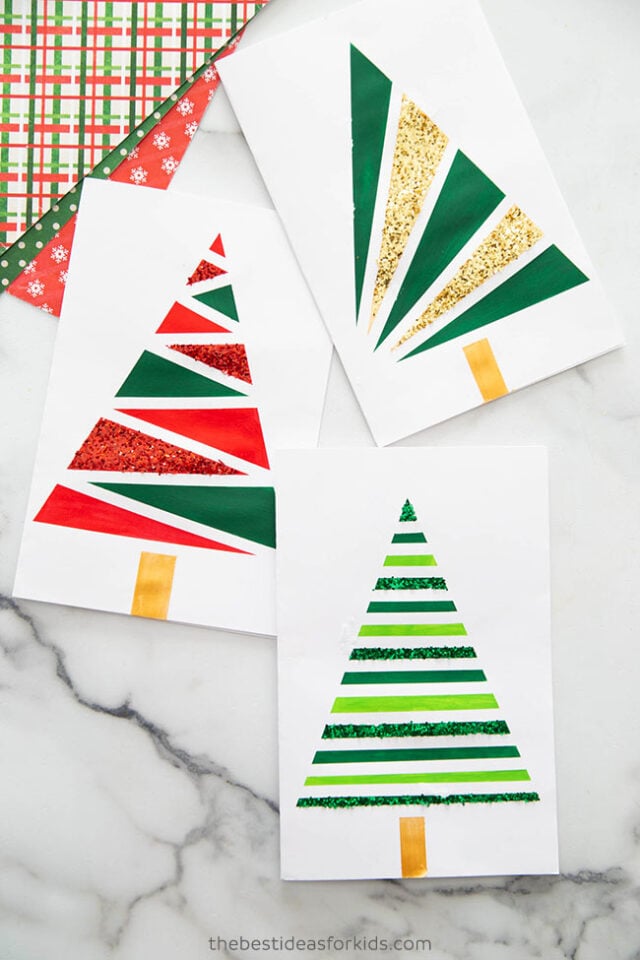
Tape Resist Painted Christmas Tree Cards
Kids will love to try this painting technique using washi tape and acrylic paint. If you do not have washi tape you can also use painter’s tape.
Each tree will turn out different and unique. You can make some cards for friends and family and also put one in a frame to display at home every year!
Here are some cute tree-themed sayings you can use:
- I hope your Christmas is tree-mendous!
- I’m pine-ing for you!
- Being your friend is a real tree-t!
Supplies to Make Christmas Tree Cards
Here is what you will need to make the Christmas tree cards:
- White cardstock
- Acrylic paint – we used red, light green, dark green and gold
- Washi tape – we used this 6mm size but any size would work. The smaller the tape, the thinner the lines in between your design. You can also use painter’s tape. Note: painter’s tape from our experience does not peel away as easily as the washi tape.
- White Glue
- Glitter (optional) – red, green and gold. You can also use biodegradable eco glitter.
- Paintbrush
Watch The Video Tutorial!
How To Make Your Own Christmas Tree Cards
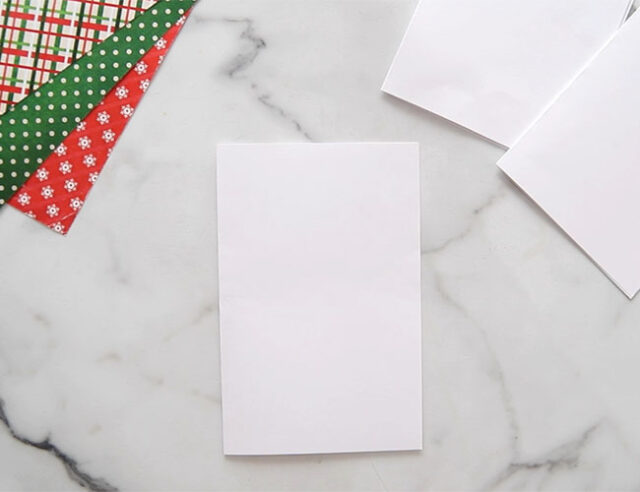
1. Start by folding a piece of cardstock in half to make a card.
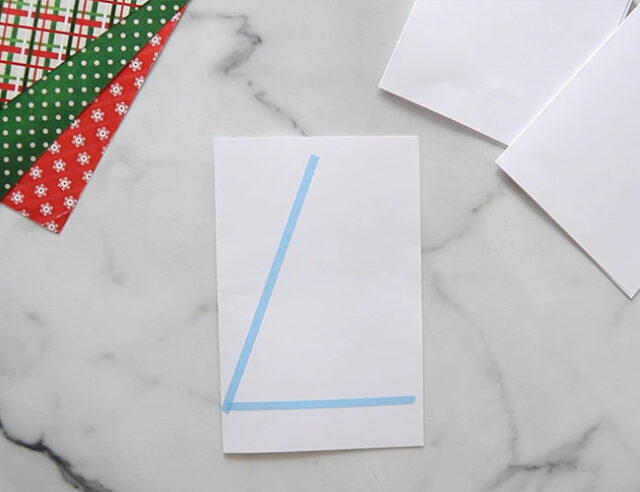
2. Use washi tape or painter’s tape to outline a large triangle on the front of the card for the tree.
Start with the base of the tree and then add two strips to make the peak of the triangle.
Add 2 vertical lines of tape under the triangle to create a tree trunk.
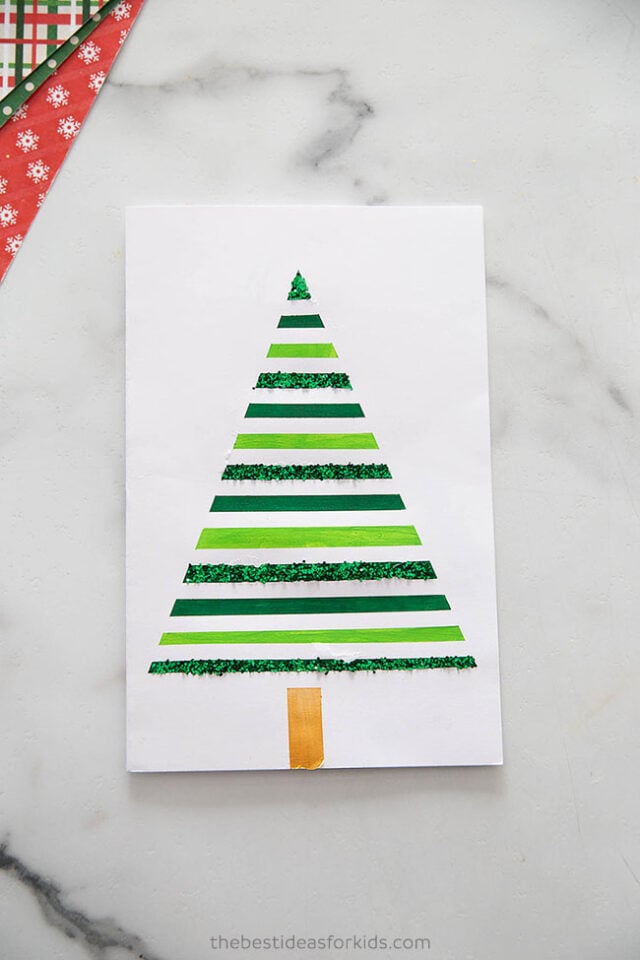
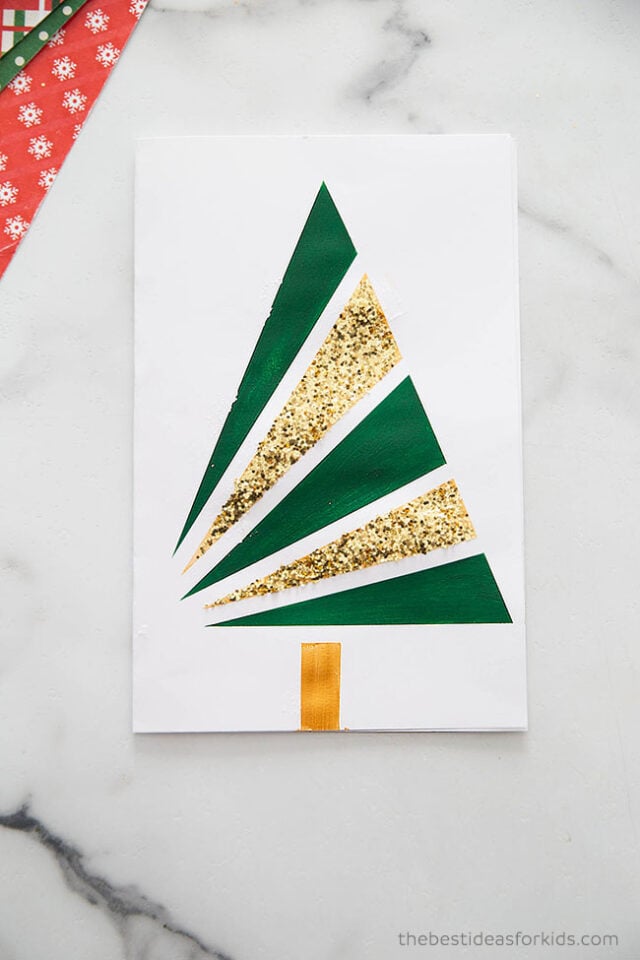
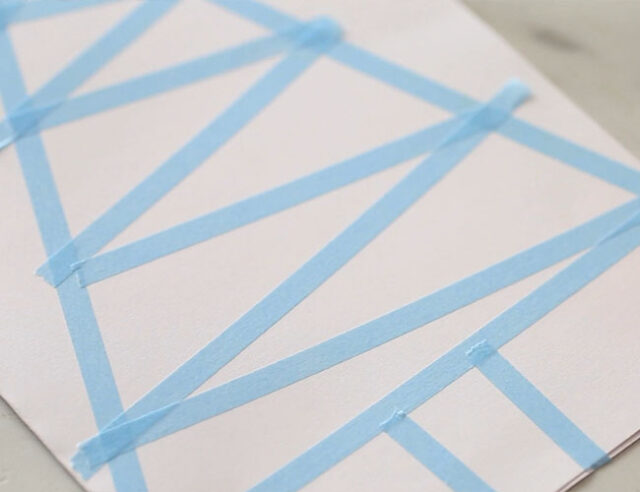
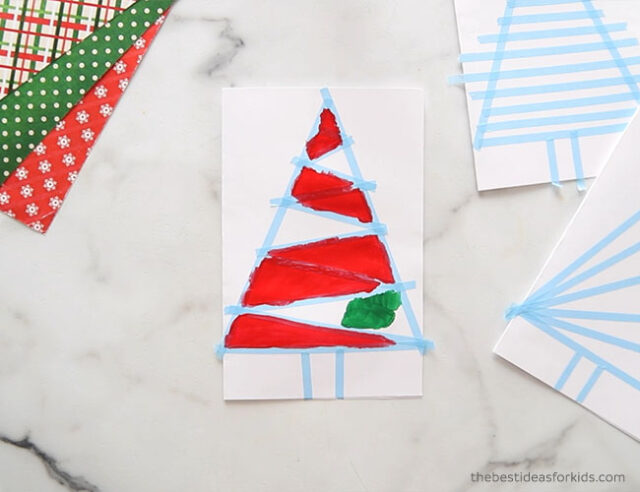
3. Make a design inside the tree shape with washi tape.
You can do stripes, diagonal lines, zig zag lines or come up with your own unique design!
Here are the designs we did:

This is the zig zag pattern:
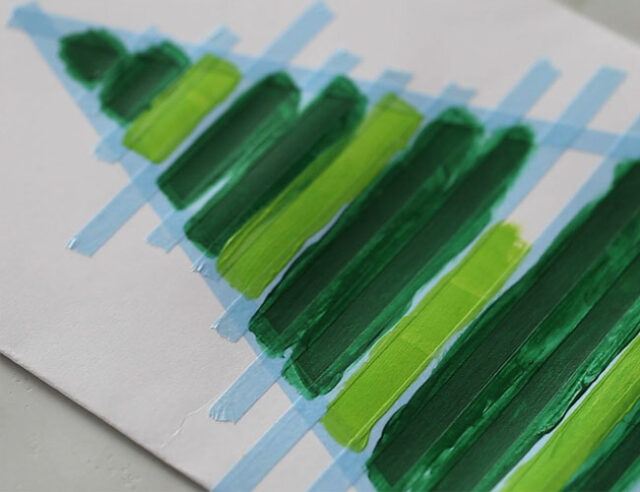
4. Carefully paint inside the tree with acrylic paint.
Brush on a few thin layers of paint.
Paint one layer, then add another layer on top.
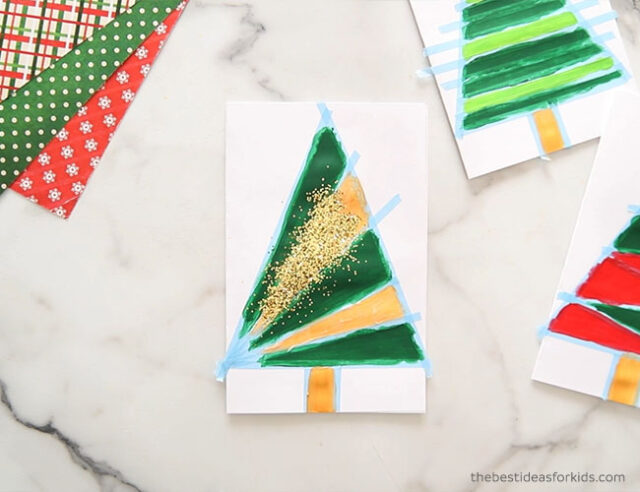
We painted the trunk of the tree with gold but you can also use brown or any other color here.

5. After the paint is dry, add glitter.
Brush on some glue with a small paint brush to a section of the tree and sprinkle on glitter.
Carefully shake off any glitter that did not stick to the glue.
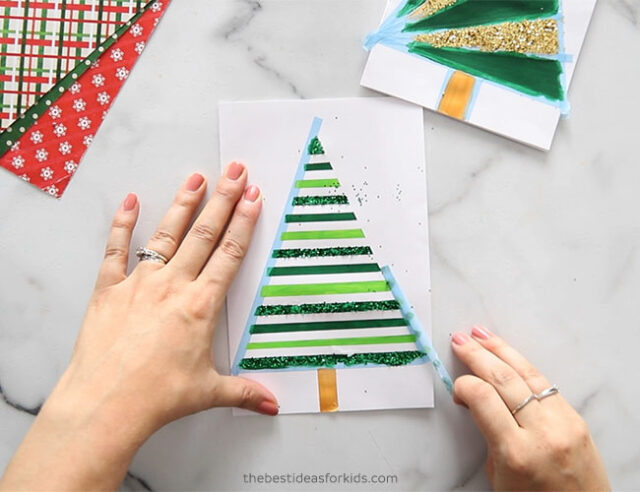
6. Remove the washi tape to reveal your beautiful tree!
Carefully remove the tape, starting from the last piece of tape that was added.
Tip
If the tape starts to remove the paper when removing, stop. Then pull from the opposite end instead. Go slow during this step so that it does not pull off the paper with it.
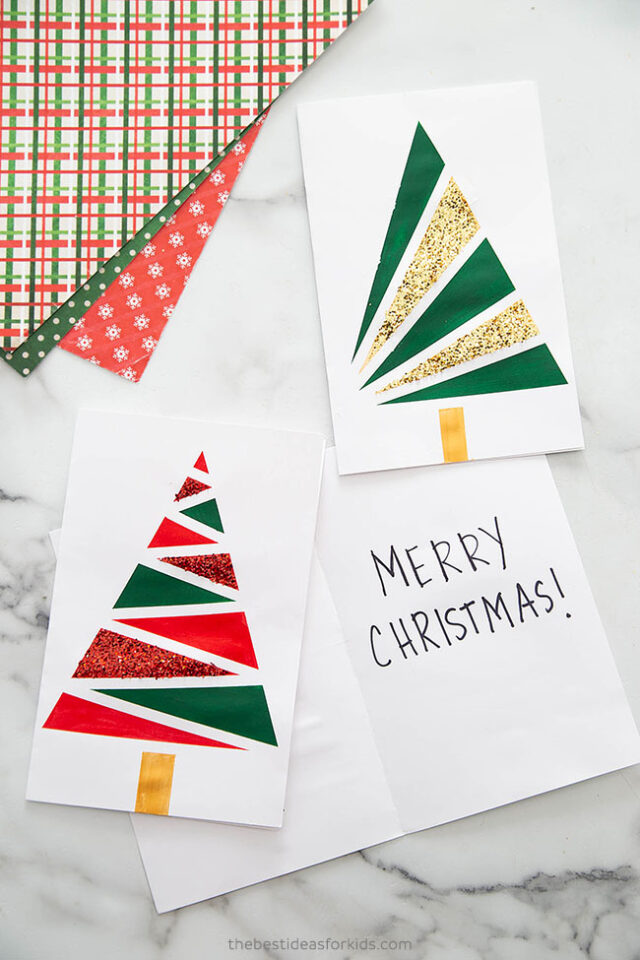
7. Write a Christmas saying or message inside your card.

We love how beautiful these trees turn out. Kids will love to get creative and come up with their own Christmas tree designs! You will want to make a bunch of these Christmas tree cards to hand out this year!


Share a Comment!
We LOVE hearing from you! Submit your question or comment here.
Your email address will not be published.
Required fields are marked *