

Learn how to make your own salt dough for handprints or ornaments with this easy salt dough recipe. You only need a few ingredients from your kitchen to make this salt dough! We cover all of the necessary tips and tricks to make these handprint ornaments.
One of our favorite things to do with this salt dough recipe is to make handprint ornaments. But you can also use this same salt dough recipe and use cookie cutters and paint shapes instead!
Don’t forget to add the year on the back of the salt dough ornament to keep track of the different years.
Note: reminder to keep out of reach of pets.
Ingredients
- 4 cups all purpose flour (Note: you want regular all purpose flour, not self-rising)
- 1 cup salt
- 1.5 cups warm water
Watch the Video Tutorial
How to Make Salt Dough
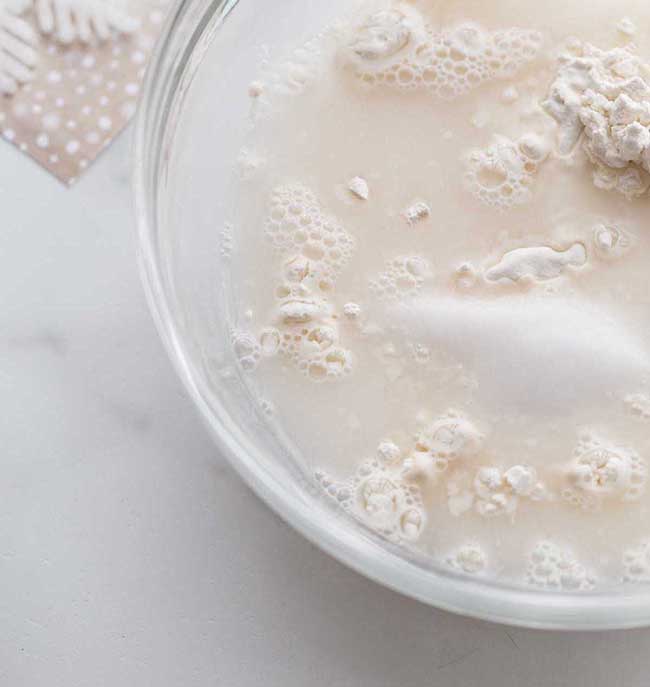
1. Combine all of your ingredients (flour, salt, warm water) and mix well until it starts to form a dough.
2. Take the dough out of the bowl and knead for at least 10 minutes.
The dough will likely be a bit on the dry side to start. If it is, add a little more water in (about 1 tablespoon at a time). Then continue to knead.
The dough should be smooth and roll out with not too many bumps. It should also be easy to press a handprint into it. If you’re finding it’s too hard or not smooth enough, continue to knead some more. If it’s still too dry, add a little bit more water (about a few tablespoons at a time -but not too much or it may get too wet).
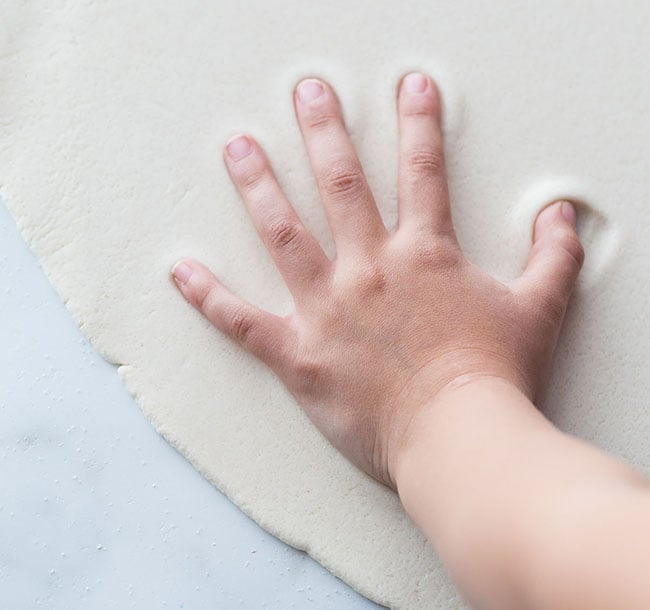
Roll out the dough to between 1/4 to 1/2 inch thickness. If the dough is too thick it will take too long to dry.
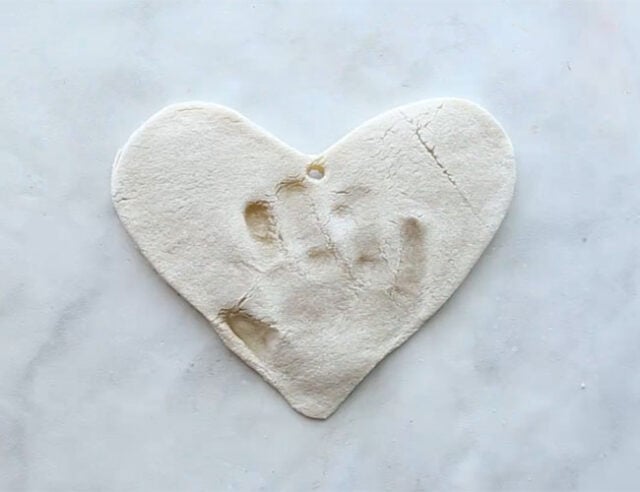
Press the hand into the dough.
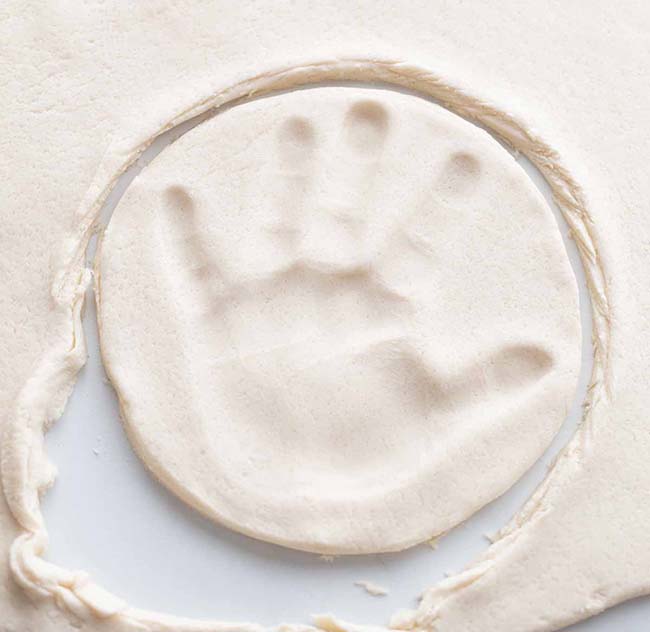
3. Use a circle shaped bowl to trace around your handprint.
Cut out the handprint with a knife (adults to do this part).
You can also print off a circle shape or heart shape to trace around with a knife (adults to do this part).
If you have a smaller handprint you can use a circle or large heart cookie cutter.
TIP: It’s easier to press the handprint first, and then trace around it. If you have dough left over you can roll it out again and do another handprint.
4. Using a straw, make a hole in the top of the ornament.

5. Let the ornaments air dry for a day.
If you have time, let the ornaments air dry for a day. This will cut down on the baking time required and help to prevent puffing. If you do not have time, you can bake right away instead.
Bake at 250 degrees Fahrenheit for 1-2 hours. Once the top of the ornaments look dry and solid, flip over and bake on the other side.
NOTE: It’s important that you check that your oven temperature is set to Fahrenheit. One of the most common reasons the ornaments burn and puff up is that the oven temperature is Celsius. If you have a Celsius setting then you’ll want to use the lowest oven temperature, closer to 120 degrees Celsius.
If your ornaments are still doughy, put them back in for another hour. It will depend on your thickness how long you need to bake for. The thinner ornaments will take less time but thicker may take more. If it’s taking too long in the oven, let them finish drying by air drying them for a few more days. Make sure to flip them over so the bottoms also get exposed to air.
6. Once your ornaments are fully dry you can paint them.
Paint the handprint and leave the remaining ornament plain. Or you can paint the whole ornament white and then paint the center handprint once the base coat has dried.
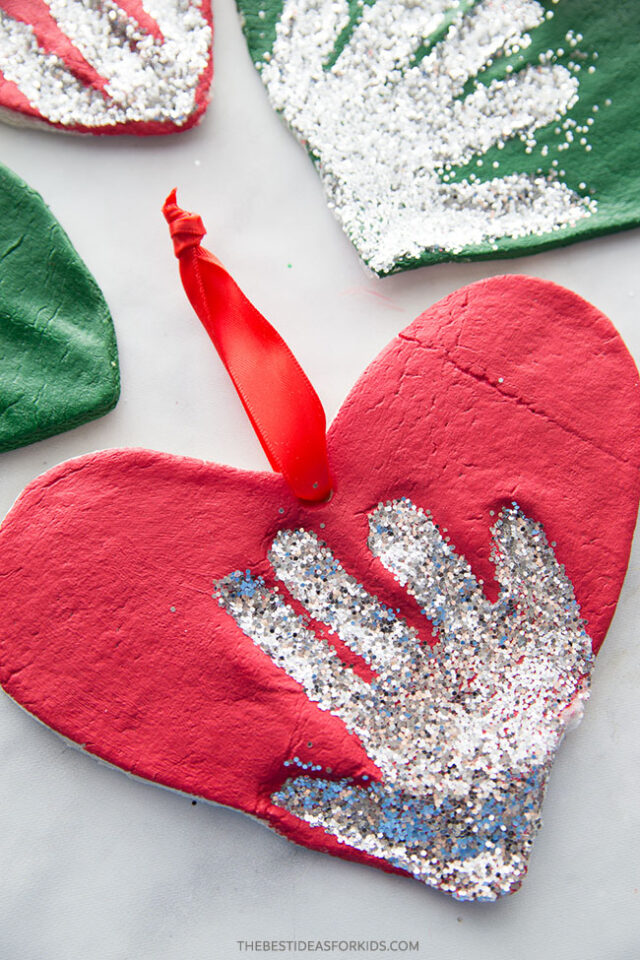
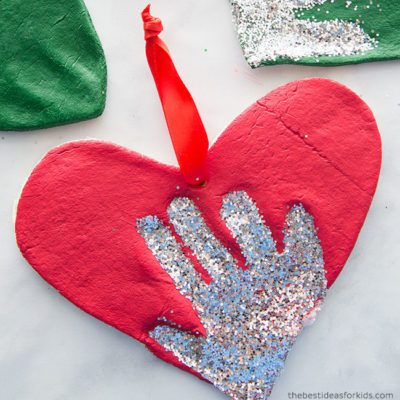
If you want to add glitter into the handprint, decorate the whole ornament with paint first, then fill the handprint with glue. Shake glitter onto the glue.

After the paint has dried, make sure to seal with with either mod podge or a clear glaze spray. Seal the ornaments after you paint them and the paint has fully dried.
7. Tie ribbon or twine through the hole for hanging on the Christmas tree.
Why Is My Salt Dough Puffing Up?
The number one reason salt dough is puffing is due to the oven temperature. If the temperature is too high the salt dough will puff up. It is better to let your ornaments air dry for a day and then bake them. This will prevent the puffing. If you need to bake right away, bake at the lowest temperature (200-250 degrees Fahrenheit).
Note: Make sure to check your oven temperature is Fahrenheit and not Celsius.
You also want to make sure you are using regular, all purpose flour and not self-rising flour.
How Do I Seal?
Once you are done, don’t forget to seal with either mod podge or a clear glaze spray. We like this spray for a durable finish. Adults should do the spraying and always follow directions of the product chosen.
Sealing the final ornaments will help stop them from cracking in a few years and prevent moisture from getting in.
What Kind of Paint Should I Use?
I like to use non-toxic acrylic paint for salt dough ornaments. The color will go on much thicker and more vibrant than kids paint. We like this brand of acrylic paint.
How to Decorate
You can use a heart for the shape around the handprints or you can use a circle.
For this one, we used a large heart cookie cutter as the handprints were small (baby handprints):

If you have larger handprints, you can trace around a heart print-out or use a knife (adults only) to draw a heart shape around the handprint.
How Many Ornaments Does this Make?
Depending on the handprint size and thickness of the salt dough – you can get approximately 8 handprints. If you’re using the dough to make small cookie cutter ornaments you’ll get approximately 15.
If you’re hoping to make this for a classroom or with a larger group of kids, I would recommend bringing an extra batch just in case. The quantity can vary depending on size of cookie cutters, handprints and thickness of the dough. I like to roll out the dough and continue to knead together the scraps to use as much as I can.
Tips
- Knead well to make the dough smooth – I like to knead at least 10 minutes.
- Let the ornaments air dry for a day first, if possible. This cuts back on the oven baking time and helps to prevent puffing.
- Don’t forget to flip the ornaments when baking or air drying so that the bottoms will be exposed to air.
- Seal with our recommended sealers mentioned above so that the ornaments will last for many years.
- Store the ornaments in a cool, dry place and keep away from moisture. Sealing the ornaments also prevents moisture from getting in.
- Keep out of reach of pets.
Salt Dough Recipe – for Handprints & Ornaments
Video
Equipment
- Rolling Pin (for rolling out the dough)
- Twine (to create the ornament!)
- Non-Toxic Acrylic Paint (we prefer this brand)
Ingredients
- 4 cups all purpose flour
- 1 cup salt
- 1.5 cups warm water
- Clear Glaze Finish or Mod Podge
Instructions
- Combine all of your dry ingredients and knead for 10 minutes. If your dough is too dry add a little bit more water in (a few table spoons at a time) and continue to knead. The dough should be smooth and roll out with not too many bumps. It should also be easy to press a handprint into it. If it's too hard or dry, then add a little bit more water and continue to knead.
- Roll out the dough to a thickness that you'd like your salt dough ornament to be. We like between 1/4 to 1/2 inch thickness.
- Using a large cookie cutter, cut out different shapes for your salt dough ornaments. If making handprints, place the handprints first and then trace around them.
- Have your child place their hand into the salt dough ornament. If the dough is too hard to get an imprint it may be too dry. Continue to knead until smooth. You can also add in a little bit more water.
- Using a straw, make a hole in the top for where you want to hang your salt dough ornament.
- If possible, let the ornaments air dry for a day.
- Preheat your oven to 250 degrees Fahrenheit. Bake for 1-2 hours. If your ornaments are still doughy, put back in for another hour. (It will depend on your thickness how long you need to bake for. The thinner ornaments will take less time but thicker may take more).
- If you encounter too much puffing, roll out thinner ornaments and this will help reduce the puffing. If the ornament is still a bit doughy, bake for longer or let sit out a few days to harden before decorating. The thickness of the dough will determine how long you have to bake them for. We prefer to bake them at 250 degrees Fahreneheit for longer and let them air dry for a few days to prevent puffing.
- Once cool, you can decorate by painting with non-toxic acrylic paint.
- Spray with a clear glaze finish or finish with mod podge. Do this before adding the glitter.
- To make the hand glittery, fill the handprint with glue then sprinkle glitter on top of the glue, shake off the excess and let it dry.
Kids will love helping to make this salt dough recipe. They will also have fun decorating the salt dough ornaments by painting them.
Finally, just a friendly reminder to keep these out of reach of pets (they can be toxic to dogs due to the salt content).


Just to clarify when you said let the ornaments air dry for a day. It will cut your cooking time in half. So then I would only need to cook them for one hour Correct?
It depends on the size of your ornaments and how thick, but if you air dry for a day it greatly reduces the amount of baking time. You may need to still bake longer than 1 hour.
Mine are a little rough around the edges. Any suggestions on smoothing them before painting/sealing?
You can gently take some sandpaper to them and smooth the edges out! I like to do this actually before baking so for next time take your finger and a little bit of water and smooth around any edges that might be rough.
If I don’t have access to mod podge or a clear glaze spray, what else could be used? I live in an isolated northern community so no quick way to get either of those. Thanks.
You can dilute a little bit of white glue with water and use that instead.
Can a stand mixer be used to knead the dough?
I haven’t tried that but I don’t see why not. I think it would be fine to use! 🙂
I used my stand up mixer with the dough hook attachment and it did great. Just took it out and used the rolling pin
How many ornaments does this recipe make? I want to make this with a class of toddlers. This will help me determine how much I need.
If you’re doing handprints you can get around 8 depending on the hand size and thickness you make them. For small cookie cutter ornaments it’s close to 15.
I made them yesterday but they seem a lil doughy in the middle. Can I re-bake them? And I made 12 with this recipe but now not sure if I should bake them more or let them harden?
Yes you can pop them back into the oven for longer, or just let them sit out and make sure the bottoms get exposed to air.
Can we cut the recipe in half and it still come out good? We just want to do 2 paw print ornaments.
Yes!
When you bake do you just put on cookie sheet or on parchment paper?
Parchment paper will help it not stick – if you place directly on the cookie sheet just sprinkle a fine amount of flour so it won’t stick to the sheet.
Hi, I would like to try this with my preschool students. Can they be air dried?
Yes but if they don’t fully dry out just send home instructions for additional baking time.
Hi, I have been making these bread dough ornaments for years. I have used coffee to dye the dough for a natural two tone look. I also put the dough through a garlic press to make hair on my dough people. Just moisten the dough with water where you want to apply the hair. My “ dough people are quite chubbie with a head, belly and chubby arms and legs. Some have stocking hats. Once dry…like after several weeks, I paint them with acrylic paints and spray them with Krylon. Some of my ornaments are 10 years old. I always store them in a nice dry place, individually wrapped. Wish I could show you some. Carolyn
Hi i was wondering if i could use a polyurethane to seal? I use it to seal the paint when refinishing furniture
We haven’t tested that but read the instructions on the label of the product and it should say whether it will work or not.
How many handprint ornaments does the recipe make?
At least 15 but depending on the size you could definitely get more. Also roll them out thinner and you’ll get more and they won’t take as long to dry.
Tip:
You can color this recipe by adding food color to the water before you add it to the dough. It doesn’t work as well adding the color any other way so try to get the measurement of your color what you want right the first time. ( I’m picky about the theme and colorof my Christmas tree ornaments) Just color the water and add it in like the recipe says
Hi ,
I put the glitter before sealing with mod podge. Should I brush mod podge over it anyway??
That will be hard to do. I would recommend using the spray primer instead in that case. We link to our recommended one above.
Hi….this is my first time trying this. My dough was quite hard to press my granddaughter ‘s little hand into. Is this normal? Also, what dough is left, I sealed and put in the fridge. Is it reusable, or to be thrown out?
Yes you can put it in the fridge and re-use. If the dough is hard, add a little more water to it to soften it up and then try pressing the hand again.
Can I use self rising flour?
No it needs to be all purpose flour.
How can these be made non toxic to dogs? Just in case our dogs decide to get into the ornaments hanging on the tree? What ingredients are toxic?? Thanks
It is the high salt content that is not safe for pets. It’s best to keep them up high on the Christmas tree where pets cannot reach them.
Do you paint it then put the sealer on then the glue and glitter?
Yes paint first, then seal, then add the glitter. The sealant is to keep the moisture out from the dough.
Can you seal with clear fingernail polish? I’m kindof broke so my daughter and I are painting these with fingernail polish and I don’t know if you can glaze it with a top clear coat fingernail polish…
Hi Nicky – we wouldn’t recommend it as we have only used recommended sealers for this type of craft.
Hi a customer of mine has tried to make the salt dough ornaments and put them on a 200 degrees and burnt very quickly. She used acrylic paint, could this be the reason?
You are supposed to paint after you bake. Also make sure it’s 200 Fahrenheit not Celsius.
I made this mistake too mine burnt after 10 minutes! I put it in at 200c not Fahrenheit ??♀️ I think I’m farenheight it works out about 93/94 degree Celsius.