

These Q-Tip Snowflakes are so pretty and simple for kids to make. There are so many different snowflake designs that can be made. Each snowflake will be unique!
RELATED: Christmas Crafts for Kids
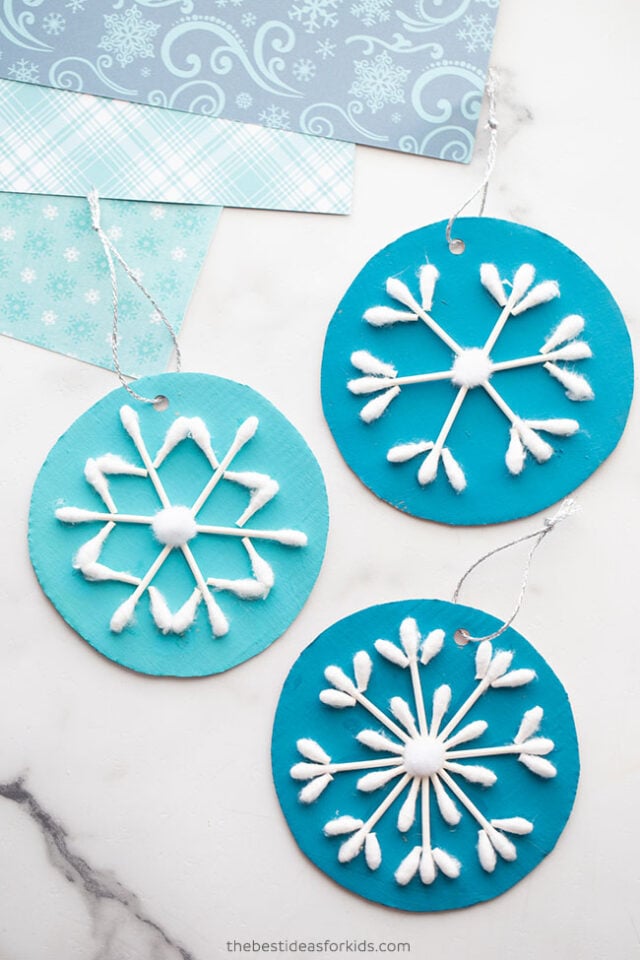
Q-Tip Snowflake Craft
We love that you can easily customize these Q-tip snowflakes by changing up the colors of the cardboard to match your holiday décor.
This is also a craft that is great for kids of all ages. Older kids can cut the q tips and design the snowflakes themselves. Even preschoolers will love helping to paint the cardboard background and glue the q tips on.
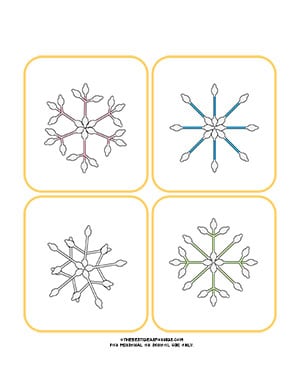
Get our free printable card designs at the bottom of the post. Kids can follow the cards to recreate different snowflake designs.
You can add a string to these to turn them into an ornament or a gift tag.
Supplies Needed To Make Q-Tip Snowflakes
- Cardboard
- Scissors
- Tacky Glue or Hot glue (adult assistance)
- Hole Puncher
- Free Printable Q-Tip Snowflake Design Cards – print off our free cards to follow and try to make the different Q-tip snowflake designs! You can get the free printable at the bottom of the post.

Watch the Video Tutorial Here!
How To Make Q-Tip Snowflakes
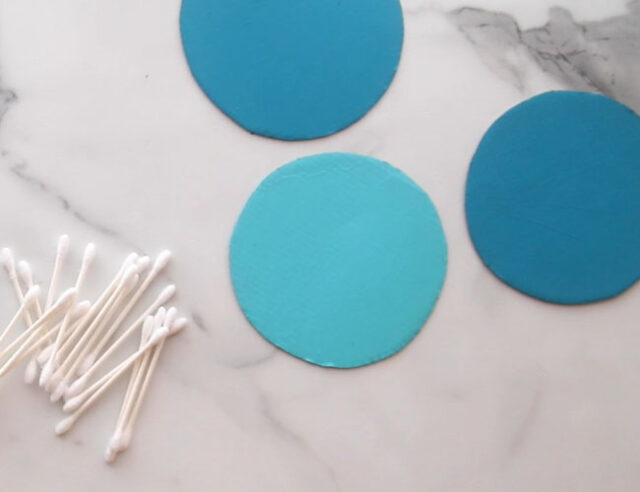
1. Cut circles out of cardboard.
You can trace around a round object, like a jar or lid to make a circle shape.
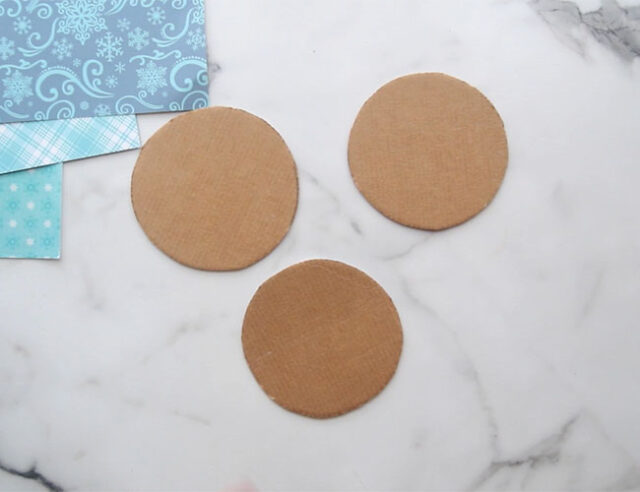
Note: thick cardboard is hard to cut with regular scissors so we recommend a pair of heavy duty scissors.
2. Paint the cardboard circles.
We painted in different colors of blue, but you can paint any color you’d like!
Lighter colors of paint may require more than one coat of paint.
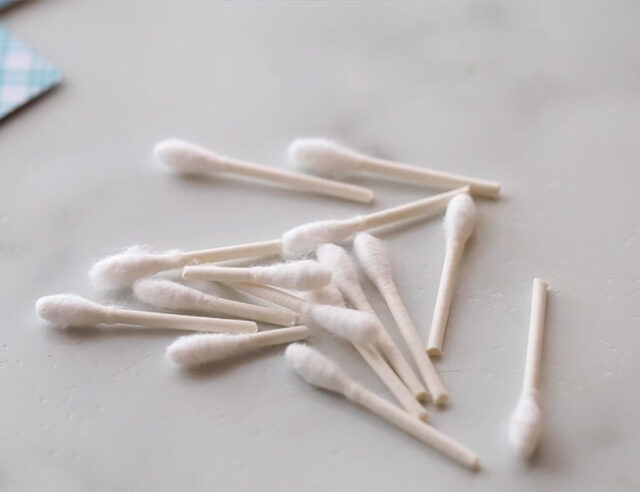
3. Cut your Q-tips into pieces.
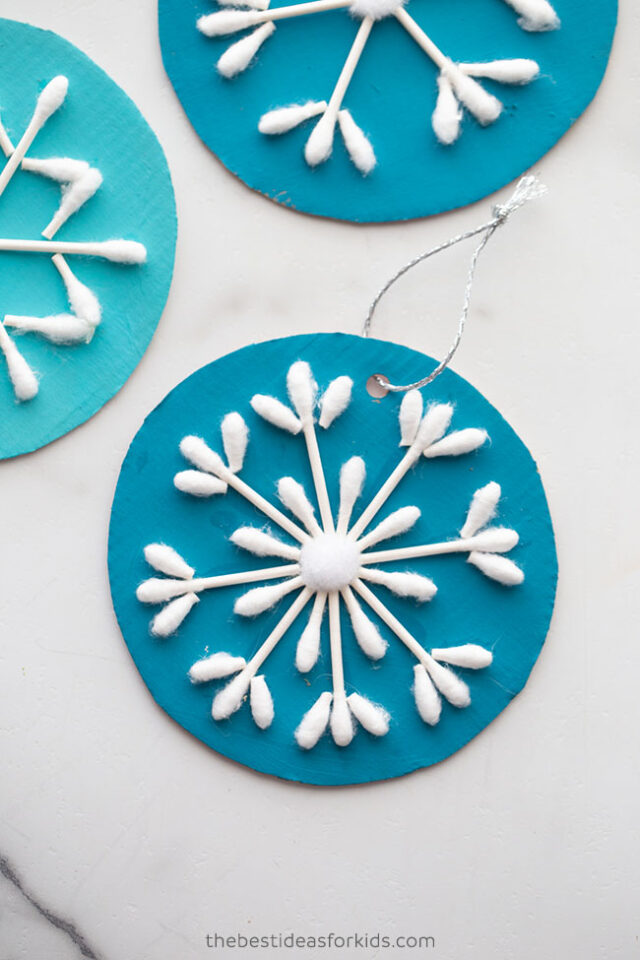
Depending on your snowflake design, you can cut q tips into different lengths and sizes. Cut some in half and cut some smaller pieces for the end of the snowflake.
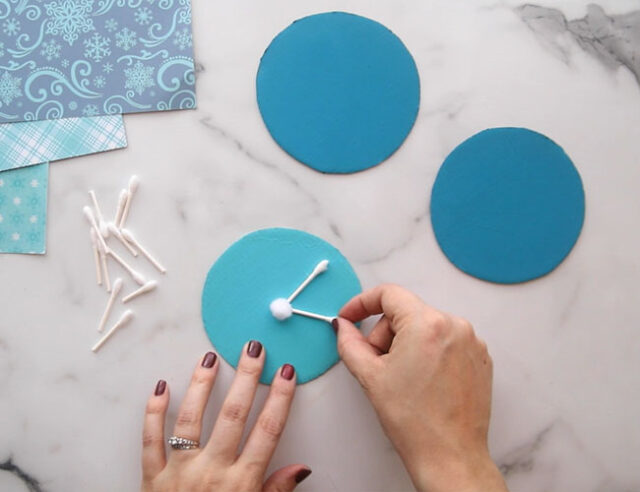
4. Glue a white pom pom to the center of your cardboard circle.
You can use tacky glue or hot glue for this step (with adult assistance).

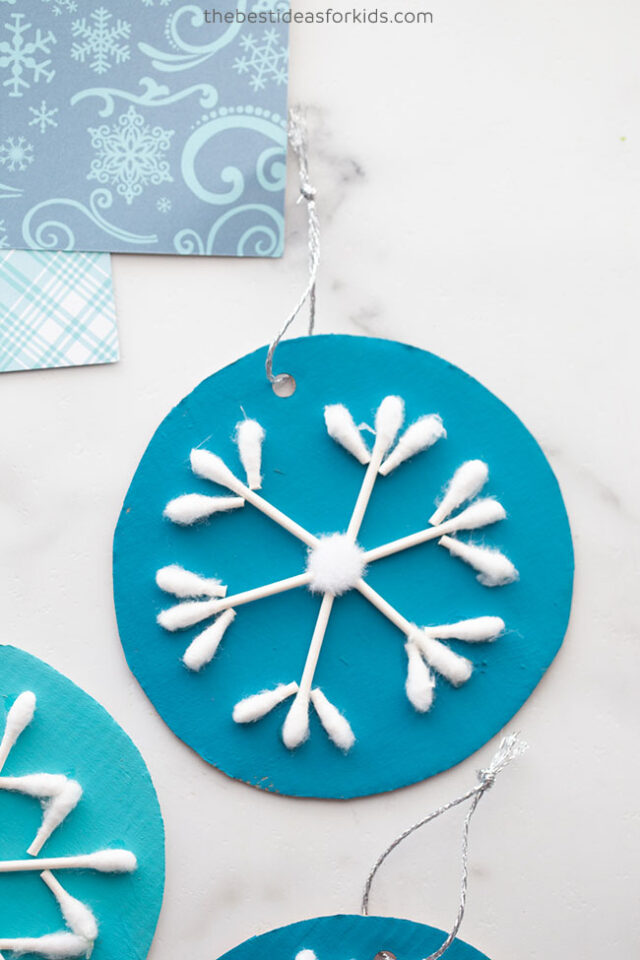
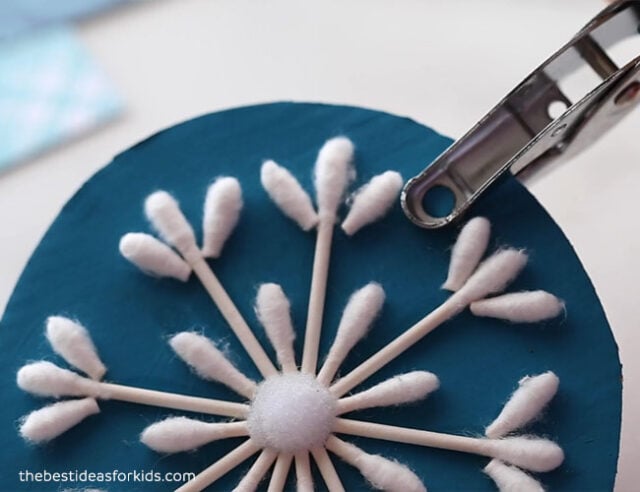
5. Attach the Q-tip pieces to the cardboard.
Lay out your snowflake design first.
Then start to glue the q tips to the cardboard, starting with the pieces attached to the pom pom first.
This is where you can have fun coming up with all different kinds of snowflake designs!

Print off our free printable snowflake design cards (at the bottom of the post) or print off different snowflake designs to see if you can recreate them.
6. Hole punch the top of the cardboard to make a hole for the string.
Tie on a string or piece of twine through the hole.
7. Hang on the tree or attach it to a gift!
We hope you enjoy making these beautiful snowflakes! These are so pretty and would make a fun gift for Christmas too!


Best ideas for preschoolers! My granddaughter loves all the crafts we do from your site!