

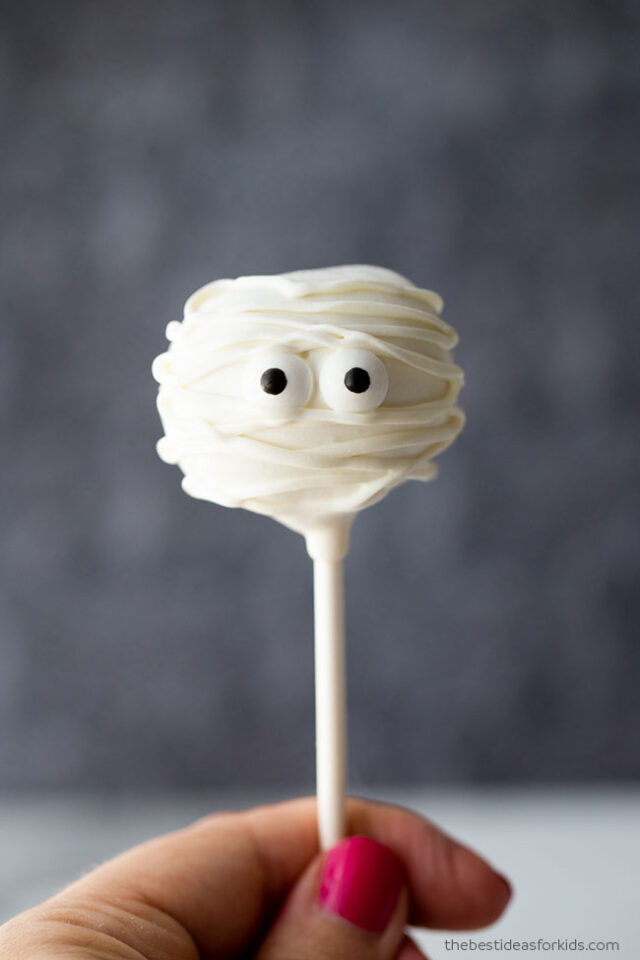
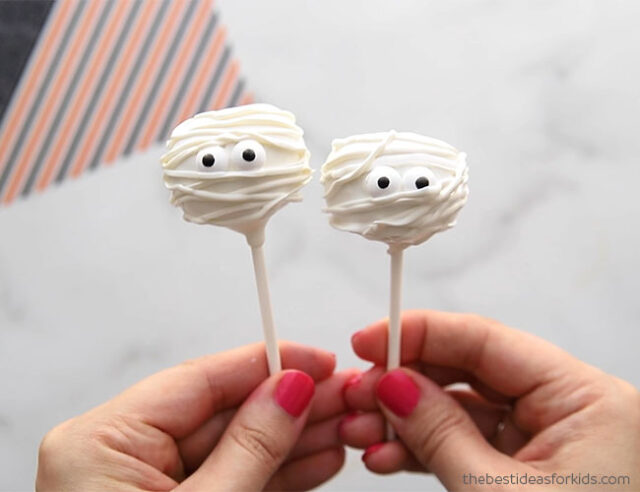
Learn how to make these adorable mummy cake pops. This is super easy and almost anyone can make these! The best part is that the icing doesn’t have to be perfect and they will still look great. These will be a fun treat to give out for Halloween!
RELATED: How to Make Cake Pops
Making cake pops is really easy! This is such a fun way to reuse old cake that otherwise might not get eaten.
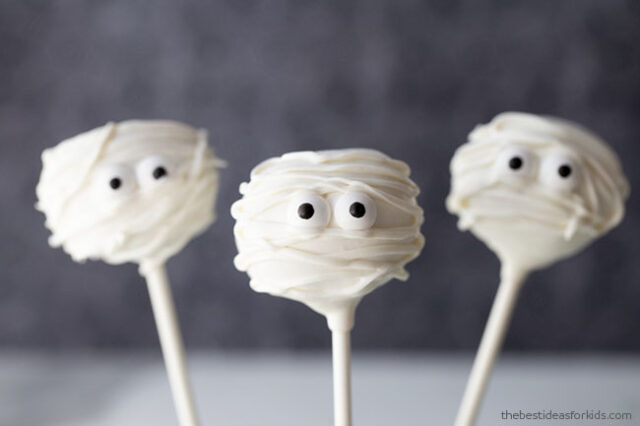
These make the cutest Halloween treats and gifts too! Place inside a clear bag and tie some ribbon around the candy sticks to give these out as Halloween treats.
For our step-by-step cake pop tutorial, visit the blog post here.
Supplies Needed
First, you’ll need the following ingredients to make the Mummy cake pops:
- A cake mix box or you can bake your own cake from scratch (leftover cake is perfect for cake pops too!)
- White frosting
- 2 packages of white candy melts
- Small edible googly eyes
- Candy sticks
- Piping bag and icing tip or large freezer bag
- Foam board (for placing the cake pops to dry on)
How to Make Mummy Cake Pops
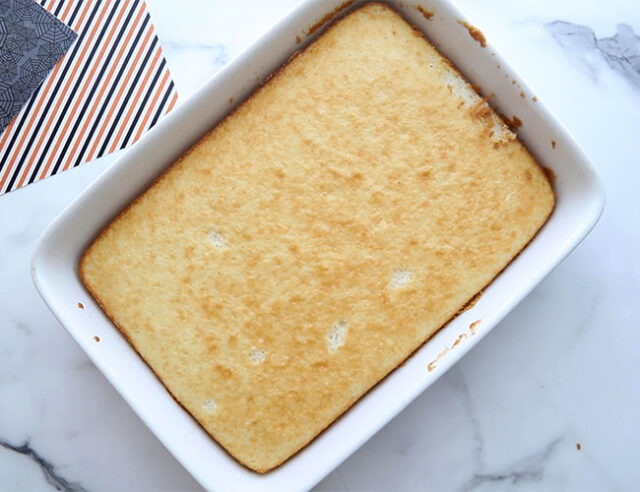
1. Start by baking a cake. Or you can use leftover cake!
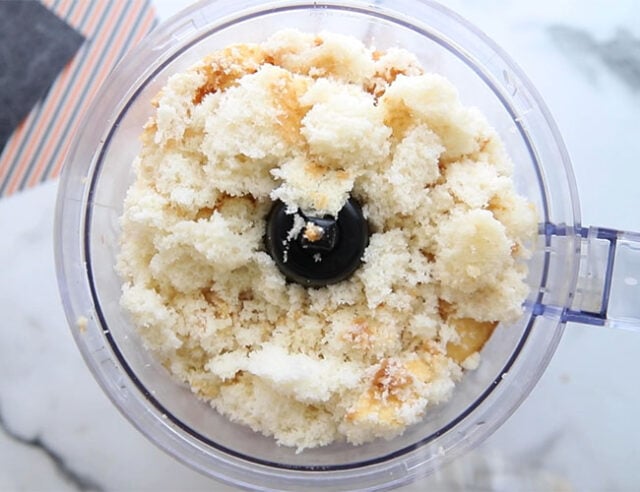
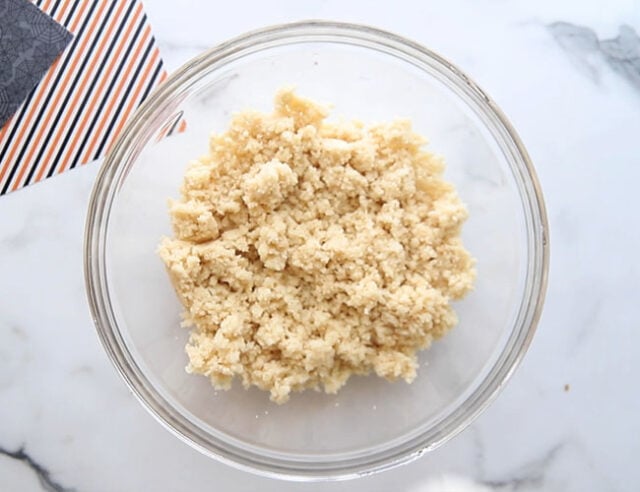
2. Food process your cake.
Or crumble by hand if you don’t have a food processor. Get the pieces to be fine so that it is not too clumpy when you add the icing.
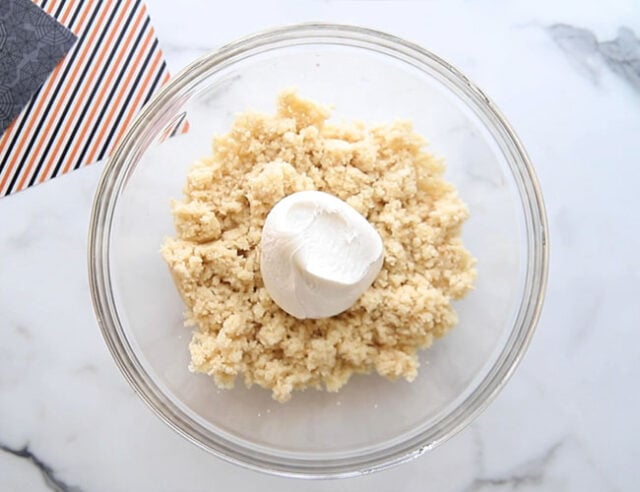
3. Mix the cake crumbs with your icing.
(I used about 1/2 of the jar but you may need to just add it slowly to get the right mix). You want it to be almost like dough but not too much icing and sticky.
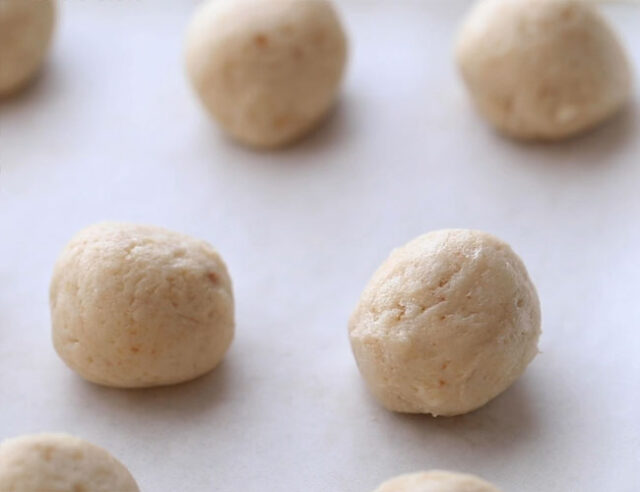
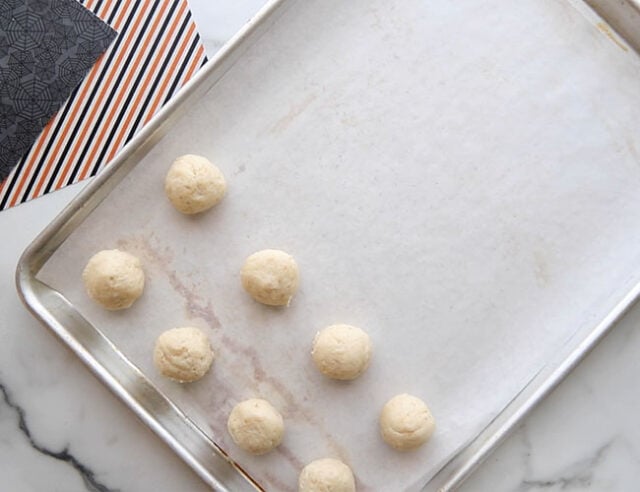
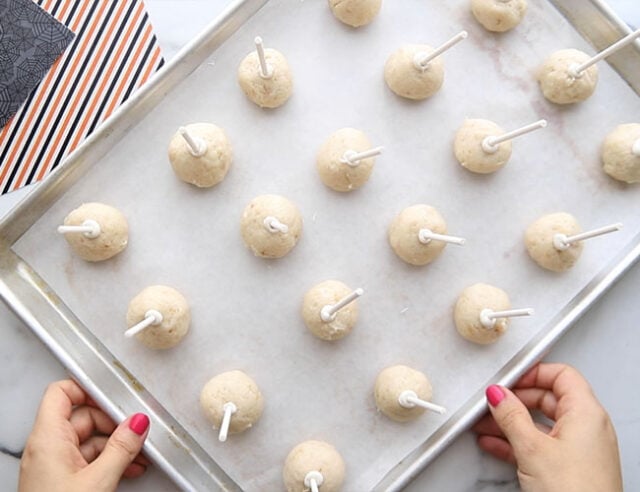
4. Roll into balls and place on parchment paper.
When rolling you do not want them to be too sticky. If you find they are sticking to your hands, too much frosting was added. If you have any extra cake, add more cake to the mixture.
Alternatively, if you find when rolling the balls are too dry, add in a little more frosting to the mixture.
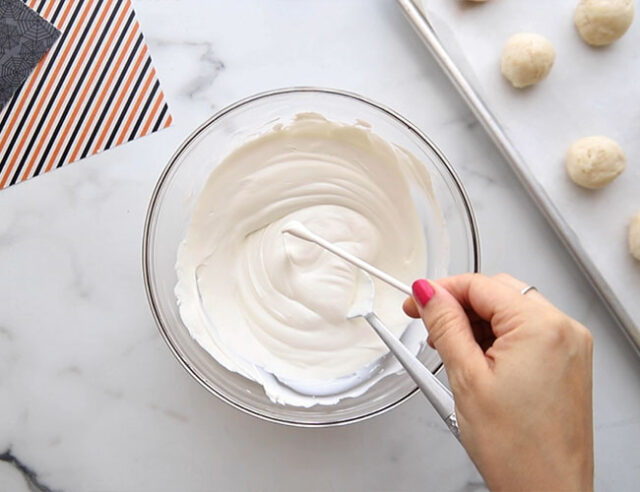
5. Melt your candy melts in the microwave according to the package directions.
Our package called for melting it 30 seconds at a time. This is the step you really want to be careful with. If you over-heat the candy melts, then add some shortening to it.
Turn your microwave setting down as low as possible and stir often in between heating. Let the heat of the candy melts continue to melt on their own before putting in the microwave again so you prevent overheating them.
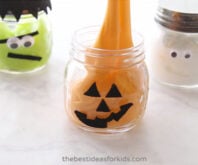
Then dip a bit the end of a candy stick into the candy melt and insert into the cake balls.
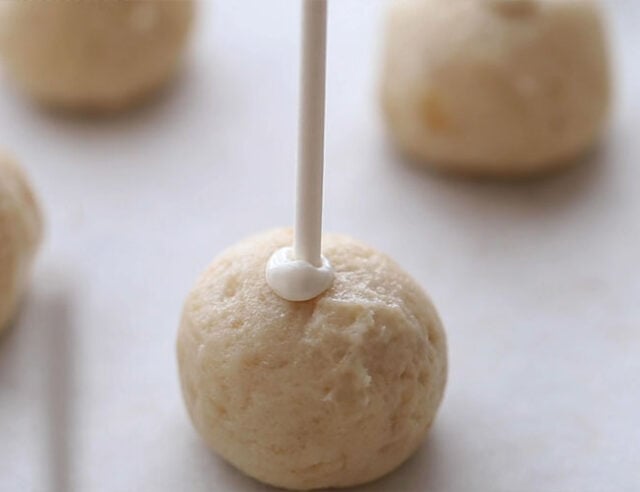
Let them chill in the refrigerator for an hour.
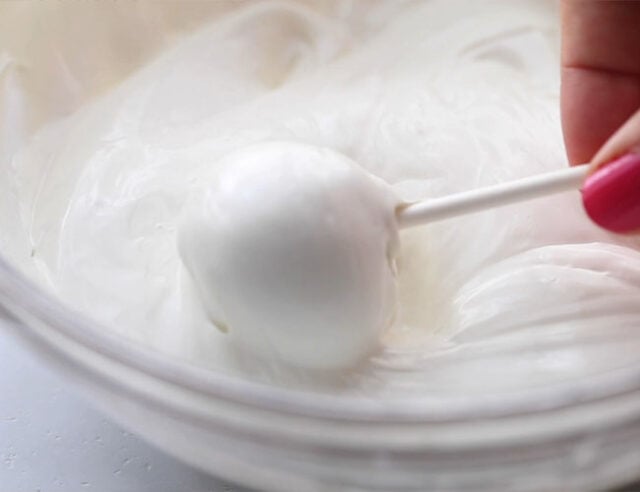
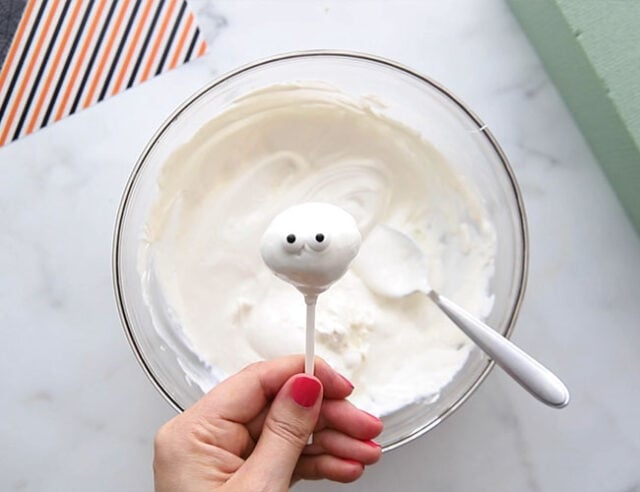
4. Once chilled, pull out of the refrigerator and dip into your candy melt mixture.
Tip
Melt just a little bit of the candy melts to start for the sticks, then you won’t need to reheat the candy melts for dipping the cake pops in.
5. Once dipped and almost dry, add the eyes so they stick.
6. Take the remaining candy melt and put in a Ziploc freezer bag (cut a small hole in the corner) or an icing bag.
Then pipe on the line layers on the face to make it look like a mummy.
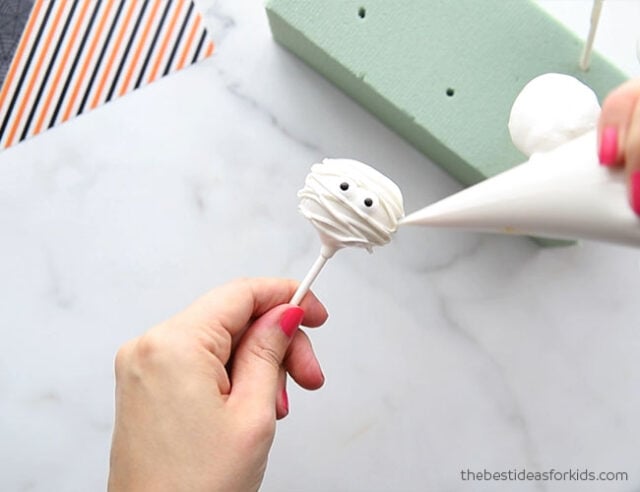
Let the cake pops dry on a foam board.
These are such a fun and easy treat to make for Halloween! Wrap them up and add a ribbon for a fun Halloween gift!
Mummy Cake Pops
Video
Equipment
Ingredients
- 1 Cake mix box or made from scratch cake (you can also use leftover cake) split recipe in half
- 1 Frosting can – use half of the container
- 2 Packages of candy melts in white you’ll likely only need 1.5 so don’t melt it all and save the 1/2 package for another day.
- Edible small googly eyes
- Candy sticks
- Foam board for placing finished cake pops in to dry] split recipe in half
Instructions
- Start by baking a cake. Or you can use leftover cake!
- Food process your cake. Or crumble by hand if you don't have a food processor. Get the pieces to be fine so that it is not too clumpy when you add the icing.
- Mix the cake crumbs with your icing.(I used about 1/2 of the jar but you may need to just add it slowly to get the right mix). You want it to be almost like dough but not too much icing and sticky.
- Roll into balls and place on parchment paper. When rolling you do not want them to be too sticky. If you find they are sticking to your hands, too much frosting was added. If you have any extra cake, add more cake to the mixture.Alternatively, if you find when rolling the balls are too dry, add in a little more frosting to the mixture.
- Melt your candy melts in the microwave according to the package directions. Our package called for melting it 30 seconds at a time. This is the step you really want to be careful with. If you over-heat the candy melts, then add some shortening to it. Turn your microwave setting down as low as possible and stir often in between heating. Let the heat of the candy melts continue to melt on their own before putting in the microwave again so you prevent overheating them.
- Then dip a bit the end of a candy stick into the candy melt and insert into the cake balls. Let them chill in the refrigerator for an hour.
- Once chilled, pull out of the refrigerator and dip into your candy melt mixture.
- Once dipped and almost dry, add the eyes so they stick.
- Take the remaining candy melt and put in a Ziploc freezer bag (cut a small hole in the corner) or an icing bag. Then pipe on the line layers on the face to make it look like a mummy.Let the cake pops dry on a foam board.


Thanks Aimee!! I look forward to seeing them featured! 🙂
Thanks Aimee! I look forward to seeing the post!
Thanks Kim! Cake pops surprisingly are a lot of work so I totally understand where you’re coming from! I probably would opt for the candy too! 😉