

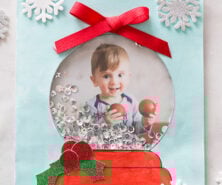
Looking for how to make a snow globe? It’s easy to make your own with only a few supplies! Kids will love helping to make these for Christmas gifts this year.
RELATED: Snow Globe Template Card
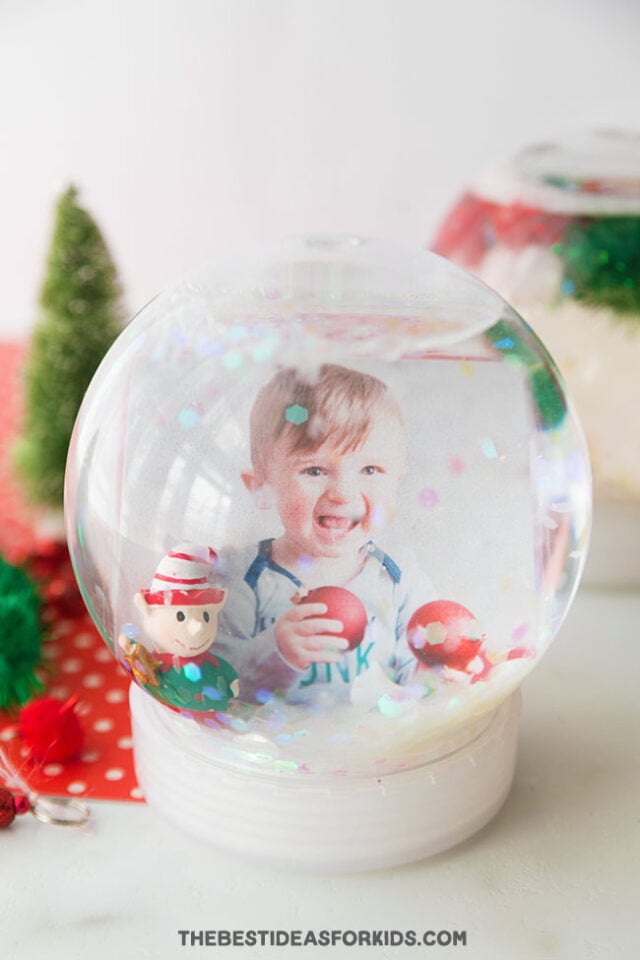
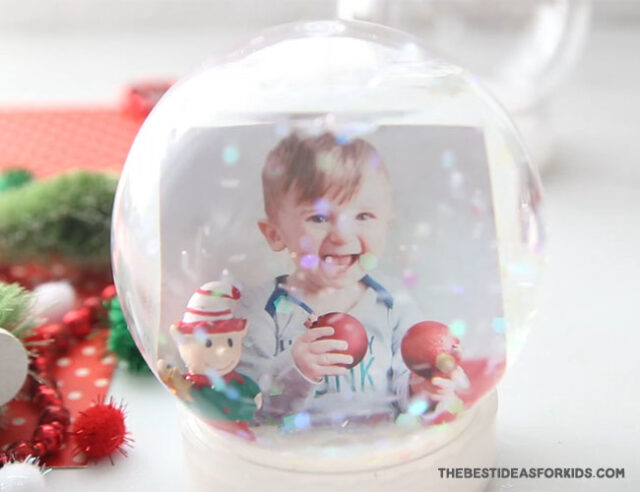
Kids will absolutely love making their own snow globe this Christmas! These make great gifts that you can personalize with photos inside of them. You can give them as gifts to family, friends or even make ones with Christmas decorations inside for teachers.
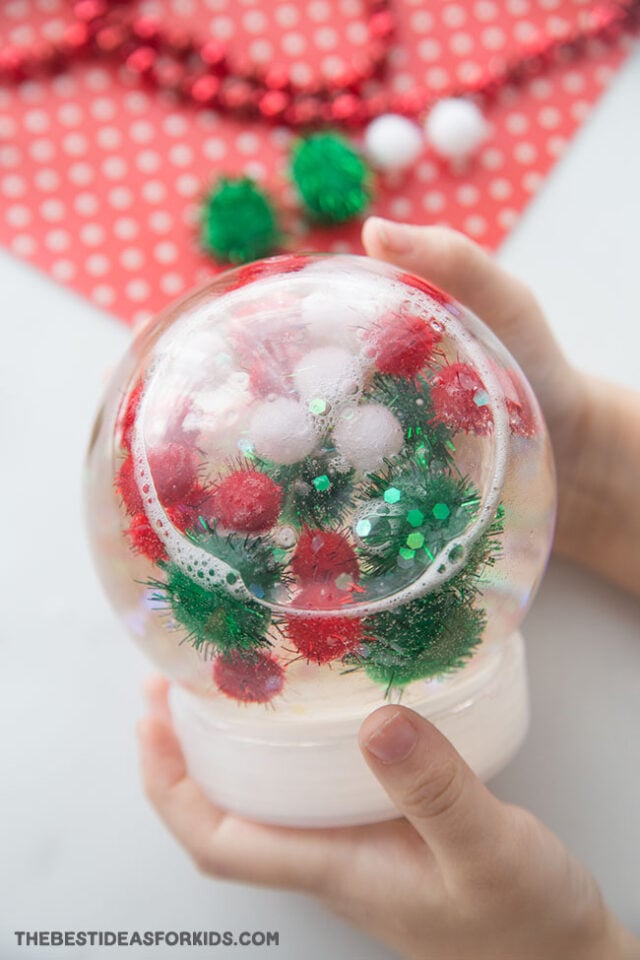
We made some sensory style snow globes also – these are basically just glitter and other kinds of Christmas items that would be fine in water (confetti and pom poms work well). You can see the sensory version in the video below.
The sensory bottles are great for kids to relax and watch the glitter fall down. They can also shake it up and you don’t have to worry about it breaking because it’s plastic.
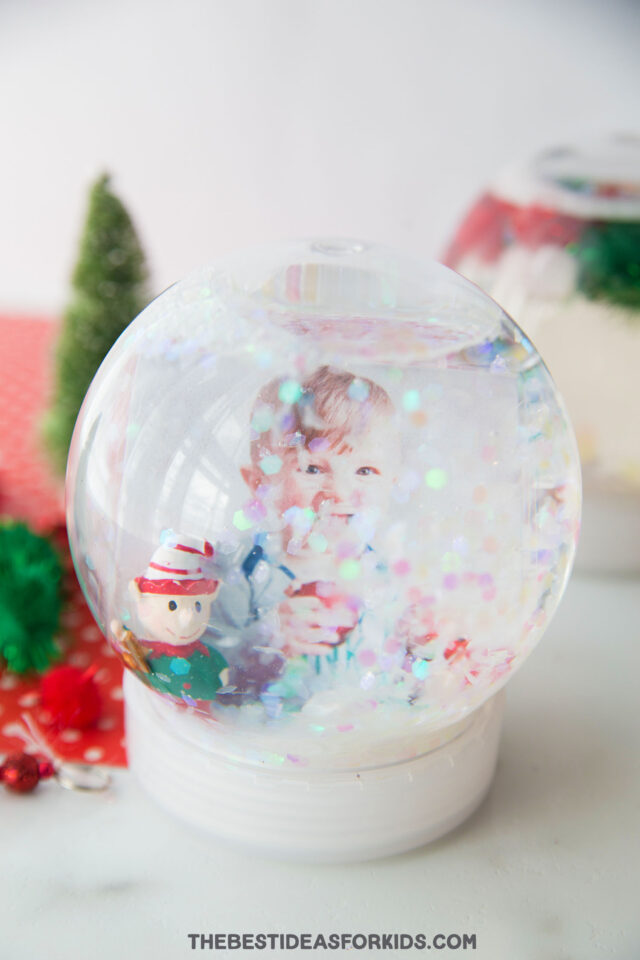
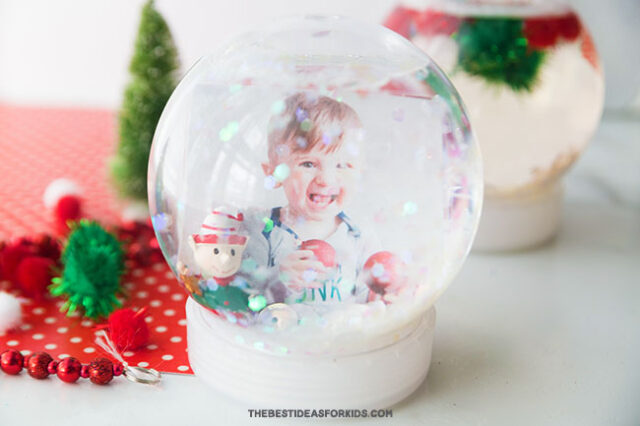
Our favorite version is including a photo inside!
Supplies
Here are the supplies you will need:
- Plastic snow globe – you can get them from craft stores, like Michaels or here
- Laminated picture – get a laminator here
- Iridescent chunky glitter
- Small snowflake glitter
- Small silver or iridescent sequins
- Small snowmen or other item to add inside for decoration– we got ours from the dollar store in the Christmas village section
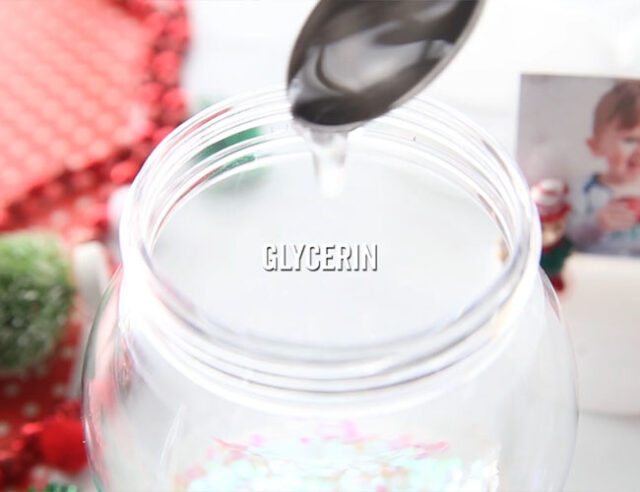
- Glycerin
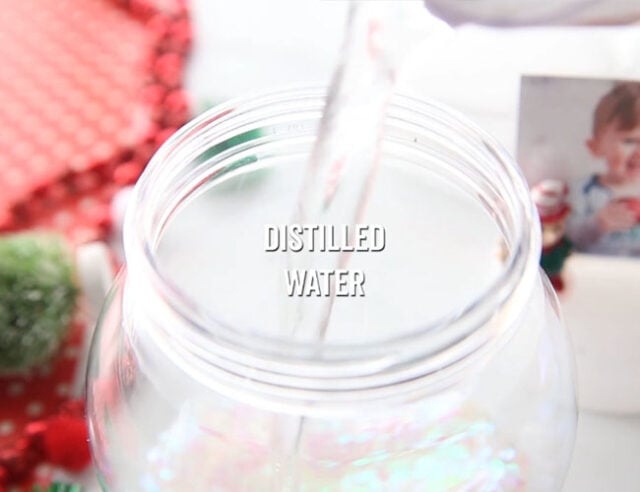
- Distilled water
- Hot glue
Watch the Video Tutorial
How to Make a Homemade Snow Globe
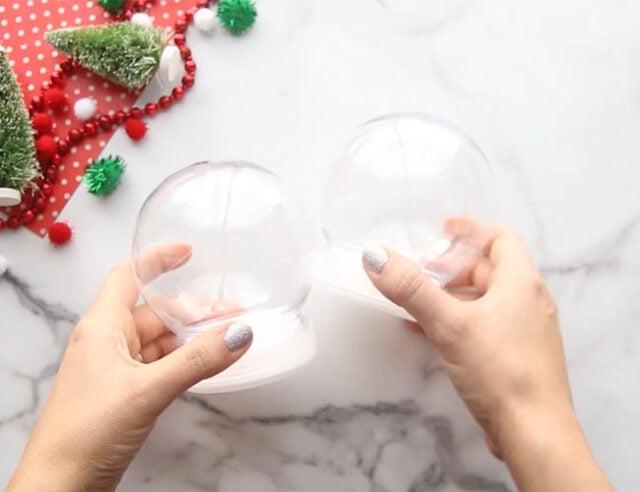
1. First, get a plastic snow globe and picture.
You can find plastic snow globes here. The plastic versions are perfect for making with kids.
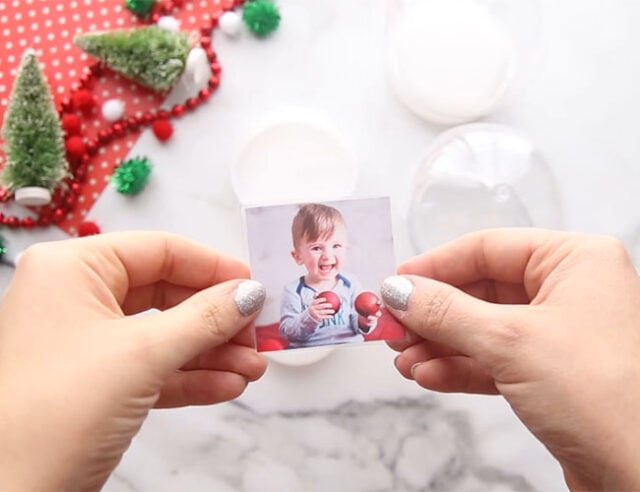
Measure the size of your photo and laminate it. You can get a laminator from Amazon here.
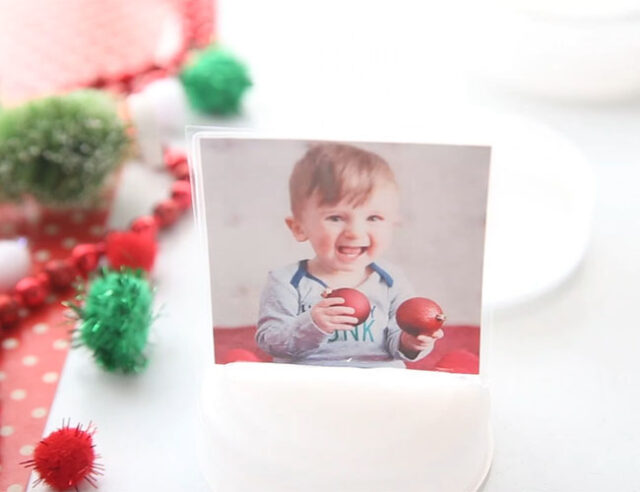
2. Hot glue your laminated photo to the inside base of the snow globe.
Adults should do this part.
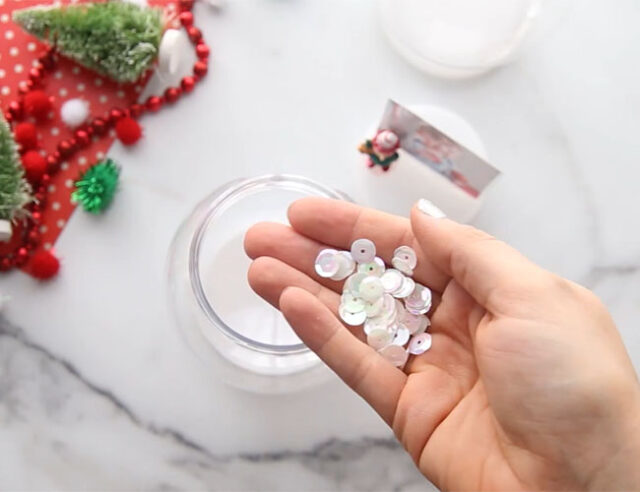
3. Gather the supplies you want to put inside.
For the “snow” falling effect, we really like this chunky iridescent glitter. This will give you a snow falling effect but won’t be too opaque like regular glitter which may obstruct your view of the photo.
We also added in a few small silver sequins and some small snowflake confetti. Don’t add too much glitter and confetti to start. You can always add more after if you feel it is not enough.
4. Add in 1/2 teaspoon of glycerin.
This will help the glitter fall a little slower in the water. The glycerin is optional, however, we do recommend it.
5. Fill your snow globe with distilled water.
You’ll want to leave a little space from the top for the lid and base to go back on.
6. Add your base back in.
Make sure you allow some time for the hot glue to fully dry before adding the base into the water. You may need to fold the picture in slightly to fit it back into the snow globe.
If you want to keep the snow globe for many years to come we recommend not hot gluing the lid closed so you can top up the water in a few years if needed.
However, if you’re letting kids play with it, be sure to supervise them. It is plastic so it won’t break but if the lid loosens you may experience some water leakage. If you want to ensure it won’t leak, you can hot glue the lid on. Just keep it mind you won’t be able to open it later to add more water if needed.
We just love how easy these are to make! We hope you have fun making them!
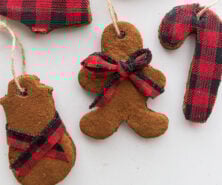
See 50+ Christmas Crafts for Kids – there are so many fun and easy crafts for kids in this list!


What size is the photo? I’m an infant teacher and plan on making this for christmas gifts.
Something 2 inches by 2 inches should fit but once you get the snow globes I would measure to make sure as they may all be slightly different sizing.
Thank you so much for your snowglobe with picture directions. I have been looking and it has come up with buying the globe. love yours better
Love all your ideas! I am a preschool teacher and am always looking for new and fun ideas for the kiddos to do. Thank you!
Picture is coming apart from laminate in water mixture. What can I do?
I’ve never had that happen. Are you using a good laminator? Could it be that where you cut was too close to the picture it lost the seal from the laminating?
Did you buy your own distilled water or can I use tap water?
It’s best if you use distilled water, it will last longer.
Did you have any issues with leaking? I need to make several and am testing them out before gluing anything on, but they all seem to leak a bit.
I didn’t – we got our snow globes at Michaels. Could it be the type of globe you purchased? A dollar store globe just may not be the same quality.
What size is the wide photo? I have a class picture I’m wondering if the size will fit.
Hi Nessa – it’s going to depending on your snow globe that you buy. You can just measure the base to make sure it fits! 🙂
I need a base for what I’m putting inside the snowglobe. any suggestions?
Can you use a bottle cap?
My glitter got stuck to the picture and so the picture is not seen. What can I apply on the photo that the glitter won’t be attracted to the photo?
Thanks
Maulika
Are you using regular glitter? It should shake off but if you’re having issues, we’d recommend putting less in or using only chunky iridescent glitter.
I love all the fun crafts for kids. I am always looking for something to have my granddaughters to do when they are with me during the holidays and summer! Love your ideas!
Thanks Darlene – so glad you love what we are sharing! 🙂