

Head outside this spring or summer season and make your own DIY nature stick frame! This is such a fun outdoor craft activity to do with kids of all ages.
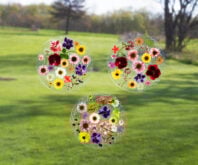
RELATED: Pressed Flower Suncatcher
You can make this a two-part activity, collecting and saving flowers and then creating the stick frames. City park grasses around playgrounds often have lots of wildflowers that will get cut throughout the spring and summer. Picking some of those wildflowers before they are cut are perfect for this activity.
If you’ve never made your own pressed flowers, it is really easy! See our simple tutorial how to press flowers.
This also makes a beautiful keepsake gift to make for someone for Mother’s Day or for a birthday.
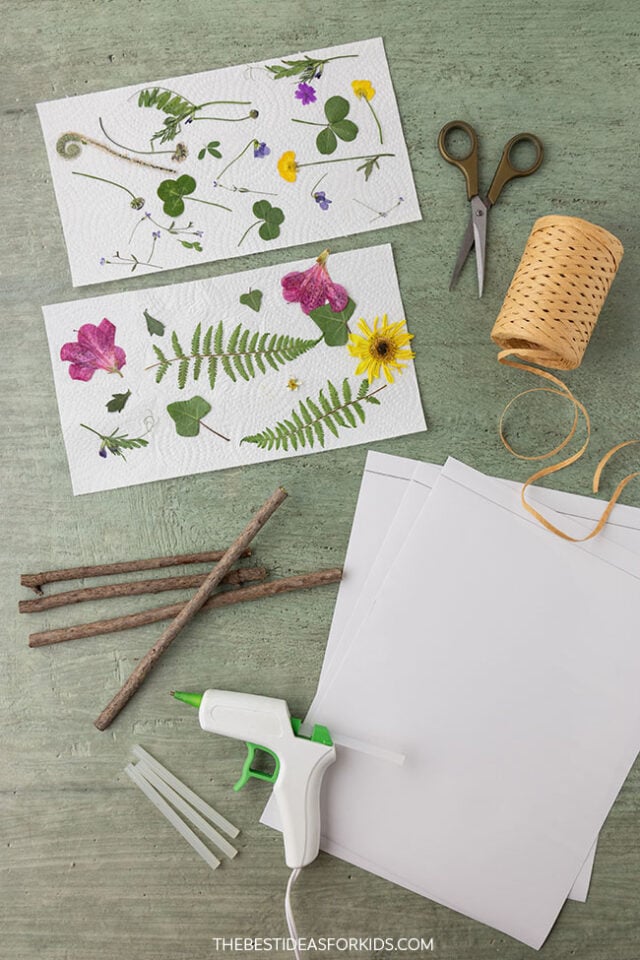
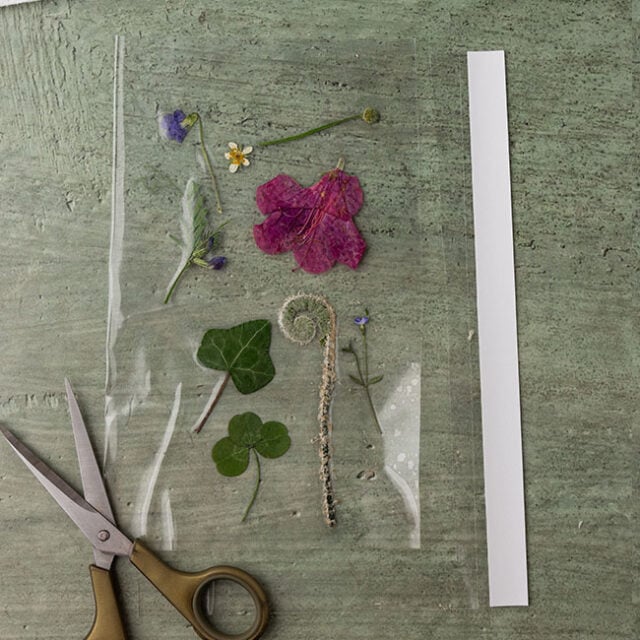
Supplies
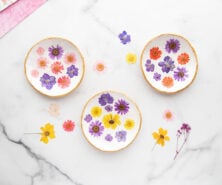
- Pressed flowers – you can make your own by collecting wildflowers or fallen flowers from your garden. See how to make your own pressed flowers. Or you can order some pressed flowers here.
- Sticks, cut to approximate size – two 8-inch sticks and two 6-inch sticks
- Self-laminating sheets – size 9 inches by 12 inches
- Raffia paper craft ribbon or jute – four 36-inch strands, and one 20-inch strand
- Hot glue gun (adults only)
- Scissors

How to Make a Nature Stick Frame
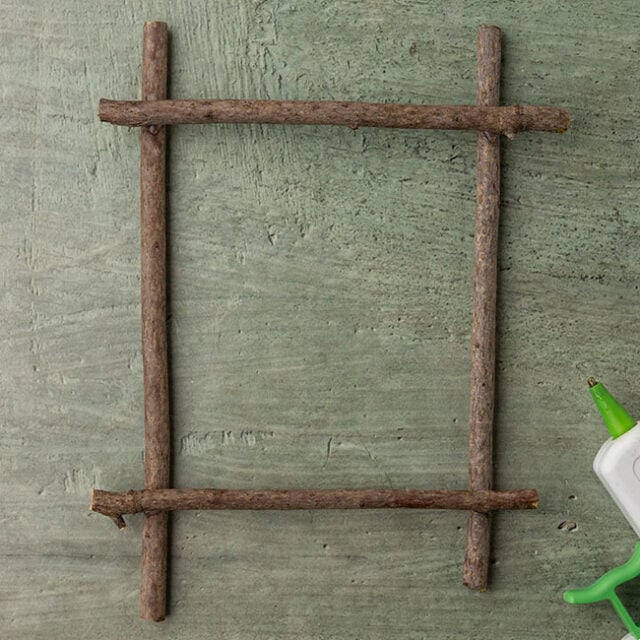
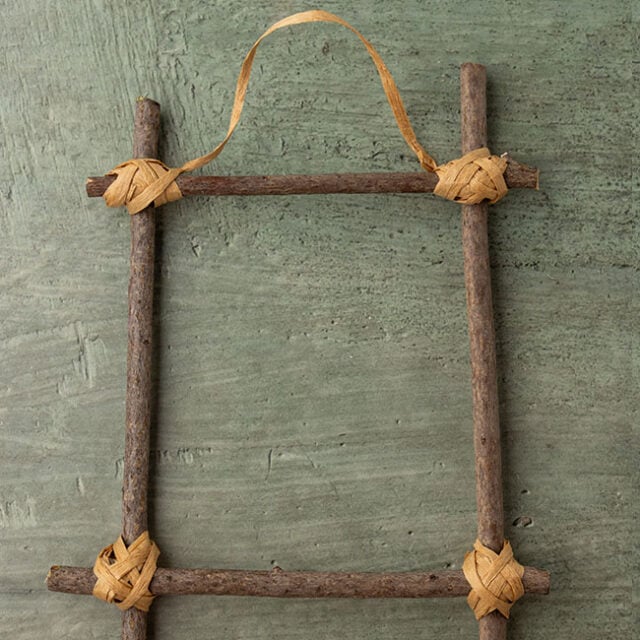
1. Build your frame.
Begin by lining up your sticks. Place the two 8-inch sticks parallel to each other, and then place the two 6-inch sticks on top of them to make a rectangle. Leave about one inch of overlap at the ends of the sticks.
Hot glue (with adult assistance) the sticks in place to form a rectangular frame, and allow to dry for 2-3 minutes.
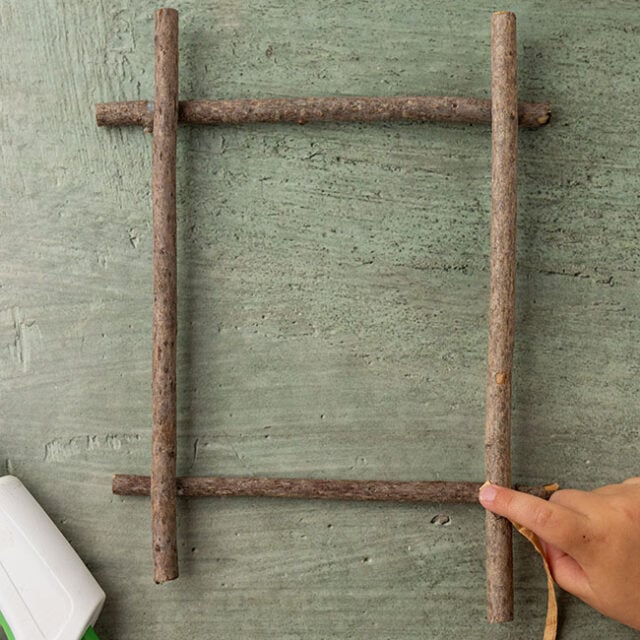
2. Wrap with jute or ribbon.
Once all four corners are glued and secure, begin wrapping the corners with the 36-inch strands of jute or ribbon – one strand per corner of the frame. Have an adult help place a small amount of hot glue on the backside of the frame and carefully stick one end of the jute in the glue. Hold in place.
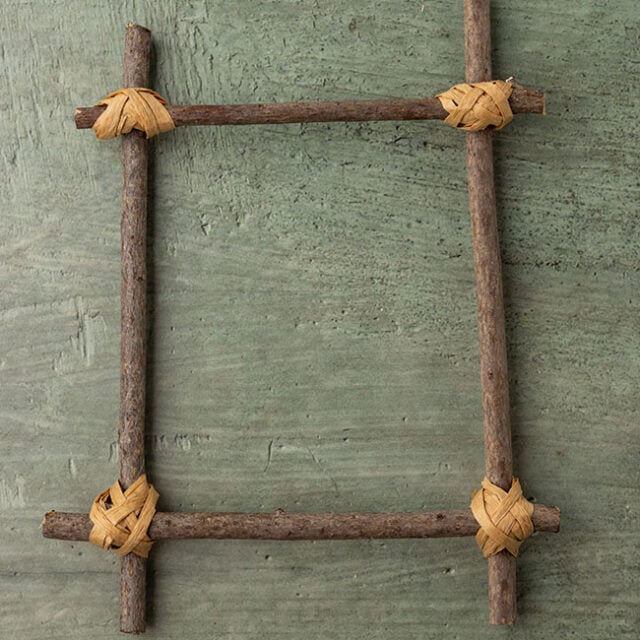
Once the glue is dry, begin wrapping the jute in a crisscross pattern until you reach the end of the jute. Use hot glue to secure the end.
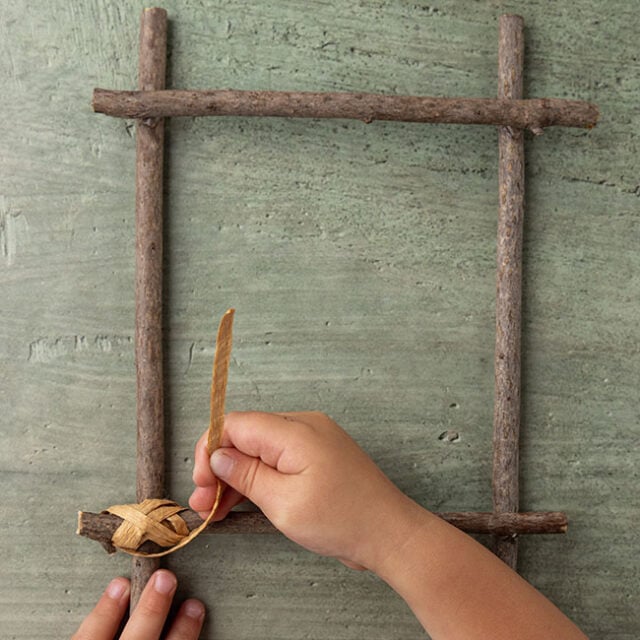
Repeat steps 3 and 4 until all four corners are wrapped and the frame is secure.
3. Make a hanger.
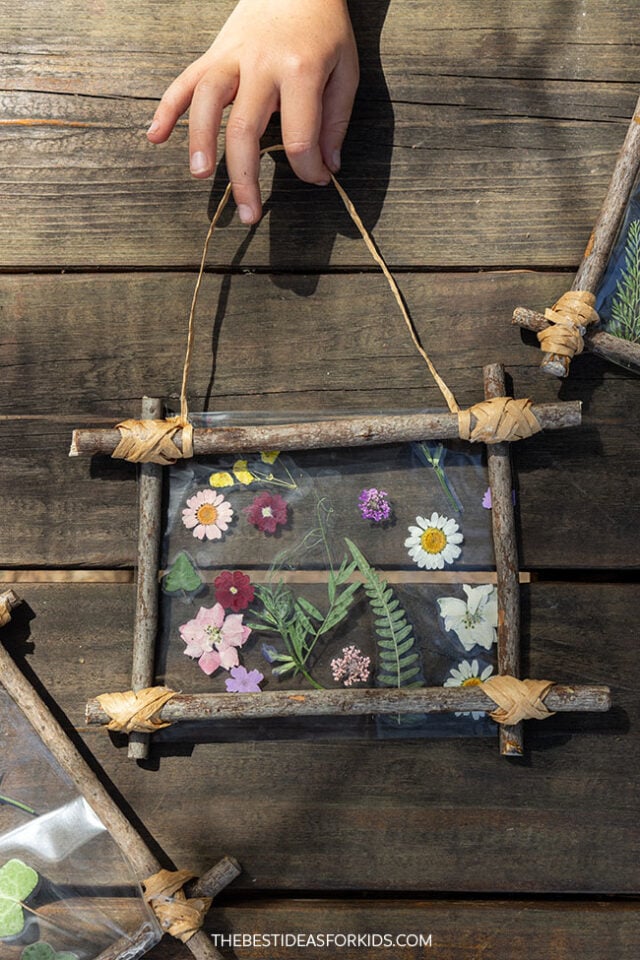
Use the small, 20-inch strand of jute, to make a hanger for your frame. Simply tie a double overhand knot to secure one end of the jute to one side of the frame. Repeat for the opposite side. Set the frame aside.
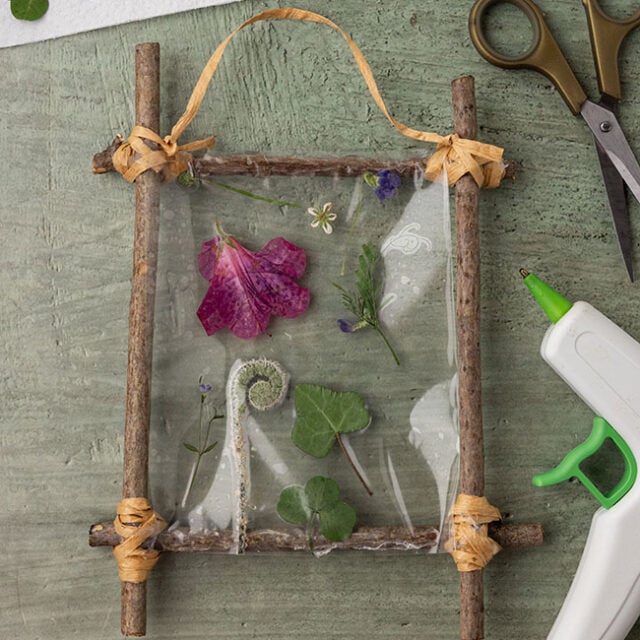
4. Add flowers to self-laminating sheets.
Remove the backing halfway. You’ll use only half of a sheet. You can also use a full sheet, if you’d like and have more to trim off. Place the dried, pressed flowers all around the middle part of the sheet (the sticky part).
Keep in mind that you’ll need to trim and wrap the edges of the self-laminating sheet to the stick frame, so you need to leave about 1-2 inches of free space all around the edges.

5. Seal the laminating sheet.
Once your design is complete, remove the rest of the backing on the self-laminating sheet and fold the sheet to meet the opposite end. Press firmly to seal the flowers inside.
Trim off the excess part of the self-laminating sheet not needed to fit the frame. Make sure to measure it will fit on the stick frame before cutting.
6. Glue to your frame.
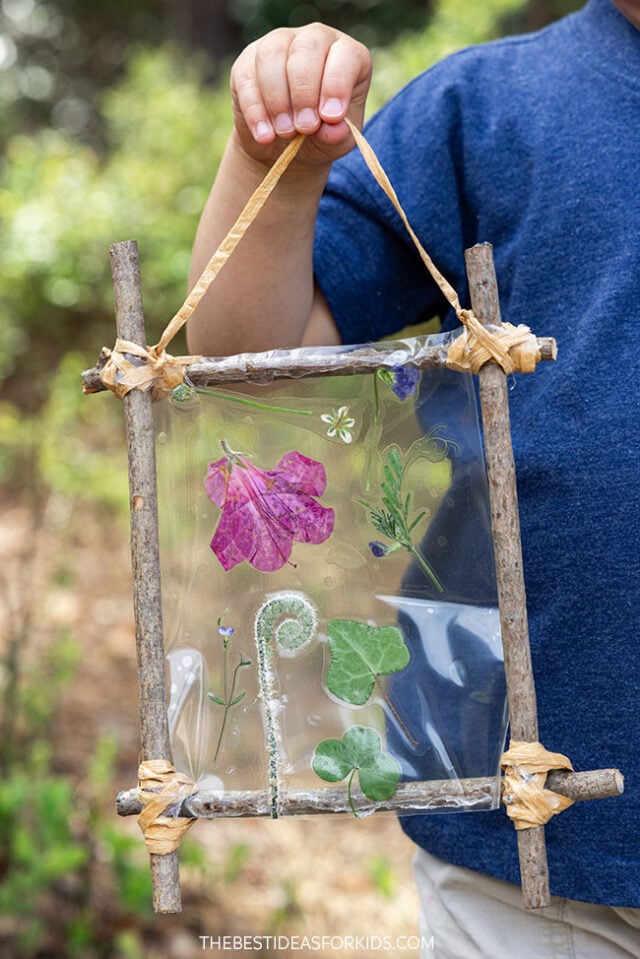
Have an adult help glue the beautiful flower art to the backside of the stick frame.
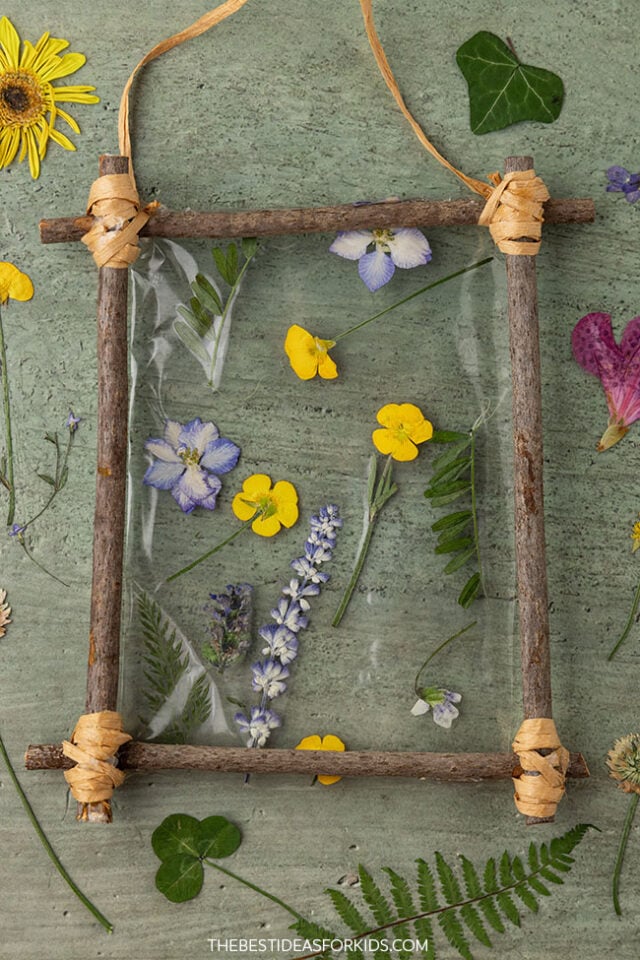
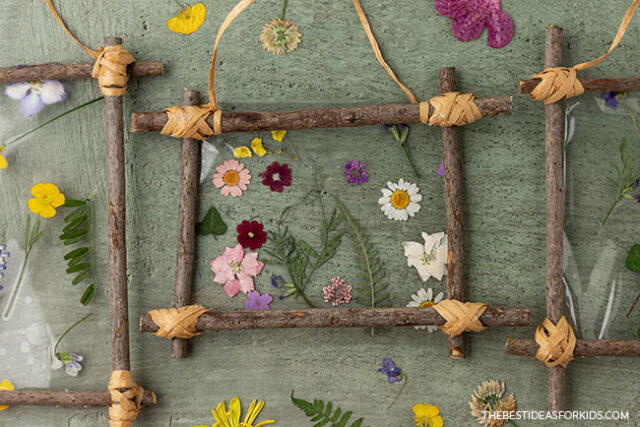
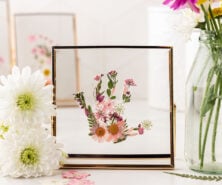
Enjoy your beautiful nature art frame!


These ideas will be great for my 7 yr old granddaughter!!