

Make this adorable flower pot and watering can craft for spring, a birthday or for Mother’s Day! Kids will love decorating and personalizing the messages on each.
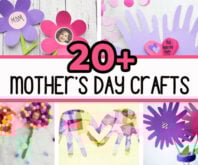
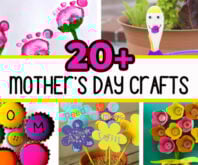
RELATED: Mother’s Day Crafts for Kids
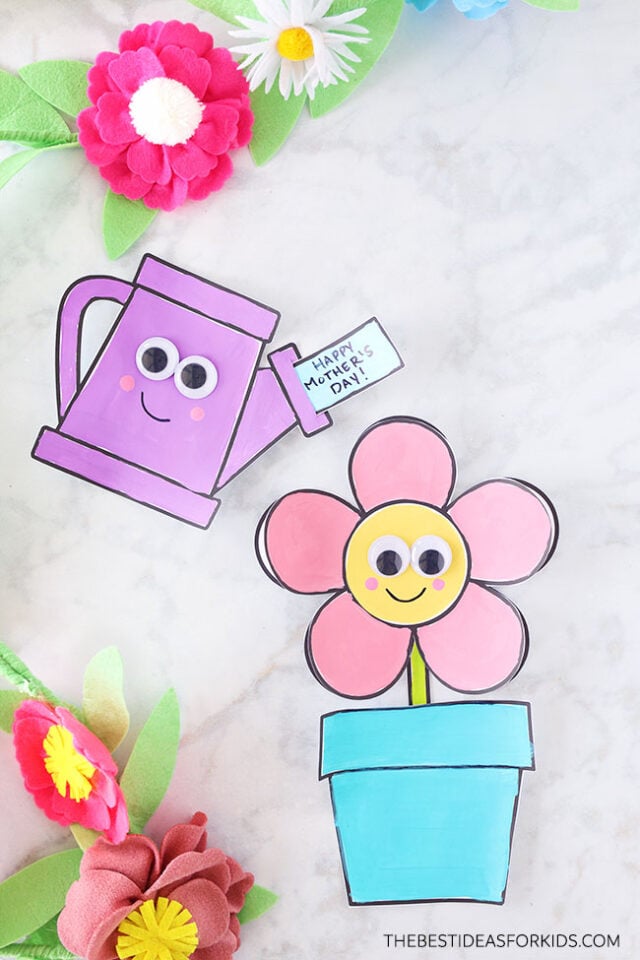
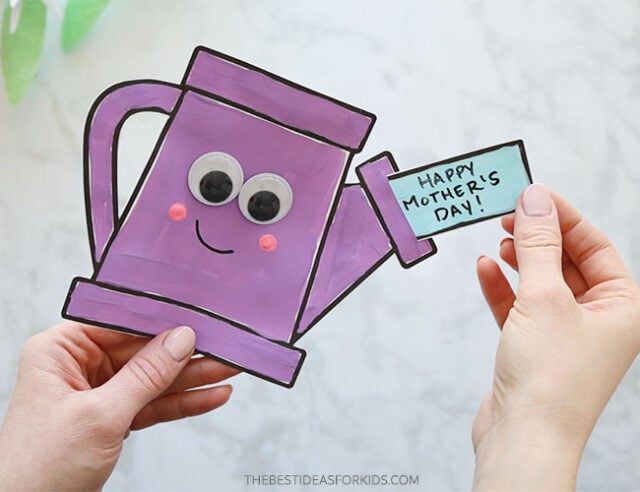
Kids can add a message to the “water” on the watering can. For the flower pot they can add traits that they love about their mom under the petals.
There is a also a free template you can use to make both of these.
Get the free printable template at the bottom of the post.
Supplies Needed
- Large Googly Eyes – these are 25mm size
- Black Marker
- Coloring Supplies – we used paint to color the templates but you can use anything you’d like. Markers, crayons or colored pencils will also work well.
- Glue – a glue stick to glue the flower pot templates together
- Scissors
- Free Template – get the template sent to you at the bottom of the post
Watch the Video Tutorial
How to Make the Watering Can & Flower Pot
1. Print off the templates.
You can get the template emailed to you at the bottom of the post.
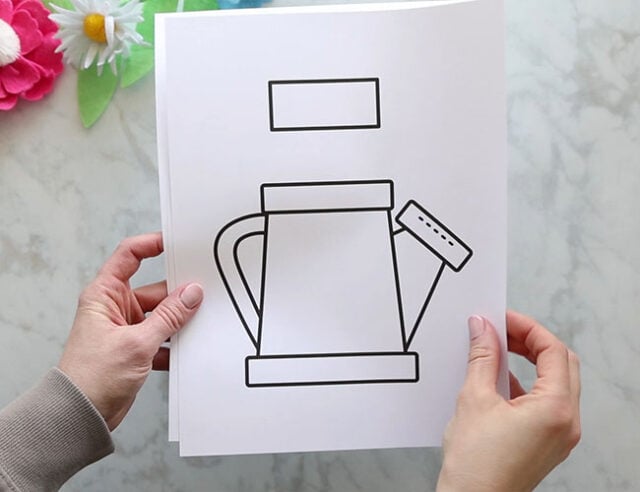
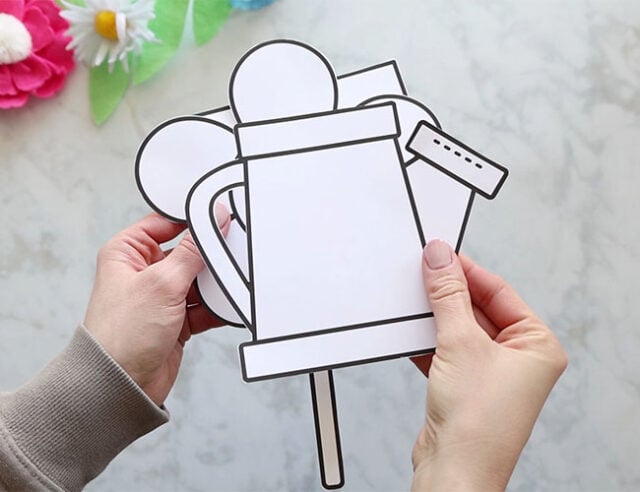
2. Cut out the templates.
Note: for the dotted line on the watering can, this is where your paper will slip through. It may be easier to use an X-acto knife (adults only) to make this opening. Only make it exactly the same size as your paper so it fits but doesn’t easily slip out. If it does slip out, you can add some tape or glue to keep it in place.
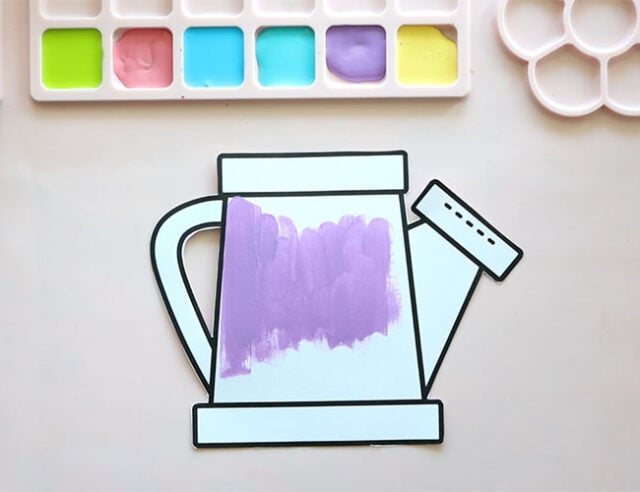
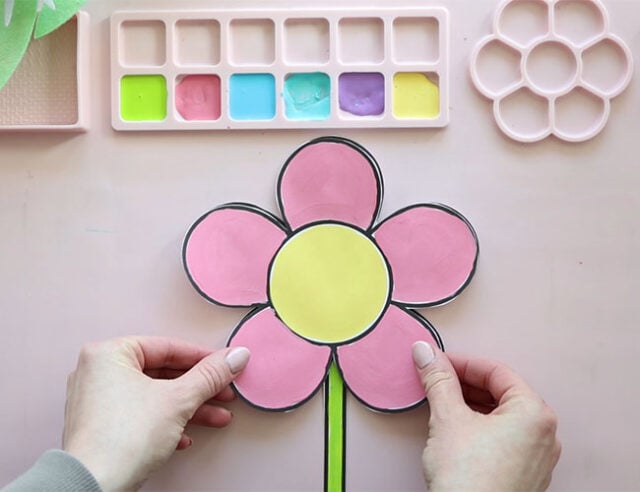
3. Color the templates.
We used paint but you can also use markers, crayons or colored pencils. Kids can also add designs to the templates.
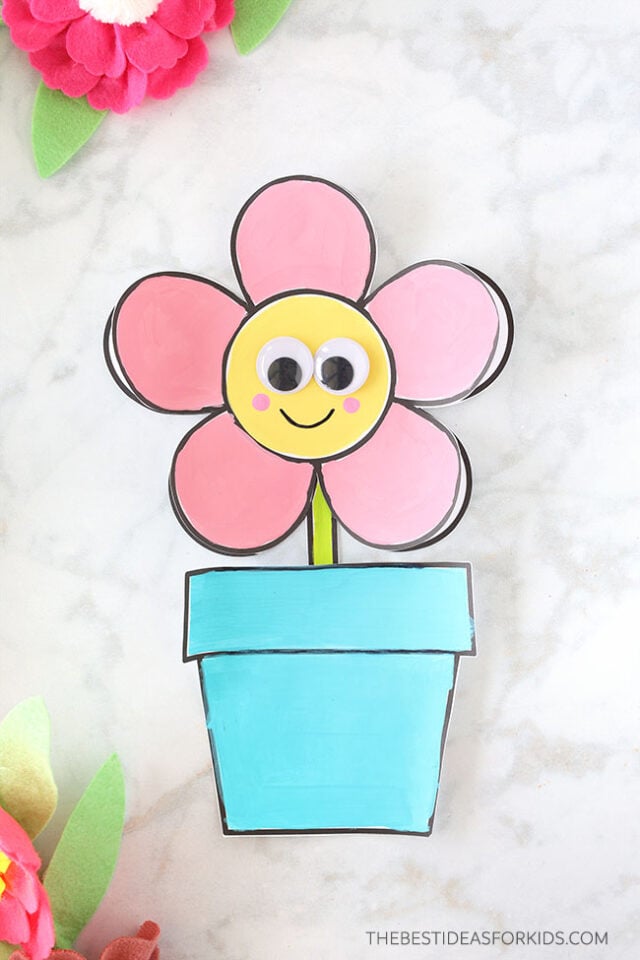
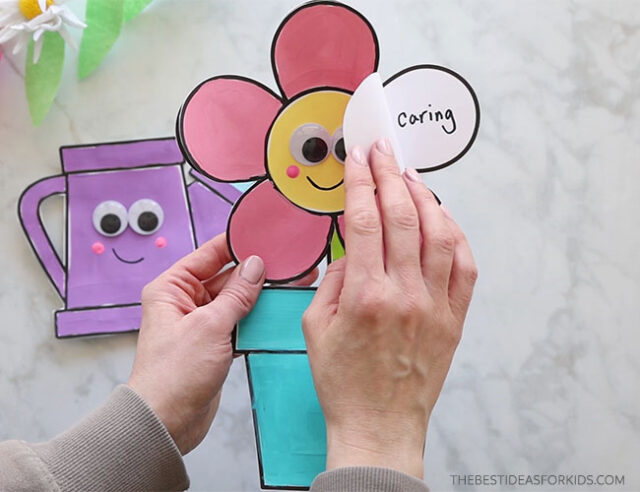
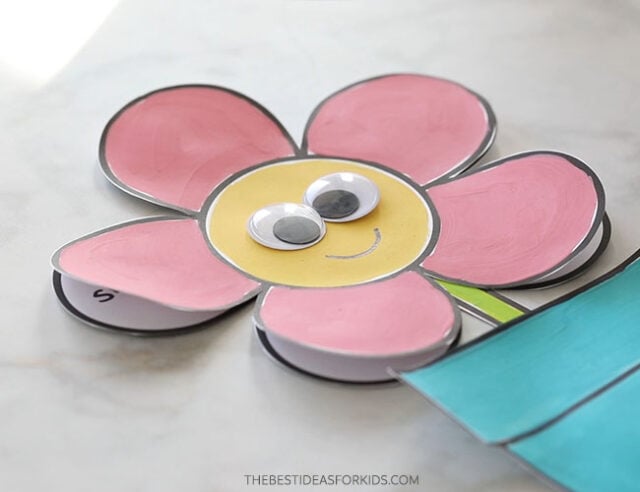
4. Add Words to the Bottom Flower
Cut out the flower with the stem and add words to each petal. You only have to color the stem of this part.
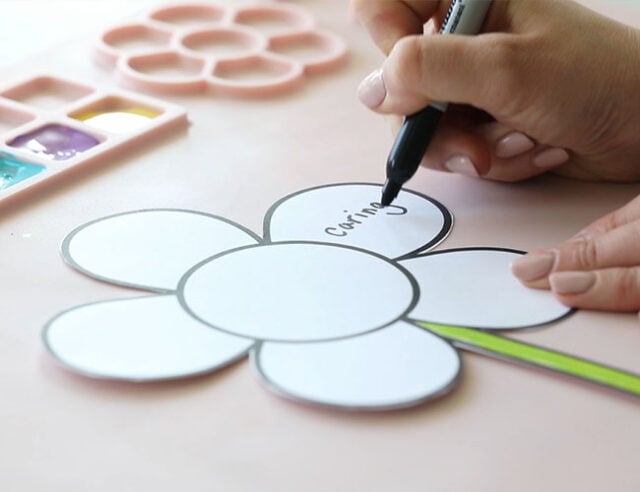
Color the flower-only template. Then glue it on top of the flower and stem template in the center only.
You should be able to open the top petals to reveal the words or messages underneath.
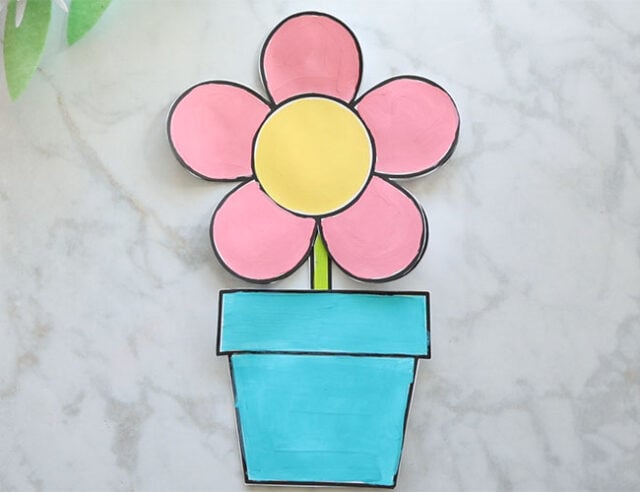
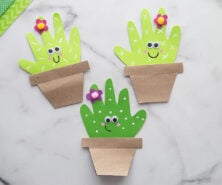
Glue the flower pot to the stem.
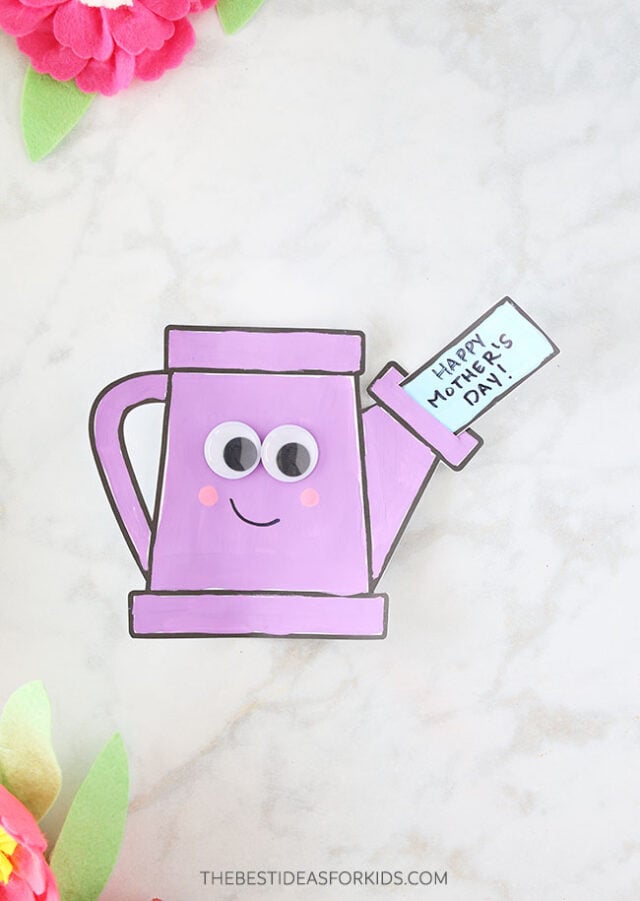
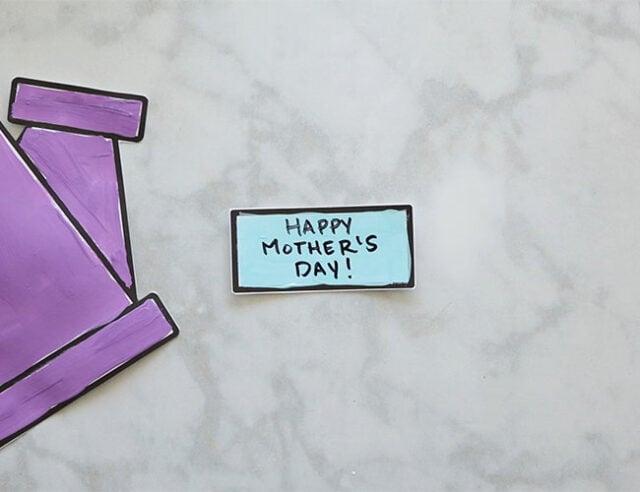
5. For the watering can, color and add a message to the paper water.
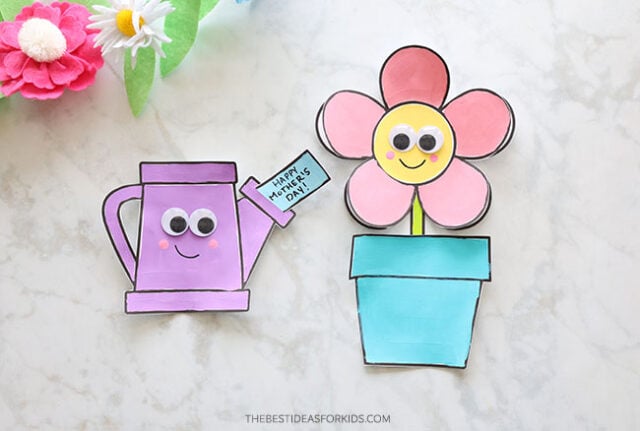
6. Add faces or decorate the cards.
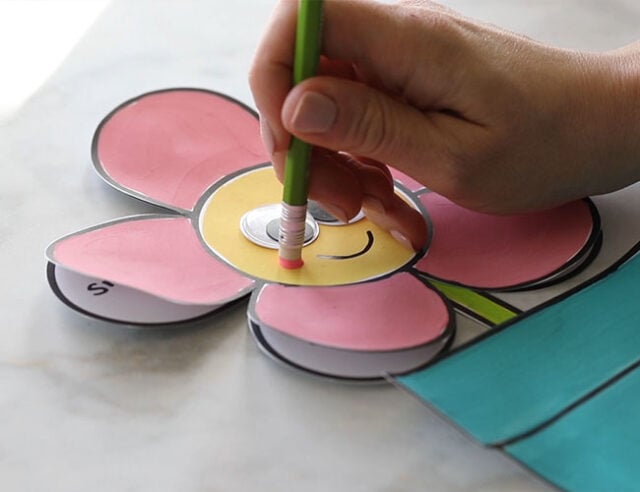
We glued on large googly eyes, added cheek marks with the back of a pencil (a paint brush would work too) and a smile to each card with a black marker.
7. Add the water paper to the watering can.
If the hole for the paper to go in is too large the paper will slip through, you can tape or glue it to keep it in place (but you won’t be able to move it in and out)
Get the Free Printable Templates Here
Get the Free Printable Templates
Get the FREE templates delivered to your inbox. You’ll also receive our free weekly newsletter.
Already a subscriber? Don’t worry you won’t be subscribed twice!
For more fun Mother’s day crafts, see our Mother’s Day Crafts for Kids.


So cute! Thank you! I was wondering the names of the other colors used in this project.