


Kids will love learning about seeds and the fall harvest with these Pumpkin Life Cycle Worksheets! These worksheets are filled with interactive elements and clear visuals, making them a great way to learn about how pumpkins grow.
RELATED: Pumpkin I Spy
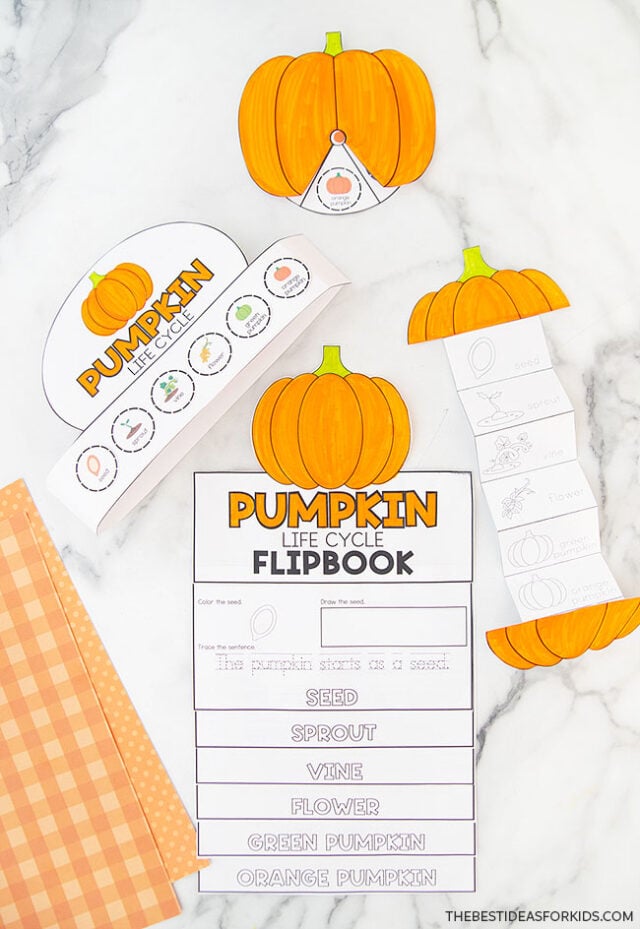
Kids can help color, cut, and assemble the printables – and then you can explore the life cycle together!
With pumpkins everywhere this time of year, these worksheets are sure to be an educational conversation starter at home or at school.
Supplies Needed
- Pumpkin Life Cycle Worksheets – Print them off at the bottom of the post
- Markers – (or crayons or colored pencils) orange and green
- Scissors
- Glue stick
- Brad paper pin – 1 for the spinnable life cycle
Watch the Video Tutorial Here
How to Make the Pumpkin Life Cycle Worksheets
1. Print out the designs.
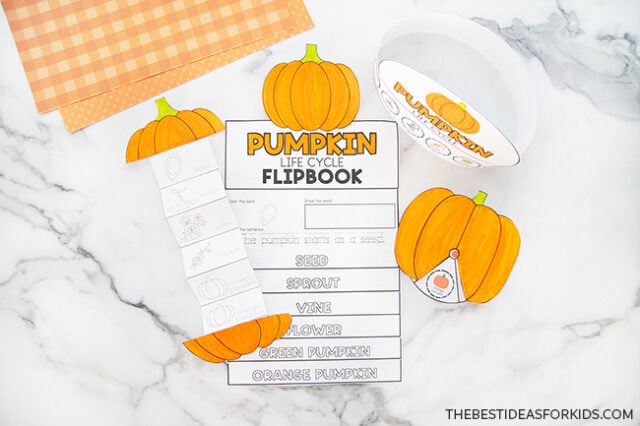
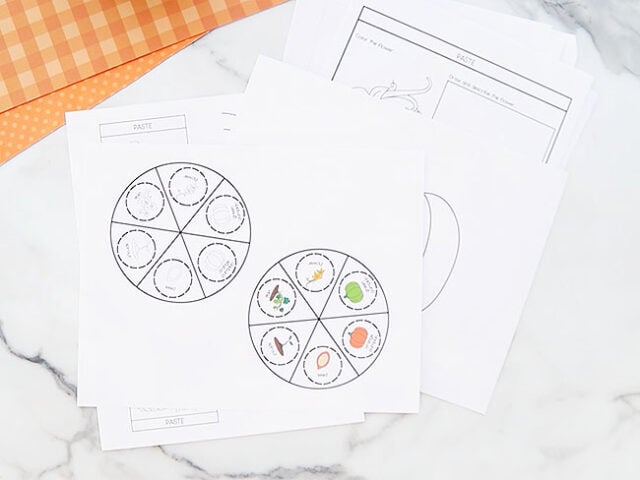
Download and print out the printables found at the bottom of this post. The file includes all 4 different printables – the flipbook, the stand, the spinner, and the accordion info card.
2. Color in the worksheets.
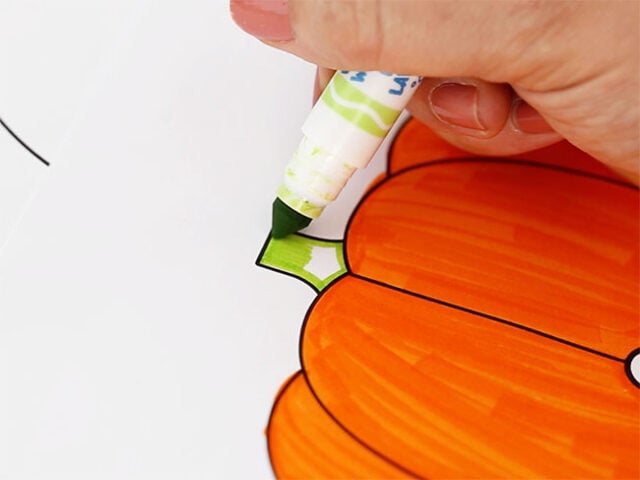
Use markers (or crayons, colored pencils, or even paint) to color in each of the worksheets.
3. Cut out the shapes.
Use scissors to cut around each shape.
4. Assemble the printables.
Each printable is assembled in a different way. See each worksheet direction steps below.
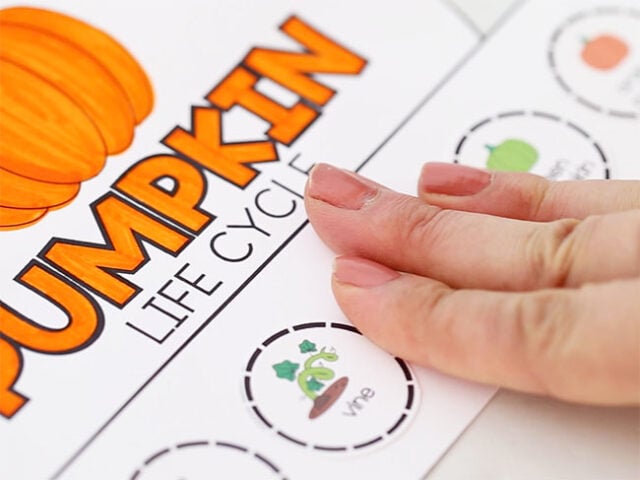
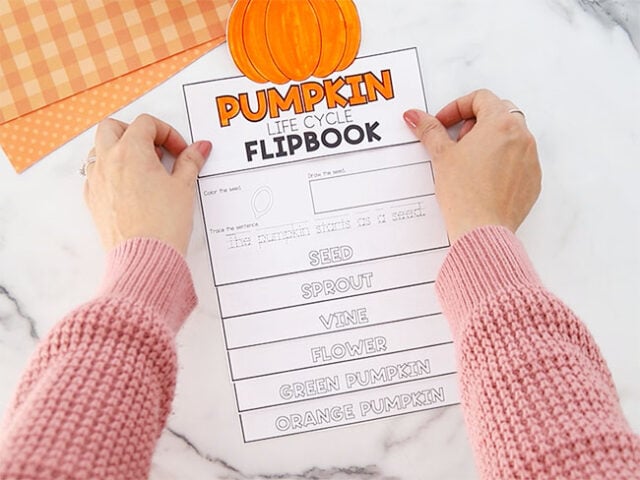
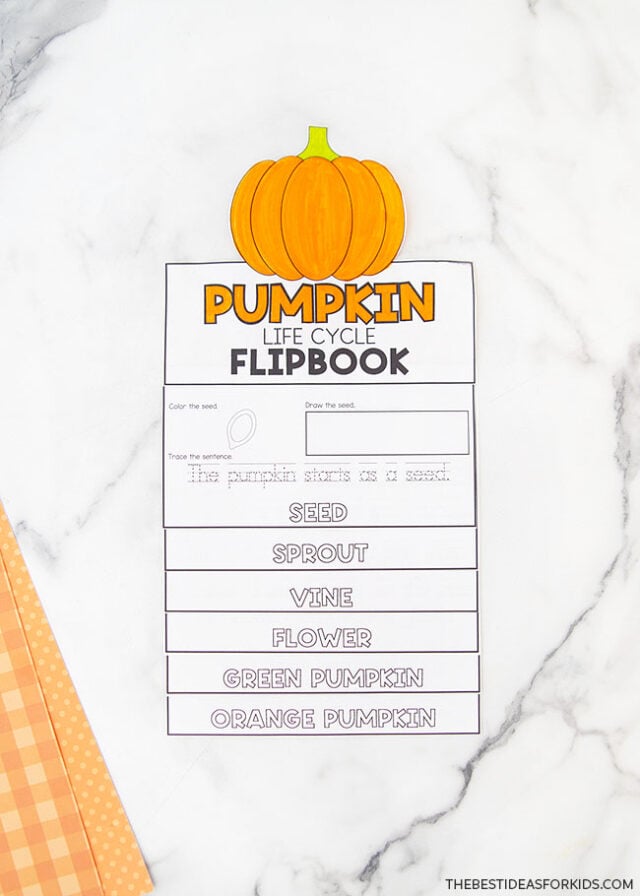
For the flipbook, stack the pages on top of each other, lining up the top edge, then use a glue stick to secure each page.
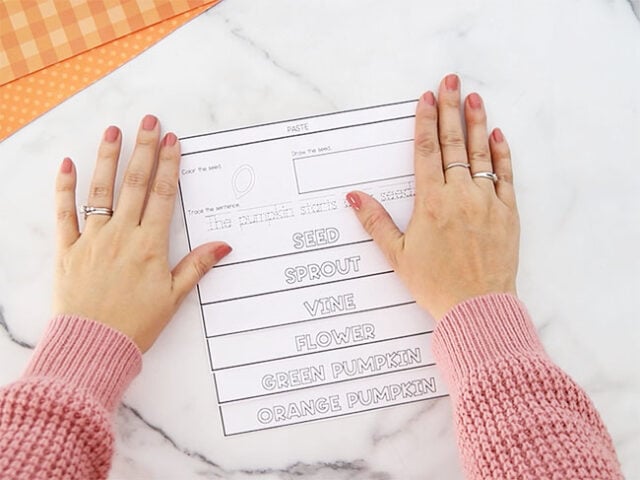
Apply a line of glue along the top edge again and this time stick on the topper.
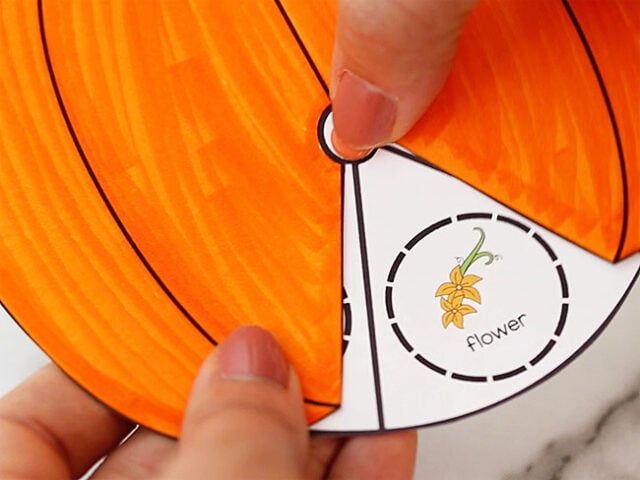
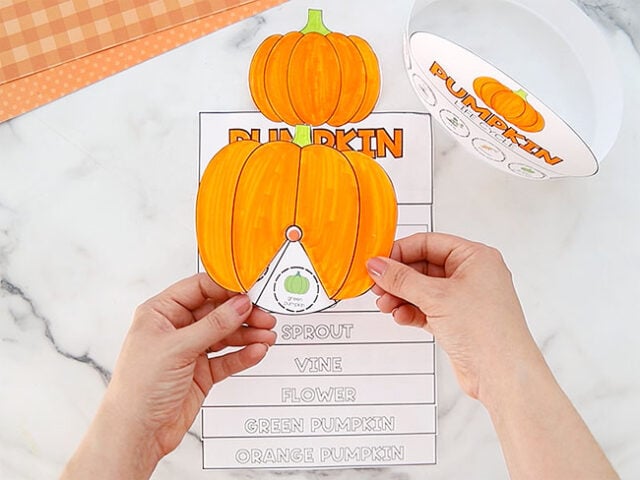
For the spinner, use the pointed end of the brad to carefully poke through the center of the 2 circular pieces, layered together so that the pumpkin is on top and the life cycle images are underneath. Poke the brad all the way through and then open up the 2 flaps to make the papers spinnable.
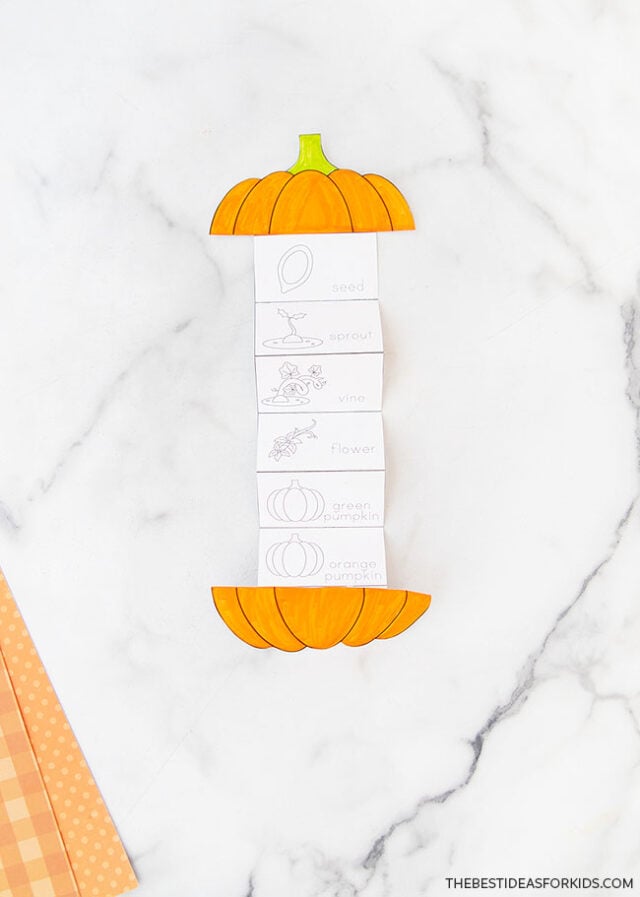
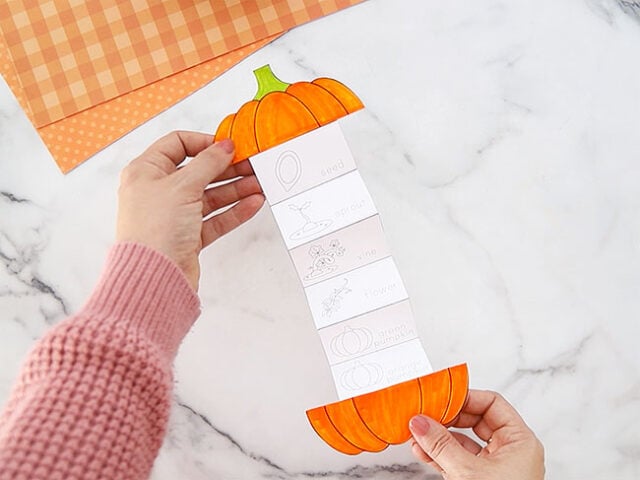
For the accordion info card, fold the long strip along the horizontal lines, like you would if you were making a paper fan.
Next, use a glue stick to apply a line of glue along the bottom edge and place the bottom half of the pumpkin onto it, pressing to secure.
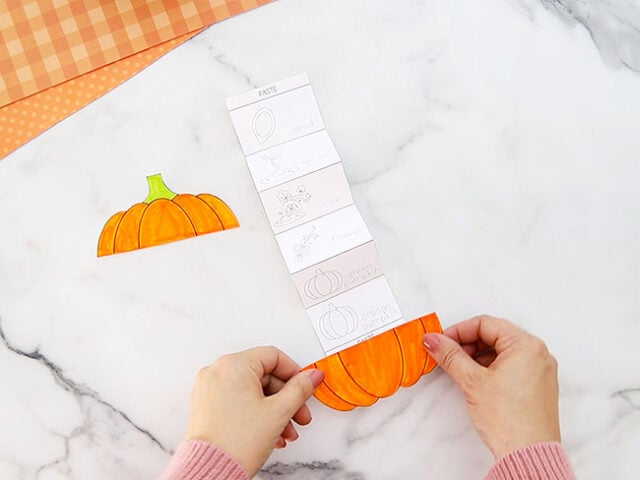
Repeat for the top of the pumpkin, this time attaching it to the top of the accordion paper.
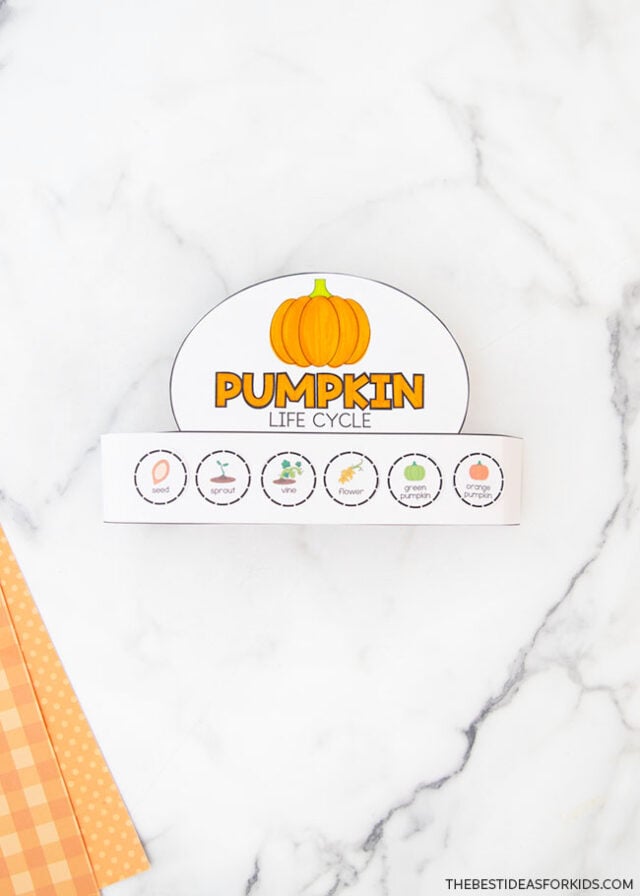
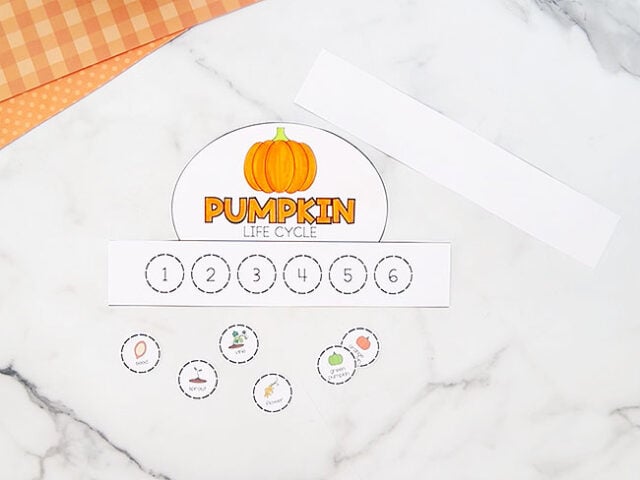
For the printable hat, you’ll need to cut out the two strips and glue them together to make it larger so it fits on a child’s head.
You can then glue the step images on the numbered circles.
Then glue or staple the hat together.
All four of your pumpkin life cycle printables are now ready to go!
These printables are perfect for this time of year, especially since pumpkin-carving time is right around the corner.


Share a Comment!
We LOVE hearing from you! Submit your question or comment here.
Your email address will not be published.
Required fields are marked *