

Celebrate the start of school with these adorable Chester the raccoon Kissing Hand crafts. Choose from a stand-up clothespin craft, a handprint card or a wiggly raccoon! Personalize them with your child’s handprint.
See also: Fall Crafts for Kids
The Kissing Hand, written by Audrey Penn is about Chester the raccoon who does not want to go to school in the forest. His mom, shares a family secret called The Kissing Hand to reassure him whenever he needs comfort during the day.
You can see The Kissing Hand book here.
We have 3 Kissing Hand crafts to share with you. Make your favorite or make all 3!
Watch the video tutorial here for all 3 Kissing Hand activities!
Kissing Hand Crafts
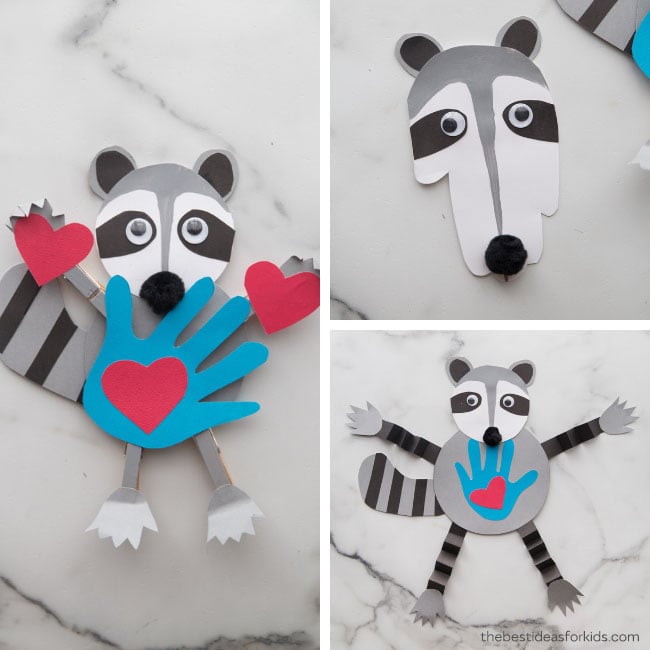
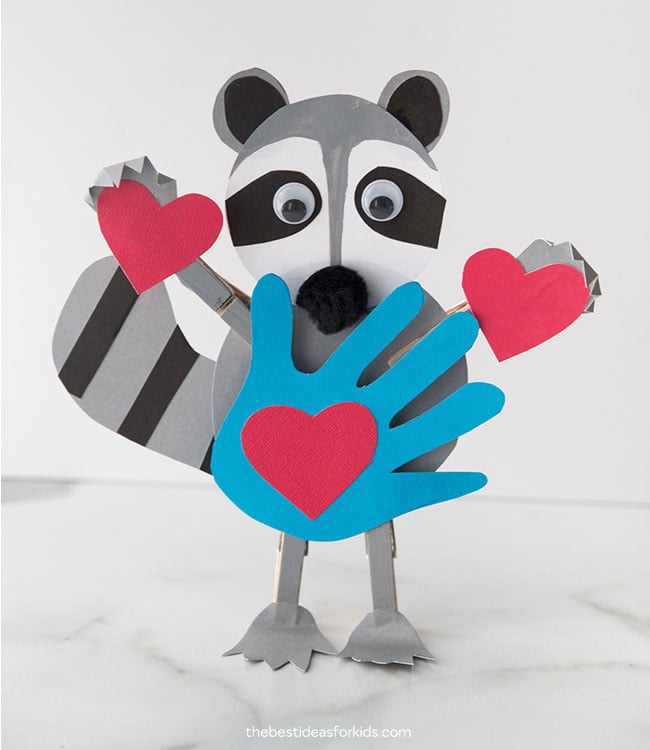
Stand-up Clothespin Raccoon
The first craft is this stand-up raccoon made with clothespins. You can add a handprint for the raccoon to hold or you can just make the raccoon on its own!
Here is what you’ll need:
- Printable template
- White cardstock
- 4 clothespins
- Gray, black, red, blue cardstock
- Gray paint
- Glue
- Black pom pom
- Google eyes
Directions
1. First print out the template. You can get the free printable template emailed to you by subscribing to our newsletter at the bottom of this post (on the form with the preview of the template).
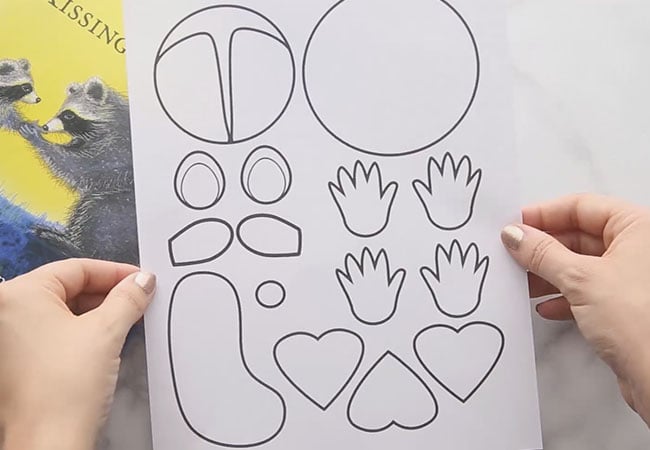
2. Trace around the templates on cardstock (white, gray, black). Use white for the head. The ears are gray on the outside and black on the inside. The head is painted grey on the top and down the middle. The traditional raccoon eye mask is black. Hands, feet and body are grey. The tail is grey with black stripes.
3. Paint the clothespins gray.
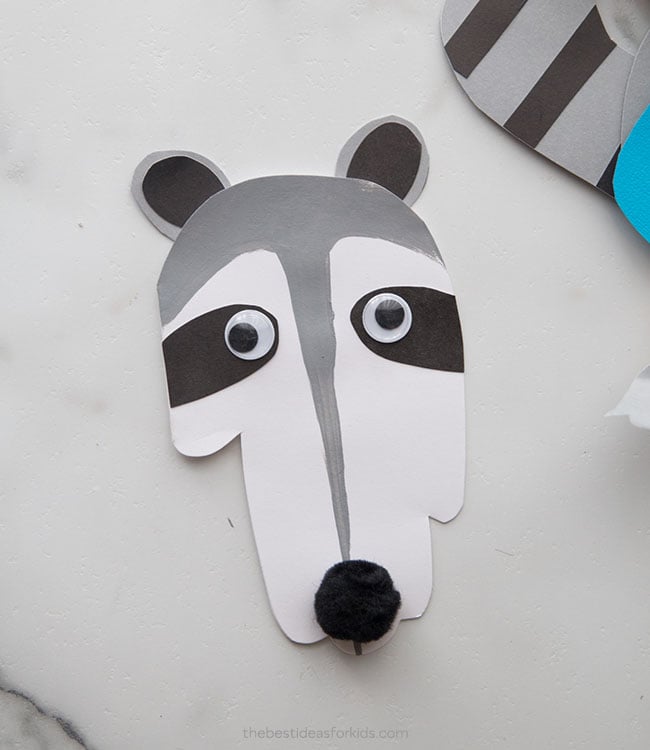
4. To make the raccoon face: glue on the ears so they point upwards a little. The black raccoon eyes are glued to the white area on the face. Then add googly eyes and a black pom pom nose.

5. Glue the head and tail to the body.
6. Glue the feet pieces to the ends of the clothespins, letting the toes hang off the sides. Now bend the toes upwards & crease. Attach the clothespins to the bottom of the body so it looks like the raccoon is standing on it’s feet.
7. Then trace around red cardstock for the hearts. Now take the hands and bend the fingers and thumb down, glue a heart to each hand, so it looks like the raccoon is holding onto it. Glue the hands to the clothespins and attach to the body.
8. Trace a child’s hand onto the blue cardstock and cut it out. Glue a red heart in the middle of the hand. Finally, glue the handprint to the belly. Note: You can skip adding the red hearts to the raccoon hands.
Raccoon Handprint Card
This handprint card makes an adorable keepsake for the first day back to school! Kids can trace their hand, cut it out into a card and write a special message inside.
Here are the supplies you’ll need to make this handprint card:
- Printable template
- White cardstock
- Black, gray and red cardstock
- Googly eyes
- Black medium pom pom
- Glue
- Gray paint
Directions
1. First print the template on white cardstock. You can get the free printable template emailed to you by subscribing to our newsletter at the bottom of this post (on the form with the preview of the template).
2. Cut along the dotted line to separate the template pieces from a blank piece (if the hand won’t fit on this leftover piece, just use another piece of white cardstock).
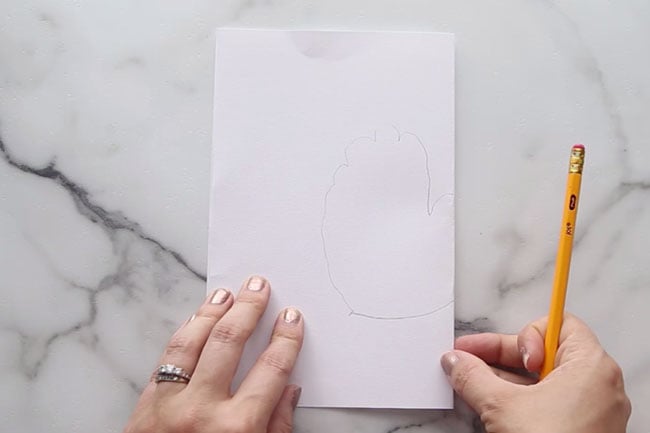
3. Fold the white cardstock half. Now, trace the child’s hand with the fingers together and the thumb on the fold. Cut the hand from the cardstock, leaving the paper fold intact.
4. Trace around black cardstock for the eye mask pieces. Trace around black and grey cardstock for the ear pieces. Trace around red cardstock for the heart.
5. Now cut out all of the pieces.
6. Next, place the odd-looking template where you want the grey part of the head to be and trace only the lower part of the template. Depending on the size of the hand, you might need to extend the line all the way down to the bottom. Now you can paint this section gray.
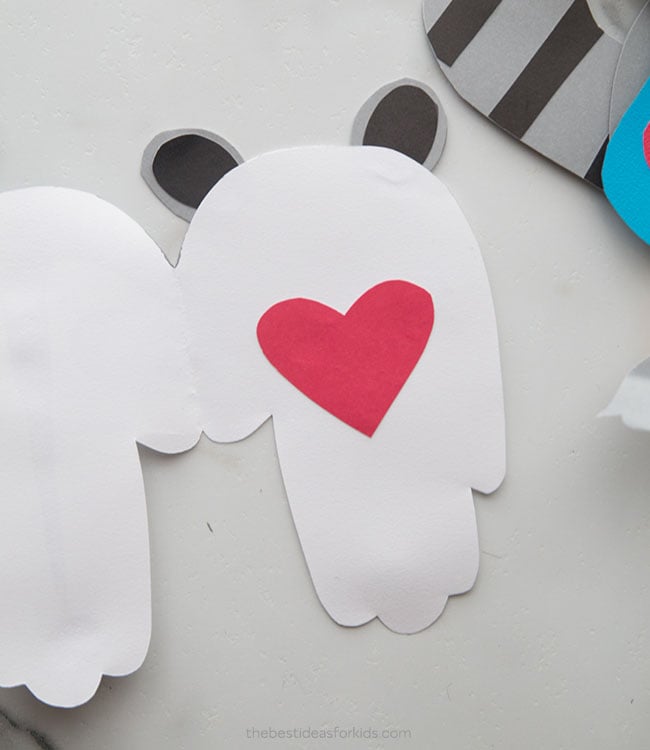
7. Glue on the ears and eye mask pieces. Depending on the side of the child’s hand, if the eye mask pieces will be too long, just fold the extra parts over or cut them off.
8. Glue on googly eyes and a black pom pom for the nose.
9. Open the card and glue on the red heart.
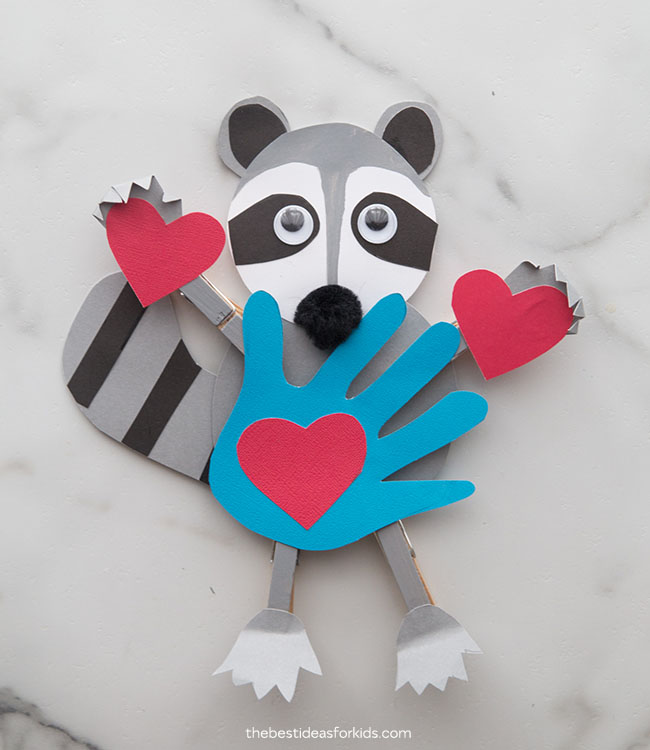
Wiggly Raccoon Craft
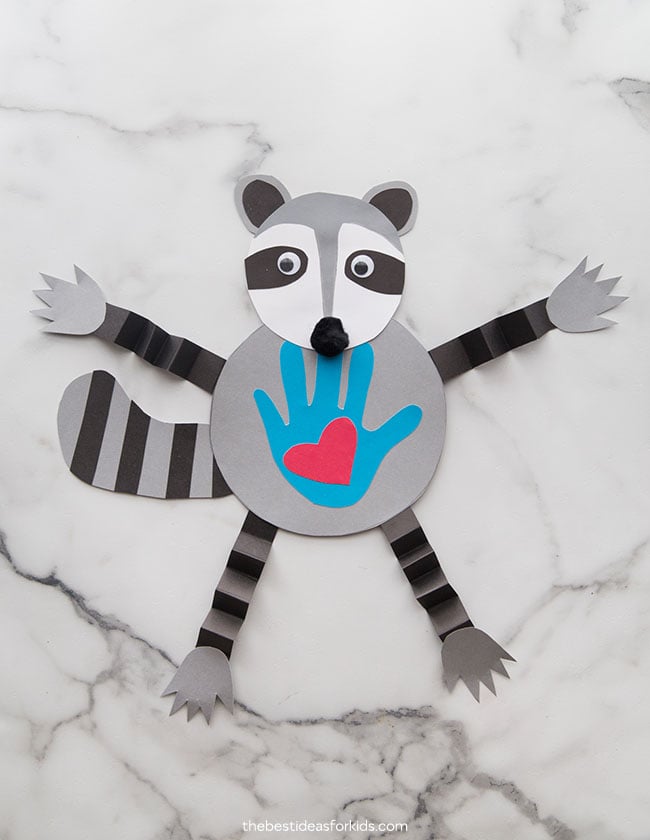
Make your own wiggly arm and leg raccoon with our free printable template. Kids can add their own handprint to the belly of Chester the raccoon in this Kissing Hand craft!
Here are the supplies you’ll need:
- Printable template
- White cardstock
- Googly eyes
- Large black pom pom
- Black, blue, red, and gray cardstock
- Gray paint
- Glue
1. First print the template. You can get the free printable template emailed to you by subscribing to our newsletter at the bottom of this post (on the form with the preview of the template).
2. Trace around the templates on cardstock (white, gray, black). Use white for the head. The ears are gray on the outside and black on the inside. The head is painted grey on the top and down the middle. The traditional raccoon eye mask is black. Hands, feet and body are grey. The tail is grey, with black cardstock for the stripes.
3. Trace around red cardstock for the heart.
4. Cut the pieces out. Next, trace and cut out the child’s handprint from blue cardstock. Glue the red heart to the handprint. Glue the blue hand to the raccoon’s belly.
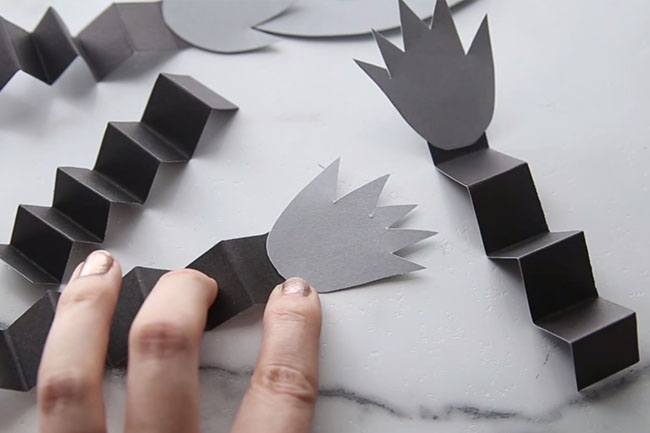
5. Assemble the arms and legs. Take the black cardstock paper and cut four 1” x 6” strips. Next, accordion fold all 4 strips. Glue the hands and feet to the ends of each strip. Finally, glue two strips to the sides of the raccoon’s belly for the arms and two to the bottom for the feet.
6. Make the raccoon face: glue the black eye mask pieces on the head piece and then glue googly eyes on top. Glue the large black pom pom for the nose. Then glue the two ears to the back.
7. To finish the craft, glue the head and tail on to the body piece.
Those are the 3 Kissing Hand crafts – perfect if you’re looking for Kissing Hand activities on the first day back to school! Which one is your favorite?
Sign up for our newsletter and get all 3 Kissing Hand Craft Printables!


Share a Comment!
We LOVE hearing from you! Submit your question or comment here.
Your email address will not be published.
Required fields are marked *