

Have you tried making color changing slime? It’s just as easy to make as regular slime, but the slime changes color! We tested out two versions – heat activated and sun activated slime. If you’re looking for a new type of slime to try, then give these fun color changing slimes a try!
RELATED: Fluffy Slime Recipe

What is Color Changing Slime?
Elmer’s sells 2 kinds of coloring changing slime. There is heat activated and sun activated glue. We will show you the difference between the two!
Heat Activated Slime
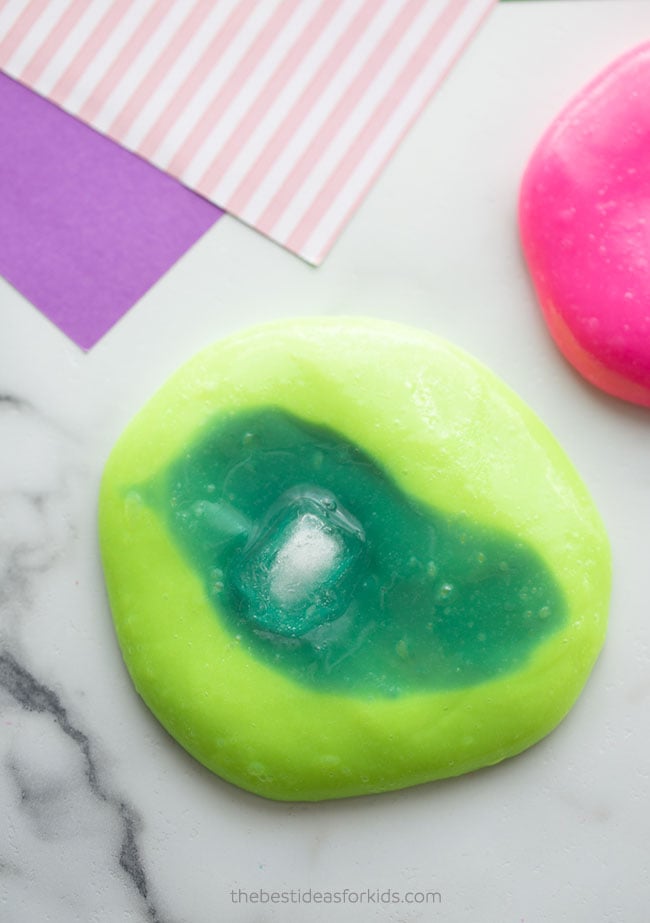
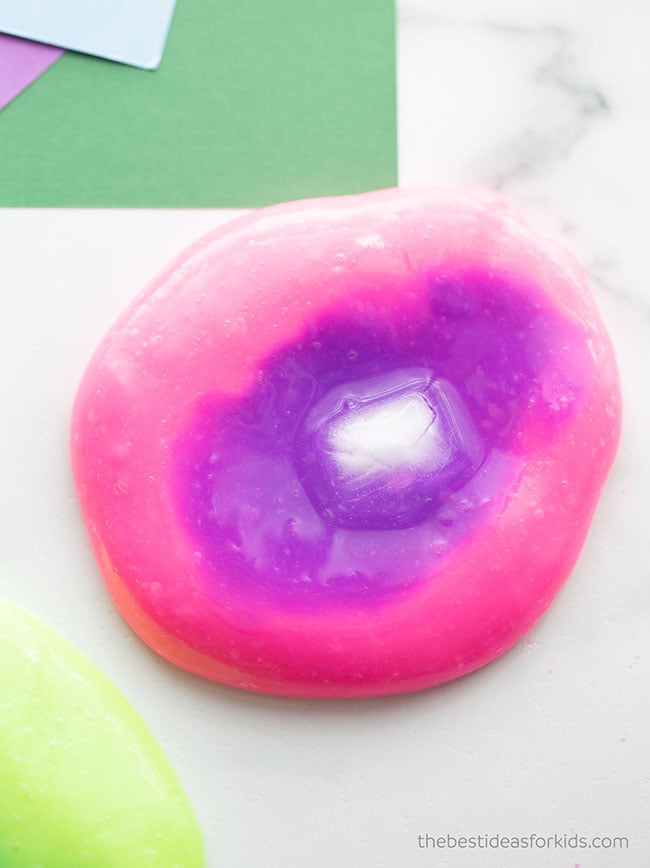
The heat activated slime turns lighter when it’s warmer. Applying cold temperatures to the slime will make the darker color show.
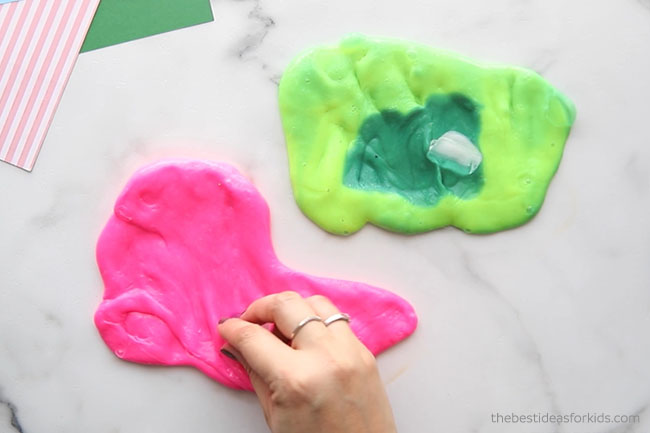
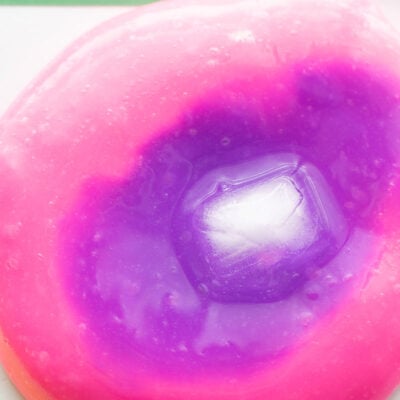
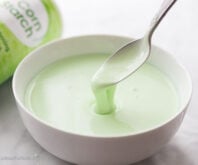
This green version goes from light green to dark green when you add ice to the slime:
We also tested out the pink to purple version:
Sun Activated Slime
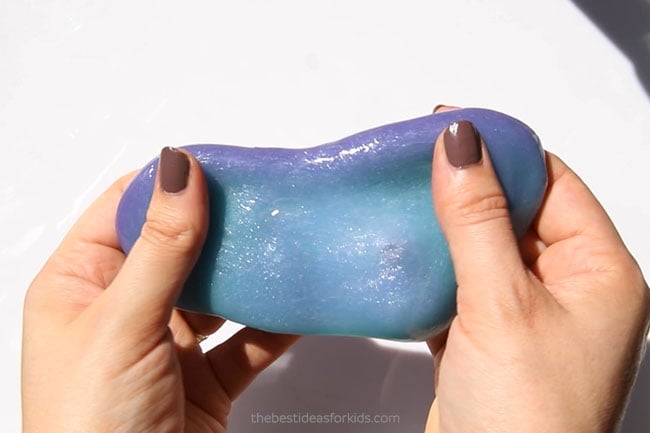
Sun activated slime changes color when it is exposed to sunlight. The change happens very quickly if it’s a really sunny day.
This glue changed from blue to purple.
We also tested the yellow to red glue.

Your kids will love watching the colors change! We recommend trying both the heat activated and sun activated glues to test them both out.
Ingredients for Color Changing Slime
- One Bottle of Elmer’s Color Changing Glue – heat activated slime and sun activated slime
- Heat Activated Elmer’s Glue
- Sun Activated Elmer’s Glue – Note: this recipe is based on a 5 oz bottle of glue. If you have a larger bottle, adjust the other ingredients to add more but keep the same ratio
- Baking Soda – 1/2 teaspoon
- 1½ tbsp of Contact Lens Solution – Renu Fresh contains Boric Acid and Sodium Borate. Do not substitute for other brands. Check the label before buying to make sure it has the right ingredients.
- Water – 1/4 cup of water to make a more stretchy slime
Safety Tips: Adults only should make the slime and handle all chemicals. Do not substitute any ingredients in our slime recipes. If you have sensitive skin, wear gloves while playing with the slime. Always wash hands before and after use. If you notice any skin irritation discontinue use immediately. See the bottom of the post for more safety precautions.
How To Make Color Changing Slime
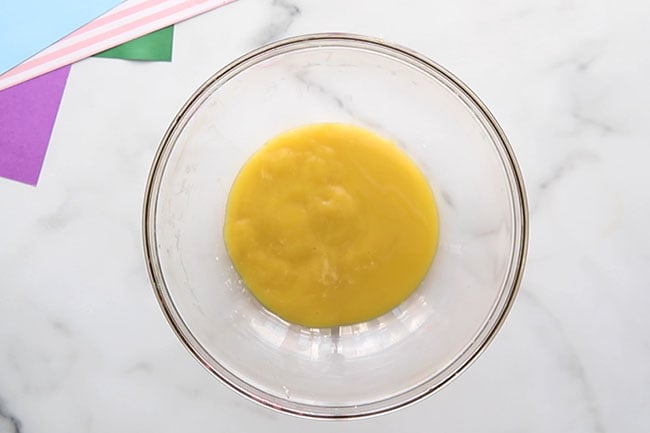
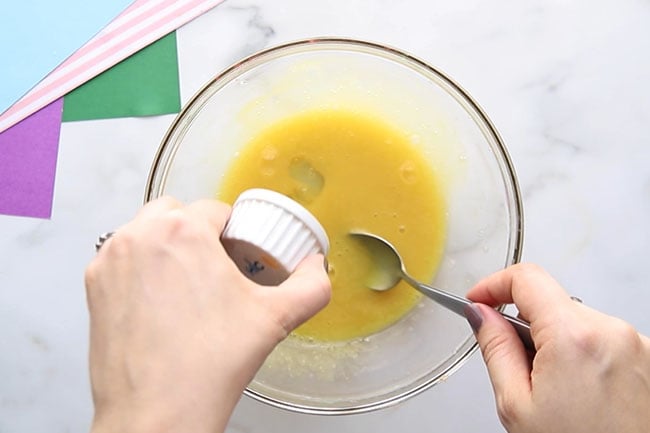
1. Pour 5 oz (almost 3/4 cup) of Elmer’s Color Changing Glue into a bowl. If your bottle is already 5 oz you can pour the entire bottle in. If your bottle is larger you can use a little more baking soda and contact solution (if 9 oz bottle it is almost double) or measure out 3/4 cup of your glue.
- One Bottle of Elmer’s Color Changing Glue
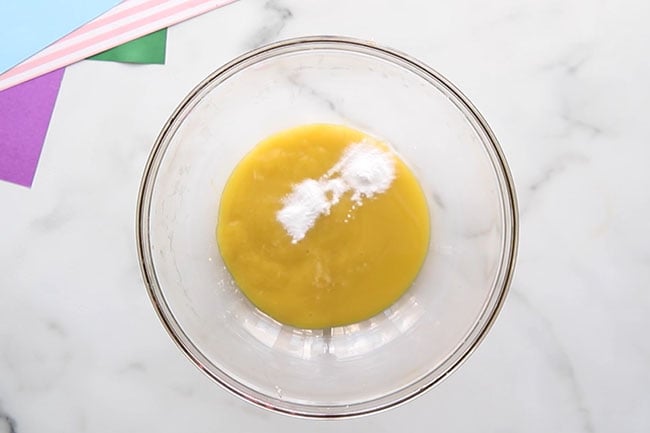
2. Add 1/2 teaspoon of baking soda and mix in thoroughly.
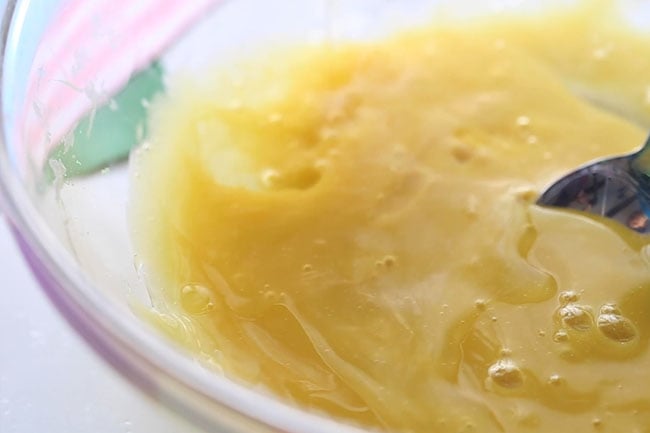
3. Add 1/4 cup of water to make a more stretchy slime. The less water you add, the less stretchy and sticky it will become. Make sure to knead a lot (see step 5) to reduce the stickiness. This will ensure you end up with a stretchy and not hard slime.
4. Slowly add in your contact lens solution (Reminder: your contact lens solution should contain boric acid or your slime will not form).
Add it in slowly and mix.
Knead and mix thoroughly before adding more as you do not want to add too much or your slime will get too hard.
You may not need the full amount so take this step slowly.
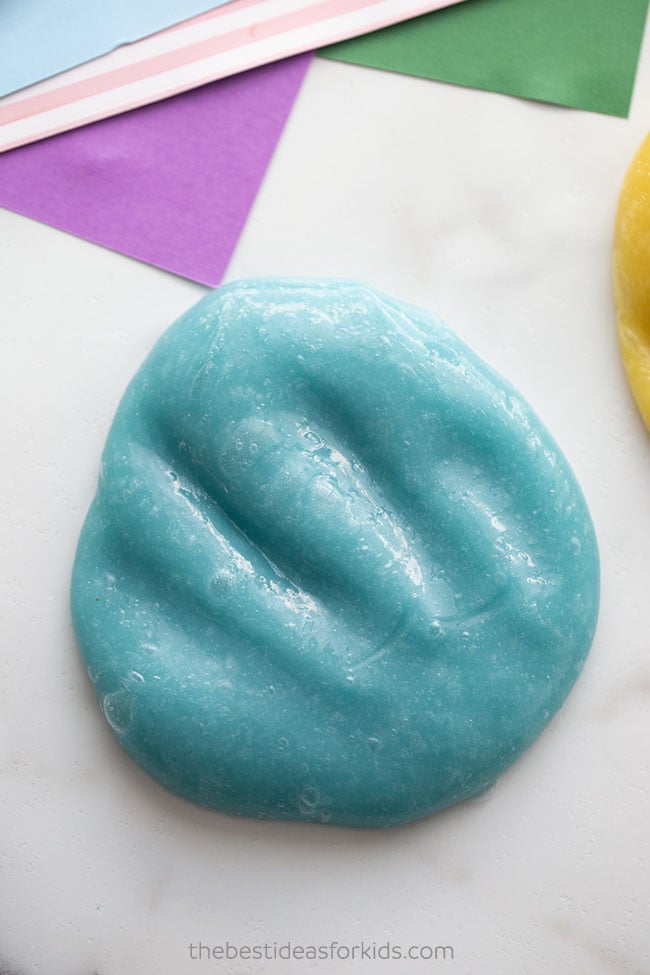
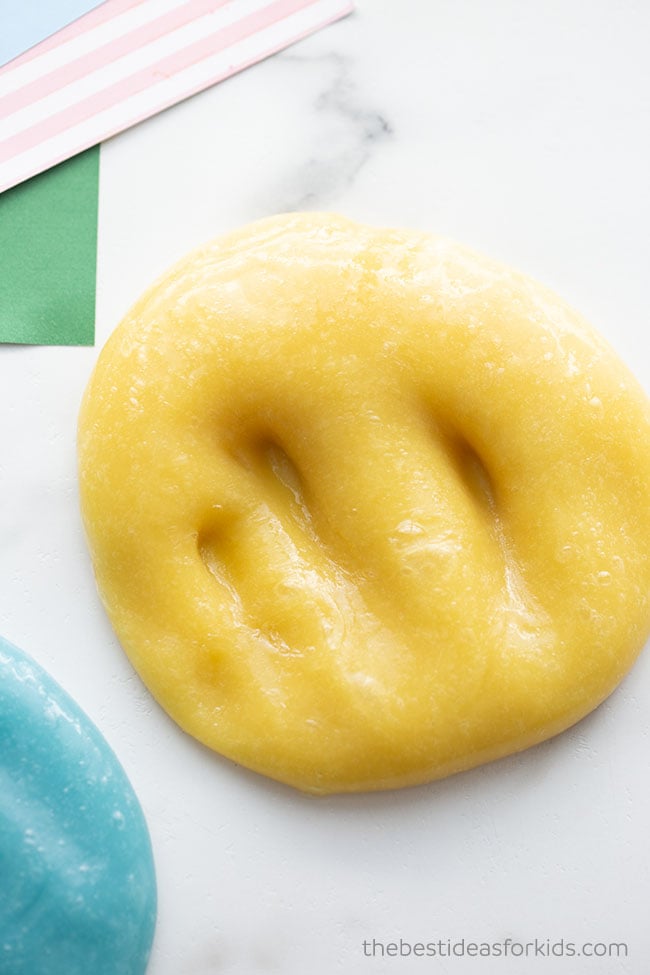
5. Now mix until your slime forms and begins to harden. It should start to pull away from the bowl.
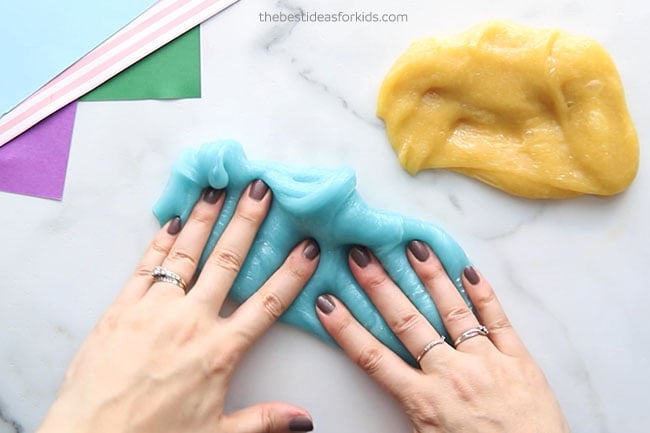
Take it out and knead, knead, knead. You may be surprised how much you need to knead to really make the slime form. It will be very sticky at this point. Keep kneading and stretching the slime and it will become less sticky.
If it’s not the desirable consistency keep kneading. Only add a little more contact solution a teaspoon at a time to prevent the slime from becoming too hard.
If you still find it to still be too sticky, add a little bit of lotion or baby oil to your hands.
How to Make the Slime Change Color
Depending on what type of color changing glue you purchased, here’s how to make it change color:
Sun activated glue: take the slime out into the sun. It should be a really bright and sunny day.
Heat activated glue: the more you play with the slime, the lighter the color gets. Use something cold to quickly change it to the other color. We used ice cubes but you can also use a cold can of soda or a frozen bag of peas!
Color Changing Slime
Video
Materials
- 1 5 oz. Bottle of Elmer's Color Changing Glue
- 1/2 tsp Baking Soda
- 1 1/2 tbsp Contact Lens Solution
- 1/4 cup Water
Instructions
- Pour 5 oz (almost 3/4 cup) of Elmer's Color Changing Glue into a bowl. If your bottle is already 5 oz you can pour the entire bottle in. If your bottle is larger you can use a little more baking soda and contact solution or measure out 3/4 cup to match the recipe ratios.
- Add 1/2 teaspoon of baking soda and mix well.
- Add 1/4 cup of water and mix.
- Slowly add in your 1.5 tbsp contact lens solution (reminder: your contact lens solution should contain boric acid or your slime will not form). Add it in slowly and mix if possible so that you can adjust and ensure you do not add too much. You may not need the full amount so take this step slowly.
- Now mix until your slime forms and begins to harden. Take it out and knead, knead, knead. You may be surprised how much you need to knead to really make the slime form. If it’s not the desirable consistency keep kneading. If you find it to still be too sticky, add a little bit of lotion or baby oil to your hands.
- To make your slime change color, expose it to sunlight or rub it with an ice cube depending on what type of color changing glue you have.
Slime Safety & Precautions
Note: Making slime is a science experiment and safety precautions should still be made when creating slime. By making this slime, you agree to our site terms which you can read here.
- Adults should handle any chemicals and products
- Adults should make the slime
- Always read and follow the labels of products used. If contact lens solution is accidentally ingested, seek medical attention immediately.
- This project is not suitable for children under 4.
- Slime should not be placed in the mouth. Always wash hands before and after playing with the slime.
- If you notice any skin irritation, discontinue use immediately. If you have sensitive skin, wear gloves while making and playing with the slime.
- Slime is a science experiment and should be made and played with in moderation. Do not allow children to make their own slime and do not play with slime for an extended period of time.
More Slime Recipes
See our regular contact solution slime recipe instructions!
Make Fluffy Slime which has a different texture and is fun to play with! See our Fluffy Slime Recipe.


Share a Comment!
We LOVE hearing from you! Submit your question or comment here.
Your email address will not be published.
Required fields are marked *