

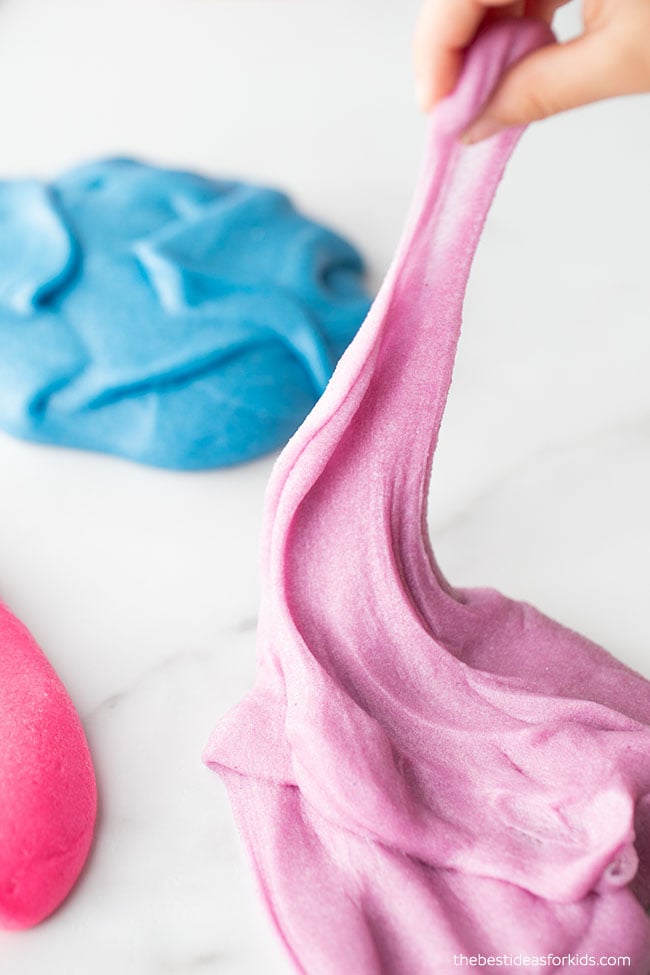
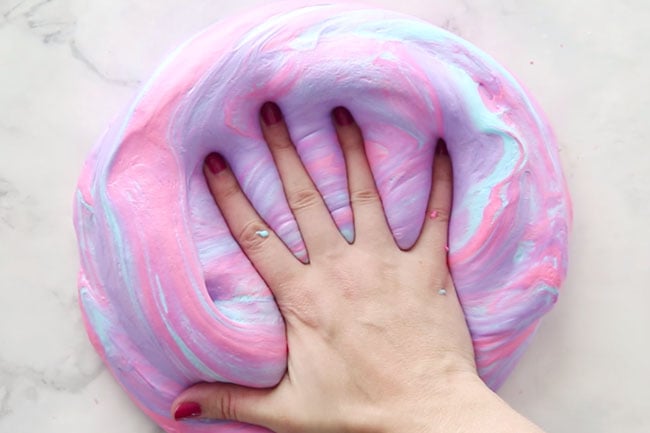
If you love kinetic sand and you love slime – then you have to try this sand slime. It’s a cross between slime, kinetic sand and playdough. You’ll love the texture and it’s really fun to play with!
RELATED: Fluffy Slime

Sand Slime Recipe
Sand slime has a really fun texture to it. If you love kinetic sand and slime then you’ll love this recipe!
We added colored sand to our recipe but you can use regular sand too. If you do use regular sand, it will turn out heavier than this recipe as we’re using very fine colored sand. However, the recipe will still work!
If you love sand sensory play, also try our sand playdough!
Watch the Video Tutorial!
What is Slime?
Slime is a polymer. Other examples of polymers are Jell-O, gum and rubber bands. White glue is also an example of a polymer. A polymer is made of long chains of polyvinyl acetate molecules. These chains slide easily making the substance like glue easily pourable.
The Science Behind Slime
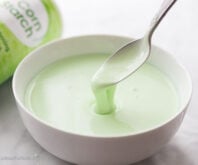
When you add the contact lens solution to the glue, it counteracts the glue and forms a viscous substance of slime which can be shaped and pulled. This slime forms due to the glue molecules cross-linking with the borate ions. This is a bond that causes the large molecules to no longer slide freely past one another (like the substance was when it was a glue). Therefore resulting in the slime substance!
Will This Slime Recipe Work?
All of our slime recipes are easy to make and should turn out if you follow the instructions carefully. Do not substitute for other brands as your slime may not turn out. The type of contact lens solution we use is very important – this is what turns your glue into slime. We always recommend Elmer’s glue because it’s quality glue and creates the best slime. If you do not have Elmer’s glue in your country you can substitute the glue for another quality PVA glue.
Safety tips: Adults only should make the slime and handle all chemicals. Do not substitute any ingredients in our slime recipes. If you have sensitive skin, wear gloves while playing with the slime. Always wash hands before and after use. If you notice any skin irritation discontinue use immediately. See the bottom of the post for more safety precautions before making your slime.
How Long Does Slime Last?
This slime recipe should last at least 1 week if stored properly. We have found that sand slime gets harder than regular slime faster because of the sand. Store in an air tight container or bag. We like to store in a resealable bag so we can press out all of the air from the bag.
Ingredients Needed to Make Sand Slime
- Elmer’s Clear Glue (6 oz) Note: We have only tested this with Elmer’s glue and recommend this brand as other brands may not work.
TIP: To save money we like to buy the gallon size of clear glue.
- 1/4 cup of warm water
- 1/2 teaspoon baking soda
- 1.5 tablespoons of Contact lens solution **Important: your brand of contact lens solution must contain boric acid and sodium borate. We like this brand the best and use it in all of our slime recipes. See our full contact solution slime recipe for the brands we recommend. Do not substitute for any other brands.
- Colored sand – we used Hygloss colored sand. You can find individual colors, like this pink sand or you can buy multi-packs with different colors in it. This multi-pack comes with 6 oz of 6 colors, it’s slightly less than the 1 cup of sand we used but would still work well. You can also use regular sand but the texture will be a little thicker.
How to Make Sand Slime
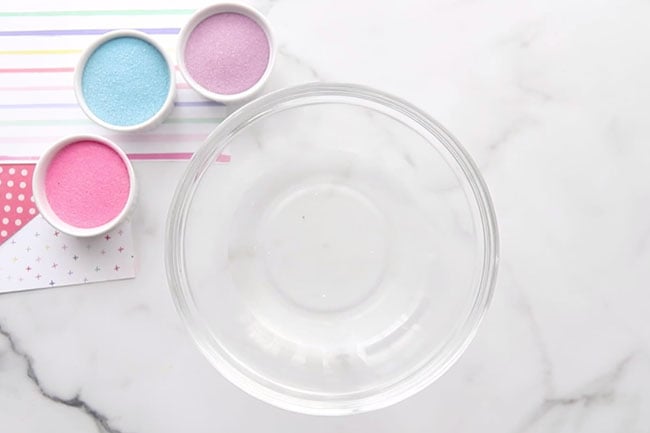
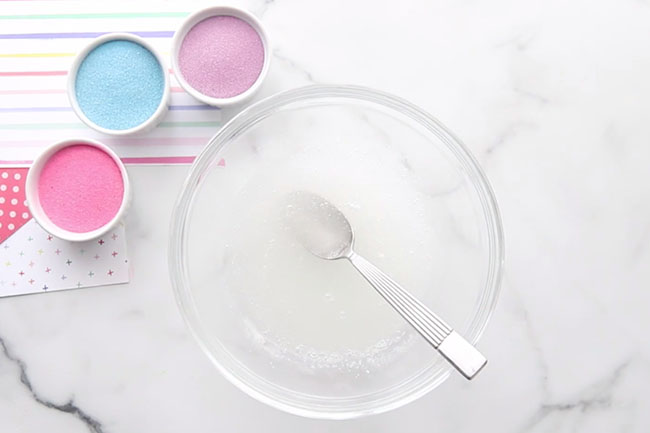
1. Get a bowl to mix your slime ingredients in.
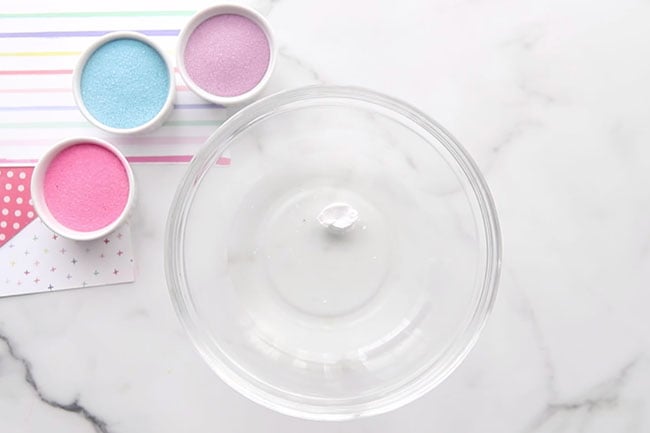
2. Add 6 oz of clear glue to your bowl first.
3. Add 1/2 teaspoon of baking soda and mix.
Don’t over mix at this step or too many bubbles will form in the clear glue.
4. Add 1/4 cup of water.
Mix gently (to not create too many bubbles again).
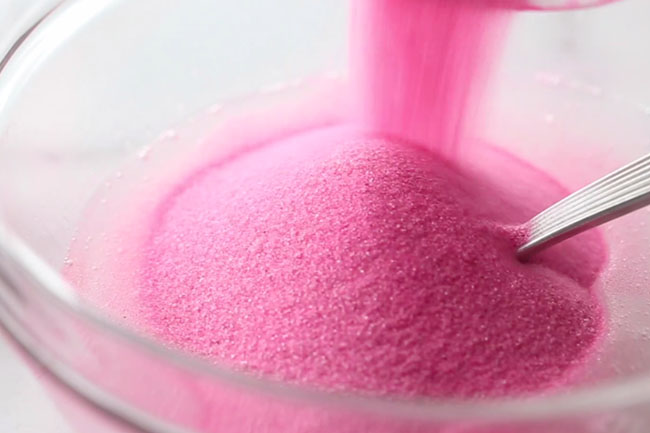
5. Add 1 cup of sand to the bowl.
Note: You can use less sand if you don’t have 1 cup. If you find it’s not enough you can always knead in a little more. We found 1 cup to make a nice consistency where it was still easy to stretch the slime but you could also feel the sand texture.
6. Add 1 tablespoon of contact solution to start and mix.
Then add 1/2 tablespoon more and mix until it starts to come off of the sides of the bowl.
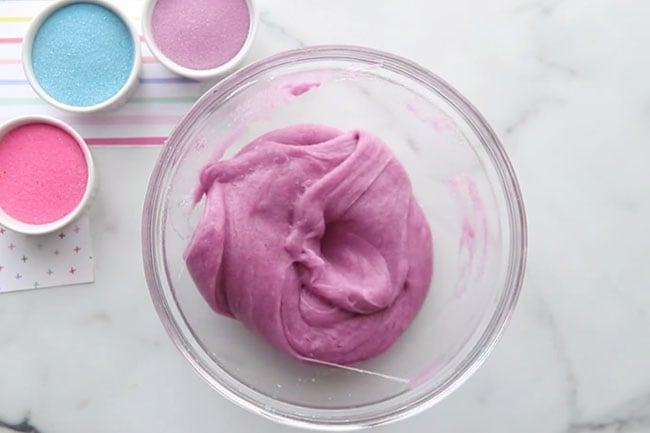
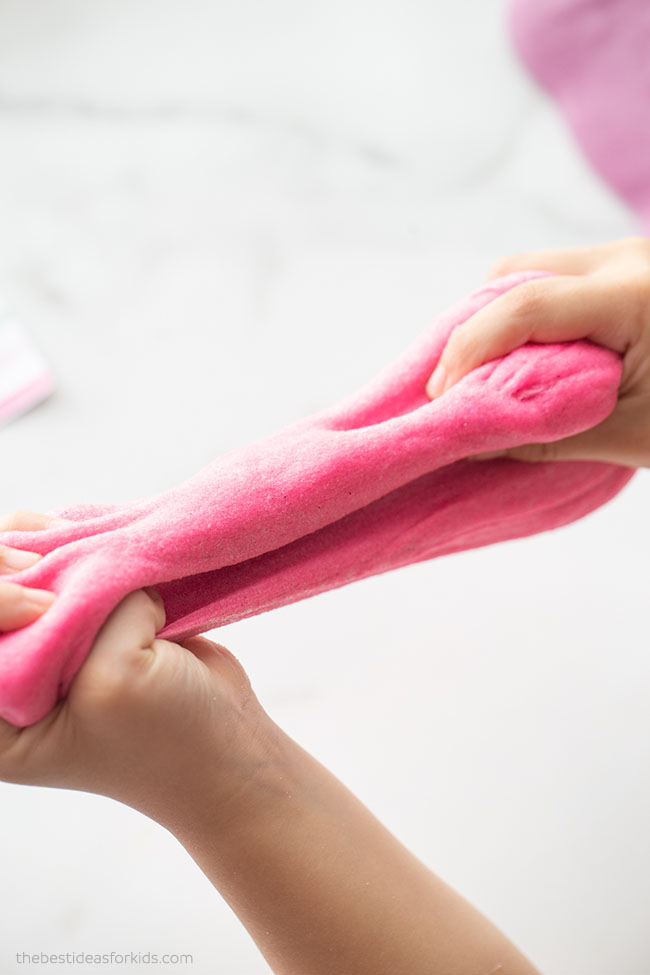
7. Take the slime out and knead until it’s not sticky anymore.
It will be really sticky to start but if you keep kneading it will turn into the perfect consistency. You can also put some baby oil or lotion on your hands to help with the stickiness at this point. Do not add extra contact solution or it will get too hard.
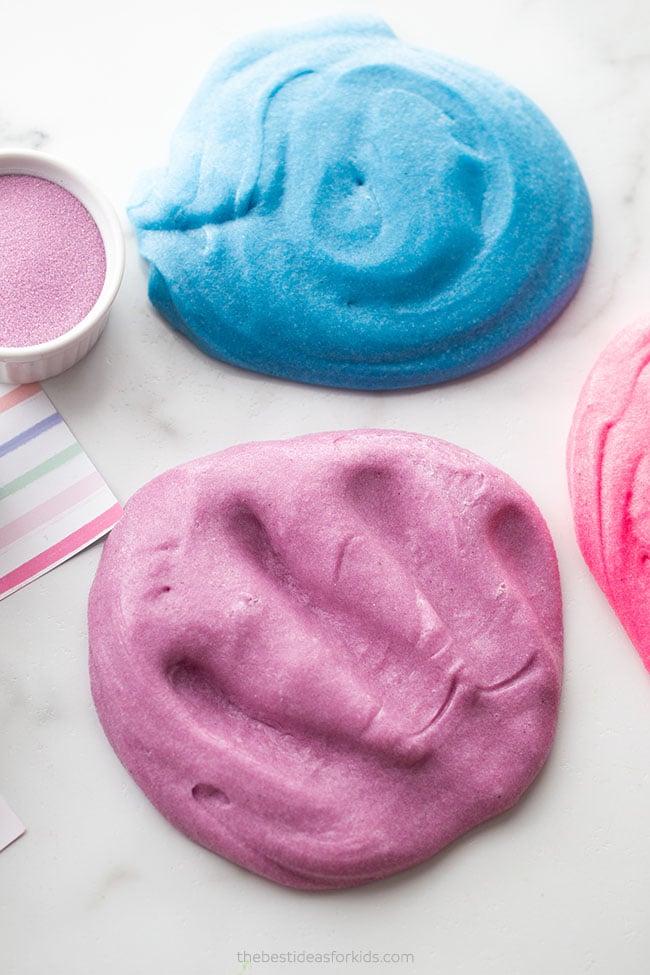
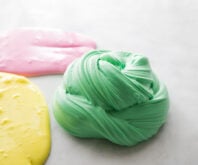
Repeat for each color of the colored sand.
We hope you love this fun sand slime recipe. It’s such a fun texture and perfect to make in summer!
See more of our favorite slime recipes:
More Slime Recipes
For another fun texture try this fluffy slime.
Slime Safety & Precautions
Note: Making slime is a science experiment and safety precautions should still be made when creating slime. By making this slime, you agree to our site terms which you can read here.
- Adults should handle any chemicals and products
- Adults should make the slime
- Always read and follow the labels of products used. If contact lens solution is accidentally ingested, seek medical attention immediately.
- This project is not suitable for children under 4.
- Slime should not be placed in the mouth. Always wash hands before and after playing with the slime.
- If you notice any skin irritation, discontinue use immediately. If you have sensitive skin, wear gloves while making and playing with the slime.
- Slime is a science experiment and should be made and played with in moderation. Do not allow children to make their own slime and do not play with slime for an extended period of time.


Share a Comment!
We LOVE hearing from you! Submit your question or comment here.
Your email address will not be published.
Required fields are marked *