

This simple dry erase marker snowflakes experiment is a lot of fun for kids to do in winter! You only need a blue dry erase marker, a bowl, spoon and water! Kids can learn how to make their drawings float with this simple experiment!
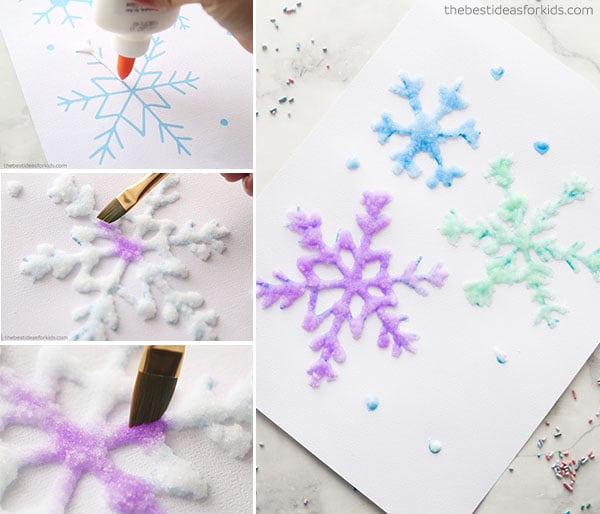
RELATED: Salt Painted Snowflakes
Dry Erase Marker Snowflakes Experiment
Have you ever wanted to make your drawings float? Well now you can!
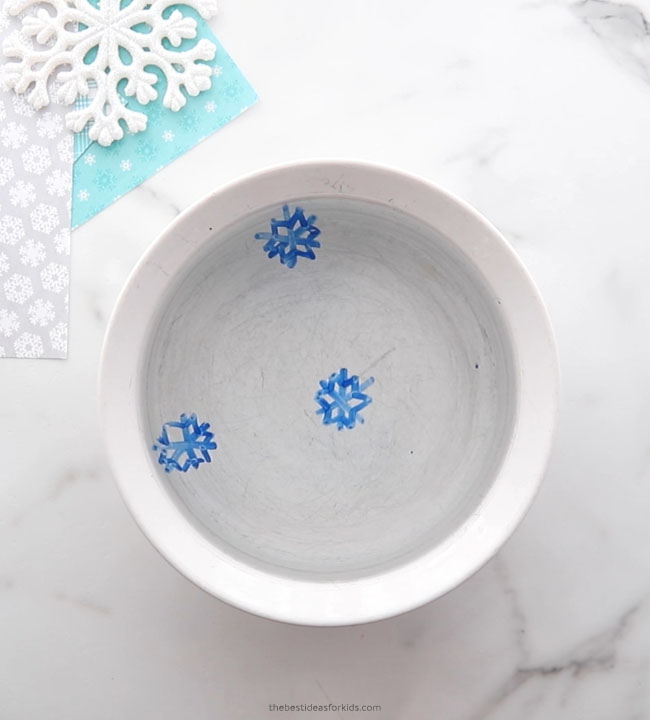
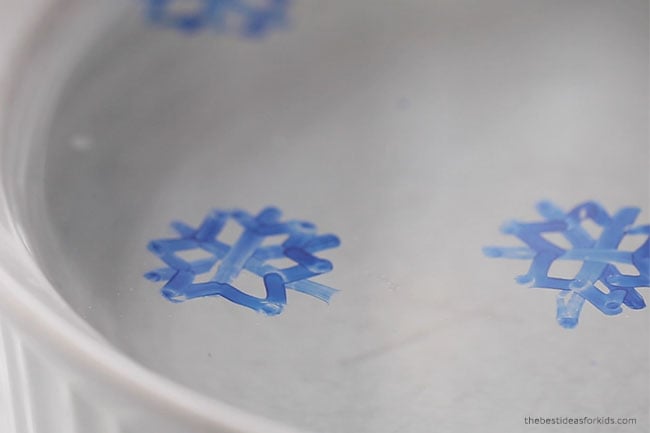
Look how amazing this floating snowflake is!

What is the Science?
Dry erase markers contain an oily silicone polymer. This makes the ink easy to wipe off nonporous surfaces such as a whiteboard, glass, metal or ceramic. This polymer makes the ink slippery and prevents it from sticking to the whiteboard.
In contrast, a permanent marker has an acrylic polymer that makes the ink stick to the surface, instead of being slippery.
How Does it Work?
You can get your drawings to float with a dry erase marker. When you make your drawing on the spoon (or a plate) the solvent that dissolves the ink ingredients will evaporate. Then, the color pigment and polymer is left on the spoon. However, since it has an oily silicone polymer this prevents it from sticking to the spoon.
When you dip the spoon into the water, the water can slip underneath the drawing since the polymer prevents it from sticking to the spoon. Finally, since the ink is lighter than the water, it floats!
Experiment
Make this a science experiment by testing the dry erase marker and a washable marker. Have kids make a hypothesis about which one they think will float and why.
Supplies Needed
Blue Dry Erase Marker – we tested the Ikea Brand and the EXPO brand. Make sure the marker says it is NOT washable. If it is a washable marker it will not work.
A round bowl or dish
Metal spoon
Water – we used regular tap water. It was cold water. We did not test with hot water.
Straw – to blow them around
Watch the Video Tutorial Here
How to Make the Dry Erase Snowflakes
1. Fill a bowl with water
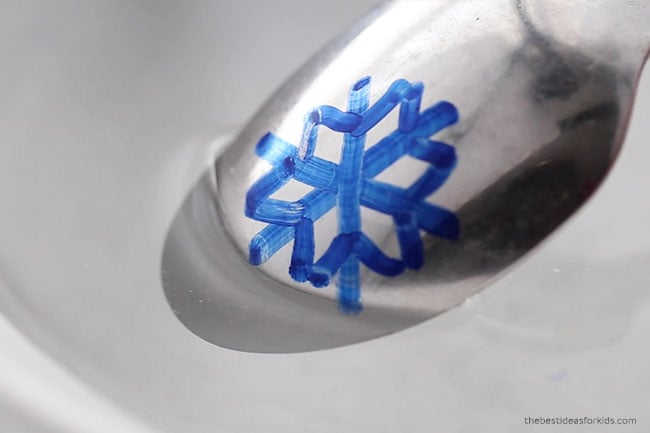
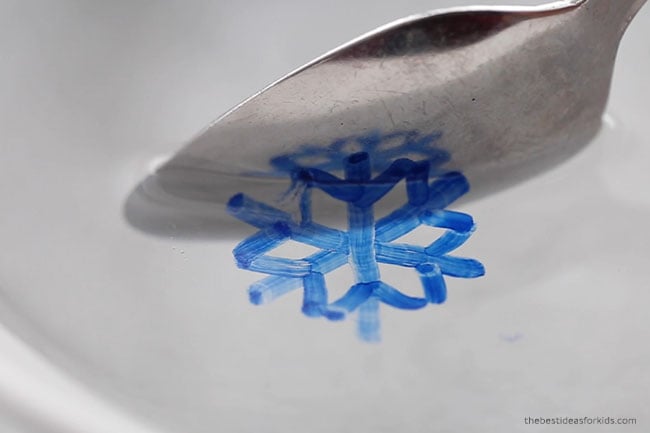
2. Start by drawing your snowflake on the metal spoon with the dry erase marker.
Some tips (as this may take a few tries to get it to work!):
- Draw thicker lines
- Make sure all of the lines are connected to each other
- You want to press down so that a lot of ink comes out (if it’s too light it might not be thick enough to hold together)
If you draw one and it falls apart before fully dipping into the water, just remove and try again!
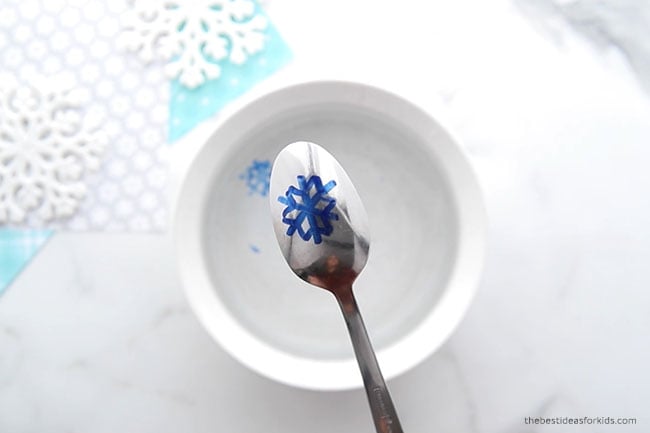
3. Slowly dip the spoon into the water.
Slowly and carefully move the spoon into the water and let it lift off. This is kind of tricky to do and might take a few attempts to get 3 in the bowl.
If you have any that break as you are trying to get them into the water, just scoop them out and try again.
See tips above for drawing the snowflake.
Go slowly and try to shake it off gently so that it doesn’t break as you’re trying to get it into the water.
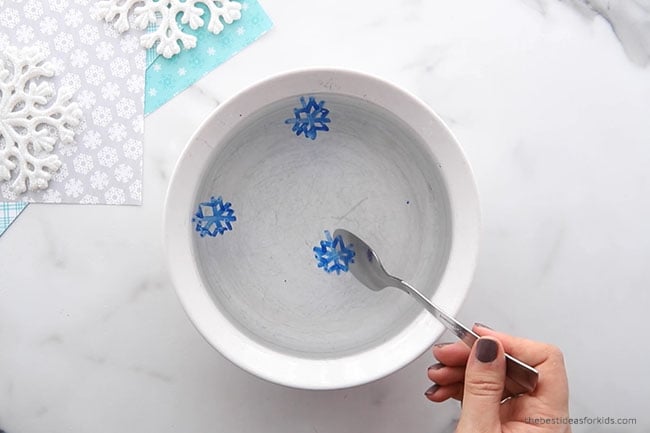
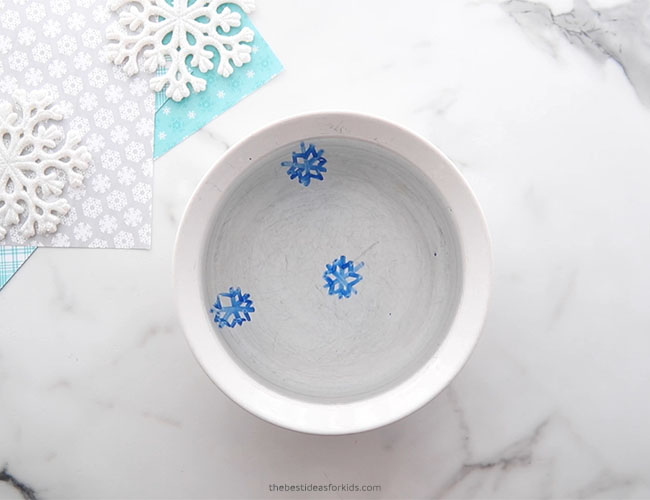
3. Now that you have your snowflakes floating, use a straw to lightly blow air onto them and get them to move around in the bowl!
Instead of snowflakes, what else can you draw and make float?
More Snowflake Activities
Try this salt painted snowflakes process art activity!
Create your own paper snowflakes with our free printable snowflake templates!


Love the science experiments for little ones!