

Make beautiful bleeding tissue paper art for any season! You can make fall silhouettes or add flowers on top for spring. We love the effect that the bleeding tissue paper makes. And kids will enjoy making their design and spraying the tissue paper!
RELATED: Craft Ideas for Kids
This is a fun art activity for kids that they will want to do again and again! There are so many possibilities for it too – make your own design on top or draw with black markers or paint to create some contrast with the bleeding tissue backdrop.
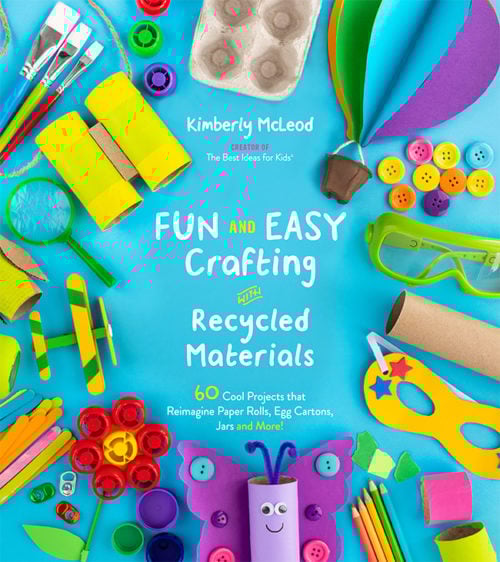
And don’t forget to check out our NEW book – Fun and Easy Crafting with Recycled Materials is bursting with easy crafts for kids like this one. But not only that, it is all recycled crafts for kids too – paper rolls, egg cartons, cardboard, popsicle sticks, jars and more!
Watch the full tutorial video here!
Here are the Supplies You’ll Need to Make This Bleeding Tissue Paper Art
Bleeding Tissue Paper Squares – NOTE: not all tissue paper will work for this craft. You can find some tissue paper that will bleed that isn’t labelled bleeding tissue paper, so please test it out first. Otherwise Amazon has different kinds of bleeding tissue paper.
You can get square bleeding tissue paper here.
Or you can get regular large sheets of bleeding tissue paper here.
White cardstock – I like a thick paper like this one (90 lb) so that the water does not seep through the paper too much
Leaf Template – see directions below for how to get the free leaf templates we used to place on top of our bleeding tissue paper art
Spray bottle with water
Directions to Make Bleeding Tissue Paper Leaf Art
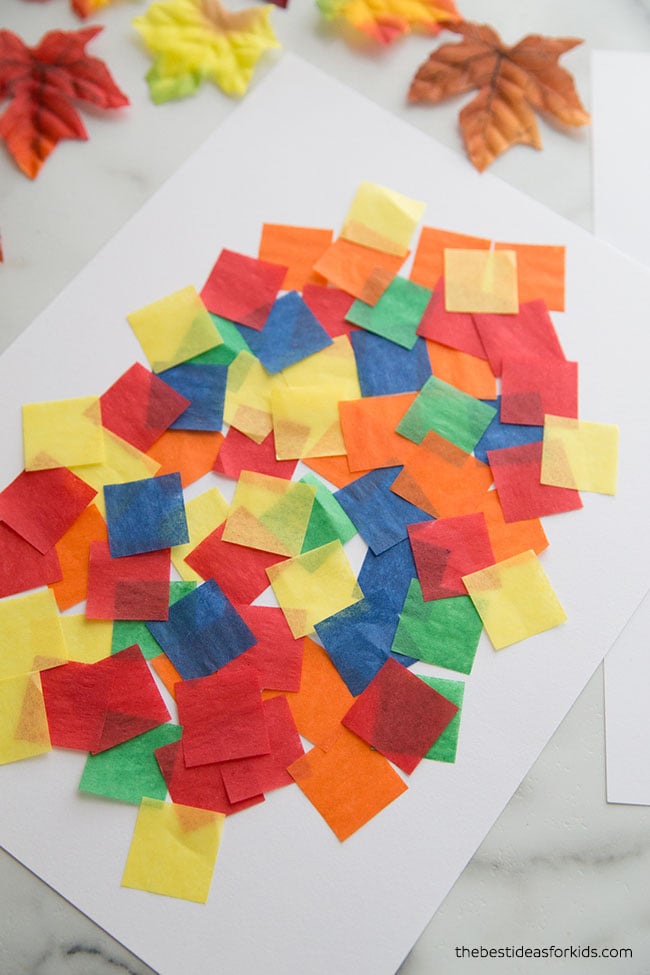
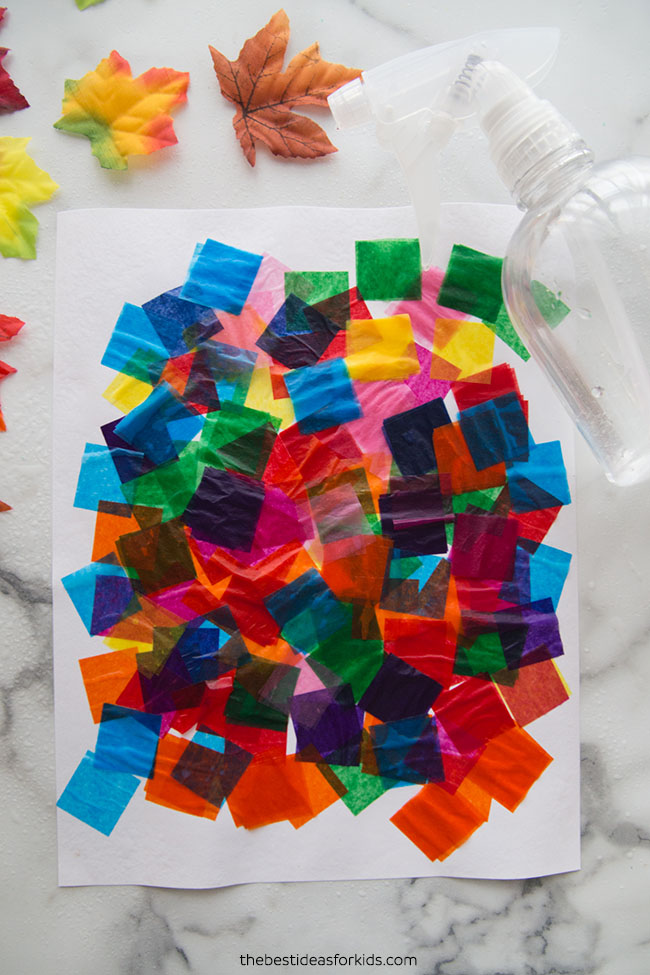
1. First start by layering your tissue paper onto a piece of white cardstock. I like a thick paper like this one (90 lb) so that the water does not seep through the paper too much.
NOTE: You need bleeding tissue paper to do this project. Not all tissue paper will work for this craft. You can find some tissue paper that will bleed that isn’t labelled bleeding tissue paper, so please test it out first. Otherwise Amazon has different kinds of bleeding tissue paper. You can get square bleeding tissue paper here. Make sure the type of tissue paper says it is “bleeding tissue paper”.
2. Using a spray bottle, thoroughly spray all of the tissue paper with water. You want it to be soaked through enough to allow some of the dye from the tissue paper to bleed onto your cardstock.
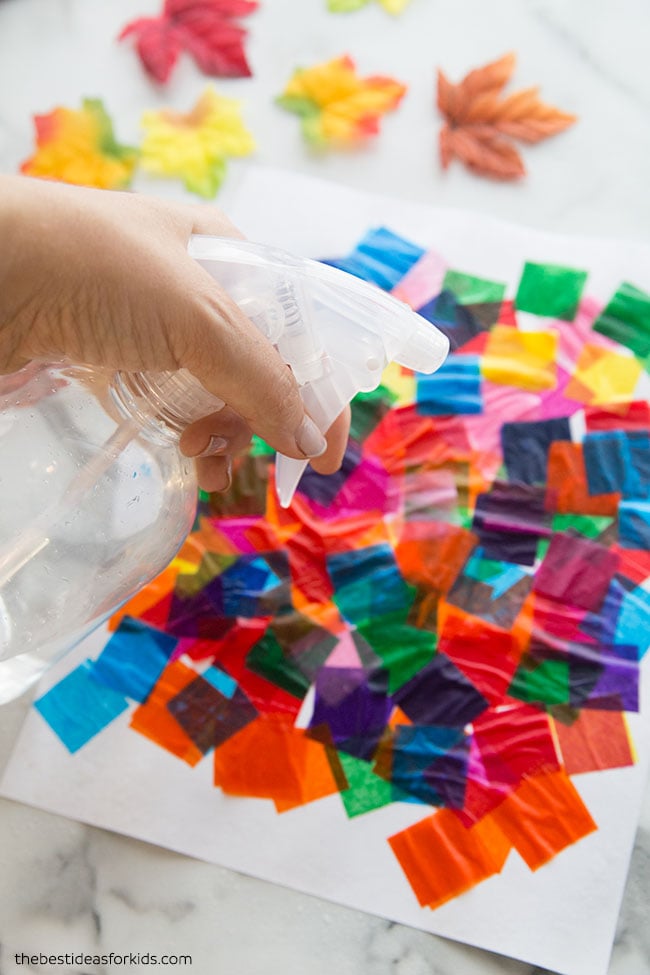
You’ll want the paper to be wet but not have puddles of water dripping off.
Also make sure to protect your surfaces for where you leave it to dry. Place a plastic covering over your table or protective mat as the bleeding dye from the tissue paper will stain surfaces. If you do find some has come off use a magic eraser to remove it.
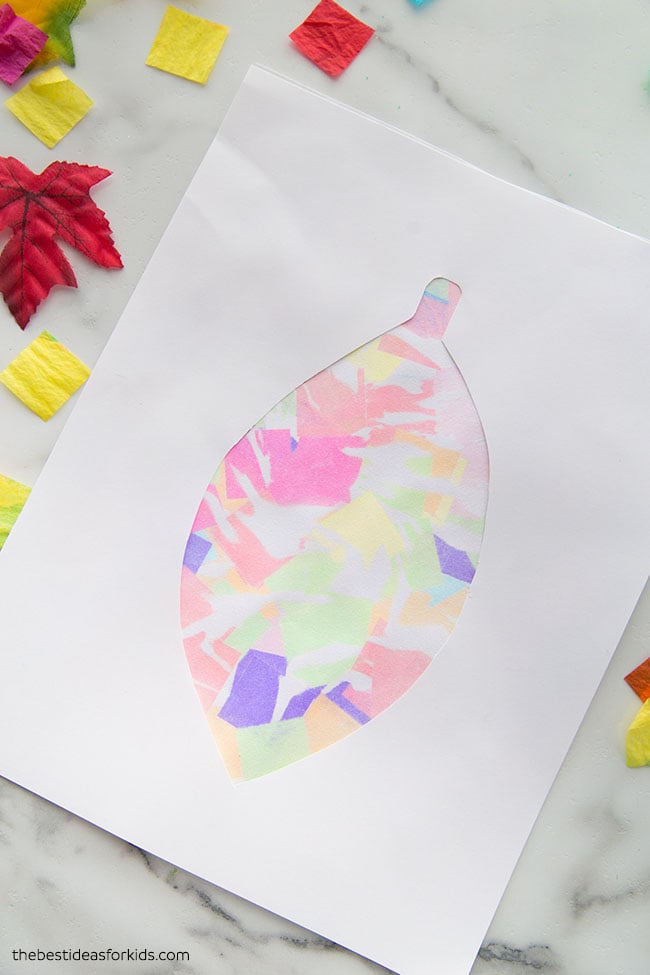
Once dry, you can peel off the tissue paper. Save the tissue paper for another project like scrunch tissue paper art!
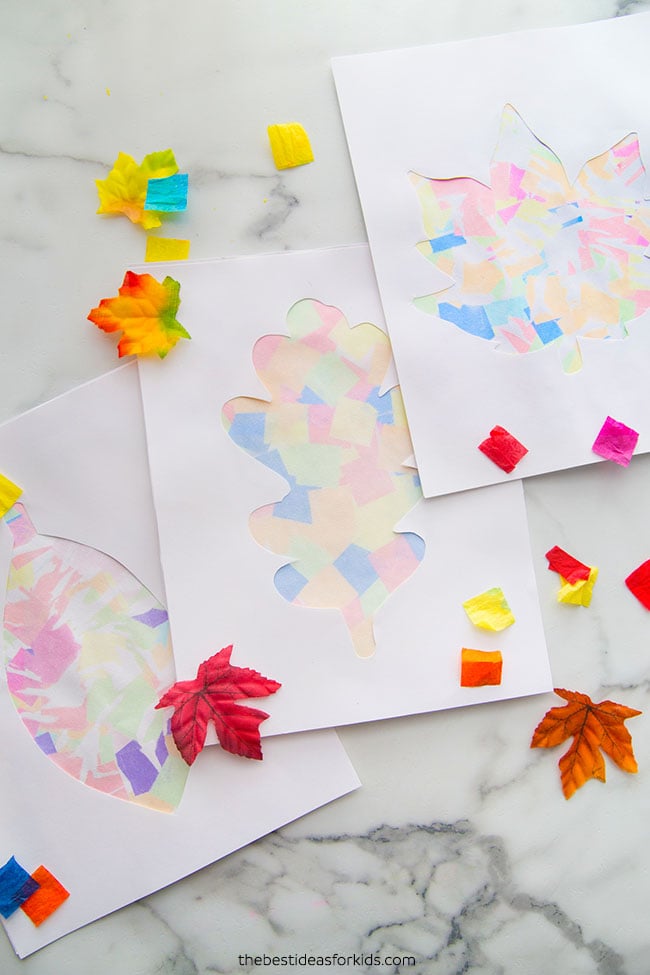
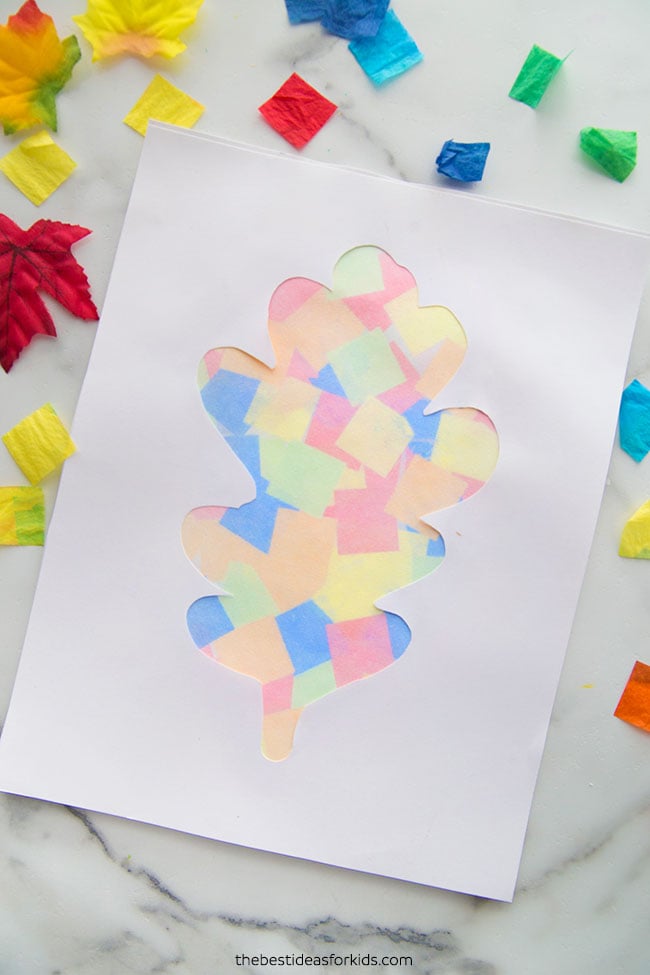
Now you can add your silhouette cut-out on top of your art! We have 3 leaf designs you can get here. Print them off and then cut out the center to create a silhouette.
Glue these on with a glue stick like Elmers Xtreme glue (extra-strong) so that it does not create glue bubbles in the top paper.
We love how easy this activity is! Kids can create their own silhouette image to place on top too. These would look amazing on a bulletin board or simply placed on a wall for decorative art!
More Fall Crafts for Kids
See more of our favorite fall crafts.


Share a Comment!
We LOVE hearing from you! Submit your question or comment here.
Your email address will not be published.
Required fields are marked *